Haha, replace iPhone?, you can’t make calls to anyone with it 
but this comes with IP 0 dust and water rating 
1 Like
dont even care one bit, i luv my khadas that i will sacrifice anything for it


3 Likes
Damn @Electr1 you are so sick with this. Great work BTW xD…
3 Likes
And I thought I was the only one… 

1 Like
Hmmm … two threads, same subject.
Mind if I link this?
1 Like
hi, i think no one will mind ![]()
The box design company is out of Ideas for now 
we are waiting for materials and Ideas to rejuvenate our Cortexes…
so, yes we don’t mind any new additions for now…
1 Like
Thanks ,buddy…
![]()
![]()
1 Like
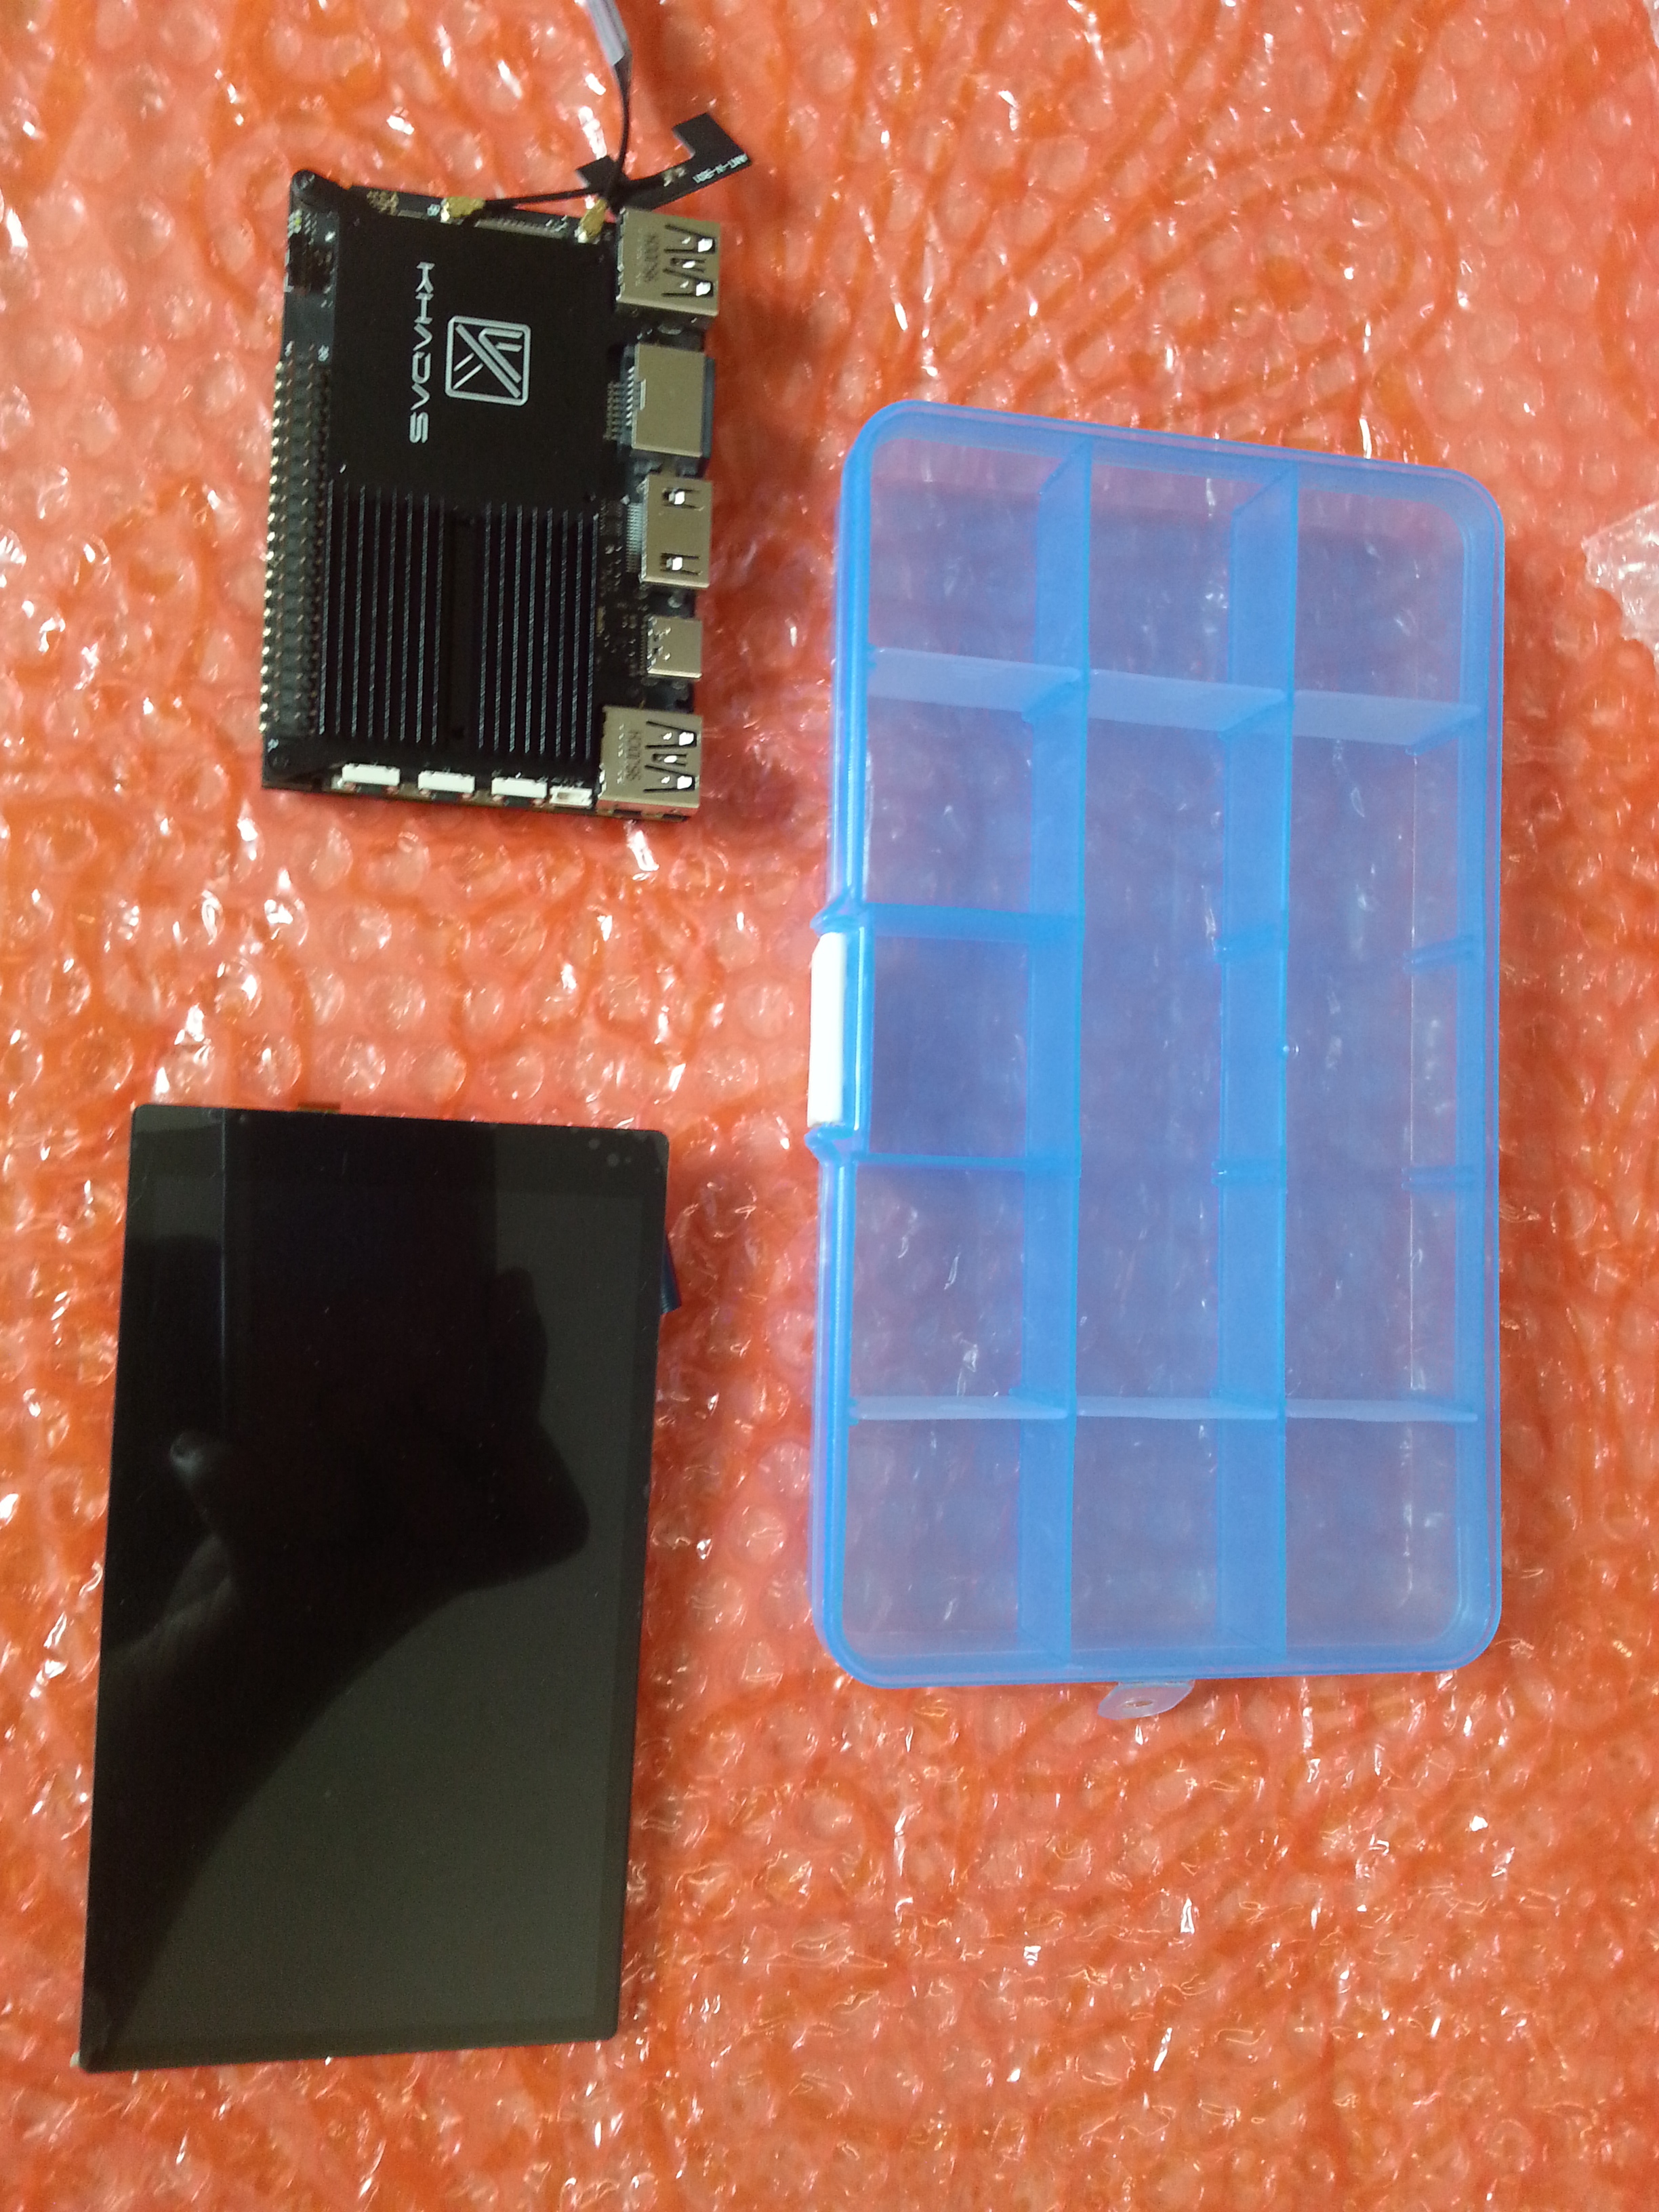

It is the enclosure for the setup…
1 Like
ha-ha-ha, i was joking ,buddy
I realized it right away


1 Like
thakns for everythin. Please upload to skp(sketchup) file me. Bad english sorry
Check the link there, the corrected file should have the word “with SD card” in it…
This is the link to the fixed body model…
I downloaded these files before. I opened it with autodesk 365 and couldn’t convert it to skp file from there. Because this feature is paid.
My goal is to make minor changes in the design. I will place the battery on the lower side of. i know only sketchup
Which file format do you require ? I work mostly with *.stl files which is most commonly used for 3D printing procedure…
I want the “.skp sketchup” file format as the project file in the program you designed.
I will not get direct pressure. I will make changes in the project and design.
Tank you
I’m sorry, but my CAD tool does not include such a file format…
Perhaps I can provide you with *.stp *.step file ?
Or give me mockup of the Design you plan, and I can make modifications to it accordingly, and provide you with the final product… 
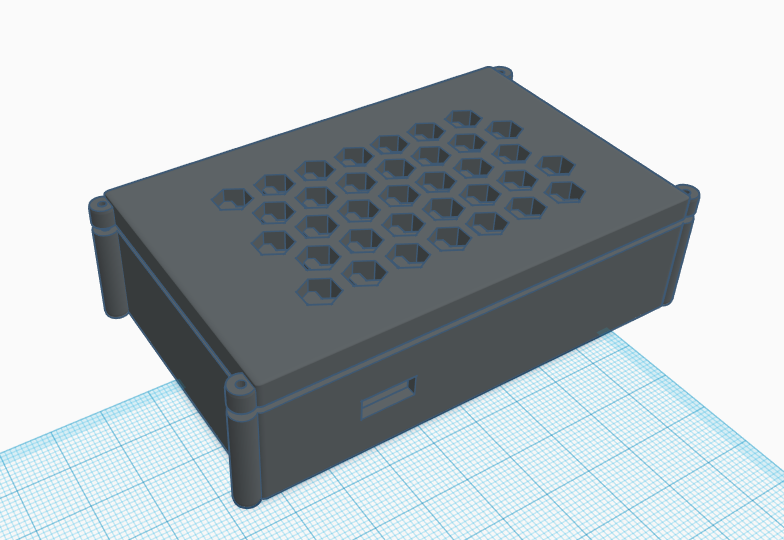
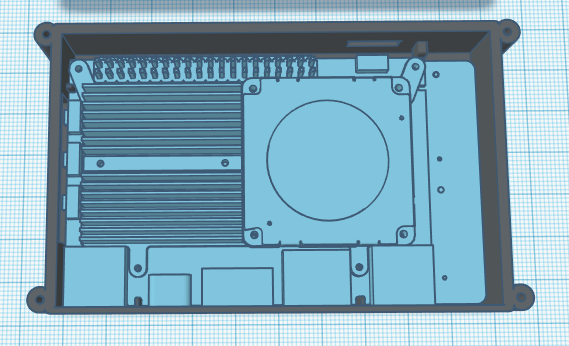
VIMs and M2X case v2
So I have done some major overhaul of the case design, with some Improved features, here’s a list of some of the things that have been updated…
-
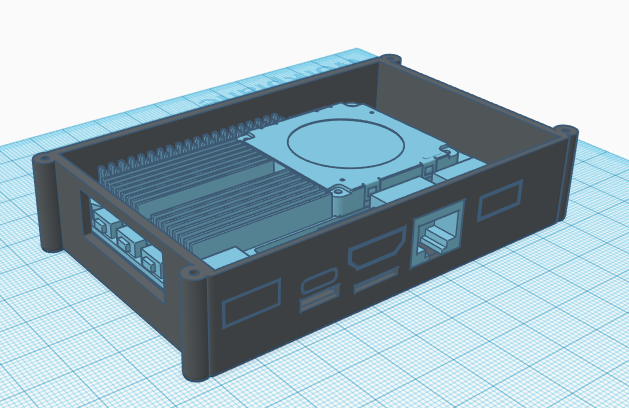
A Thinner I/O plate (1mm thickness), allowing for smaller connectors to still be able to have a good connection with the port
-
New fixed mounting point, so that the Board is fixed in all corners and is not “jiggling” when the case is “jiggled”
-
Redesigned Buttons opening…
-
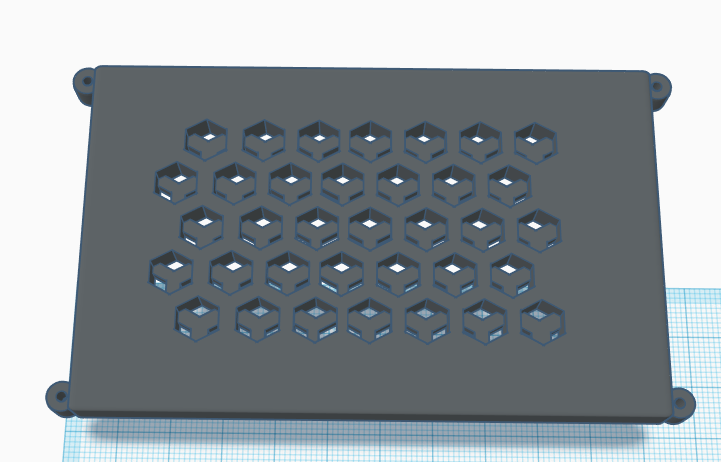
New top cover, implementing my Graphene Hyperweave design
-
Re-positioned Screw mounting points…
Sidenotes for 3D printing:
- Print with the lowest nozzle size you have (0.4mm atmost)
- Print with a heated bed, especially with the Lid portion
- Print with support material, and you can pop the portions covering the USB ports and HDMI later on after it is done printing…
Link to the design for download available here: M2X v2 Hyperweave case
Cheers
5 Likes
I’m still waiting for you to be able to touch this case yourself with your modifications? Or it turns out somehow strange, you develop this DIY yourself, but you still don’t have it.

1 Like