VIM3 Crypto Currency Miner Build

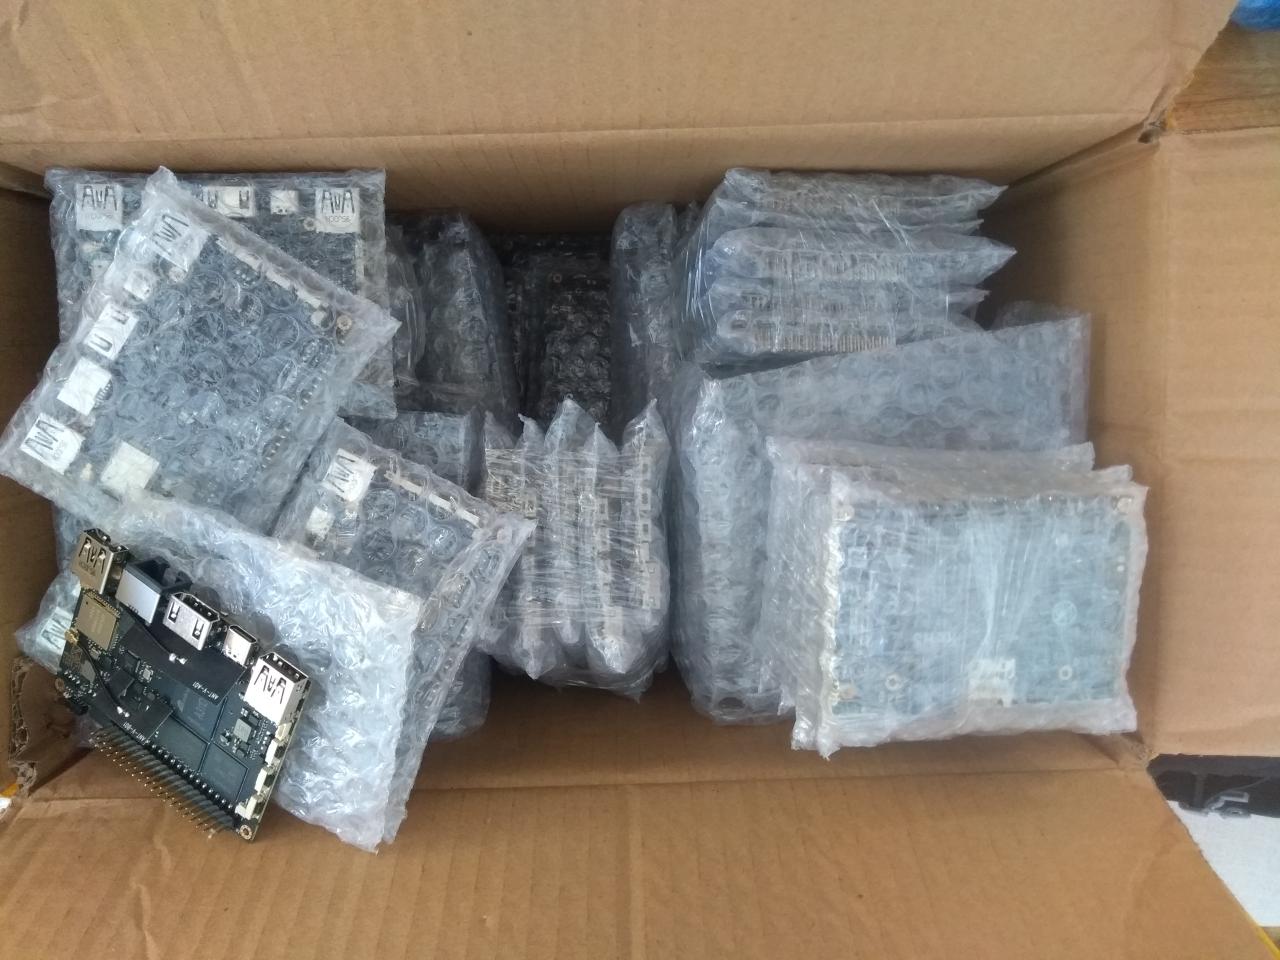
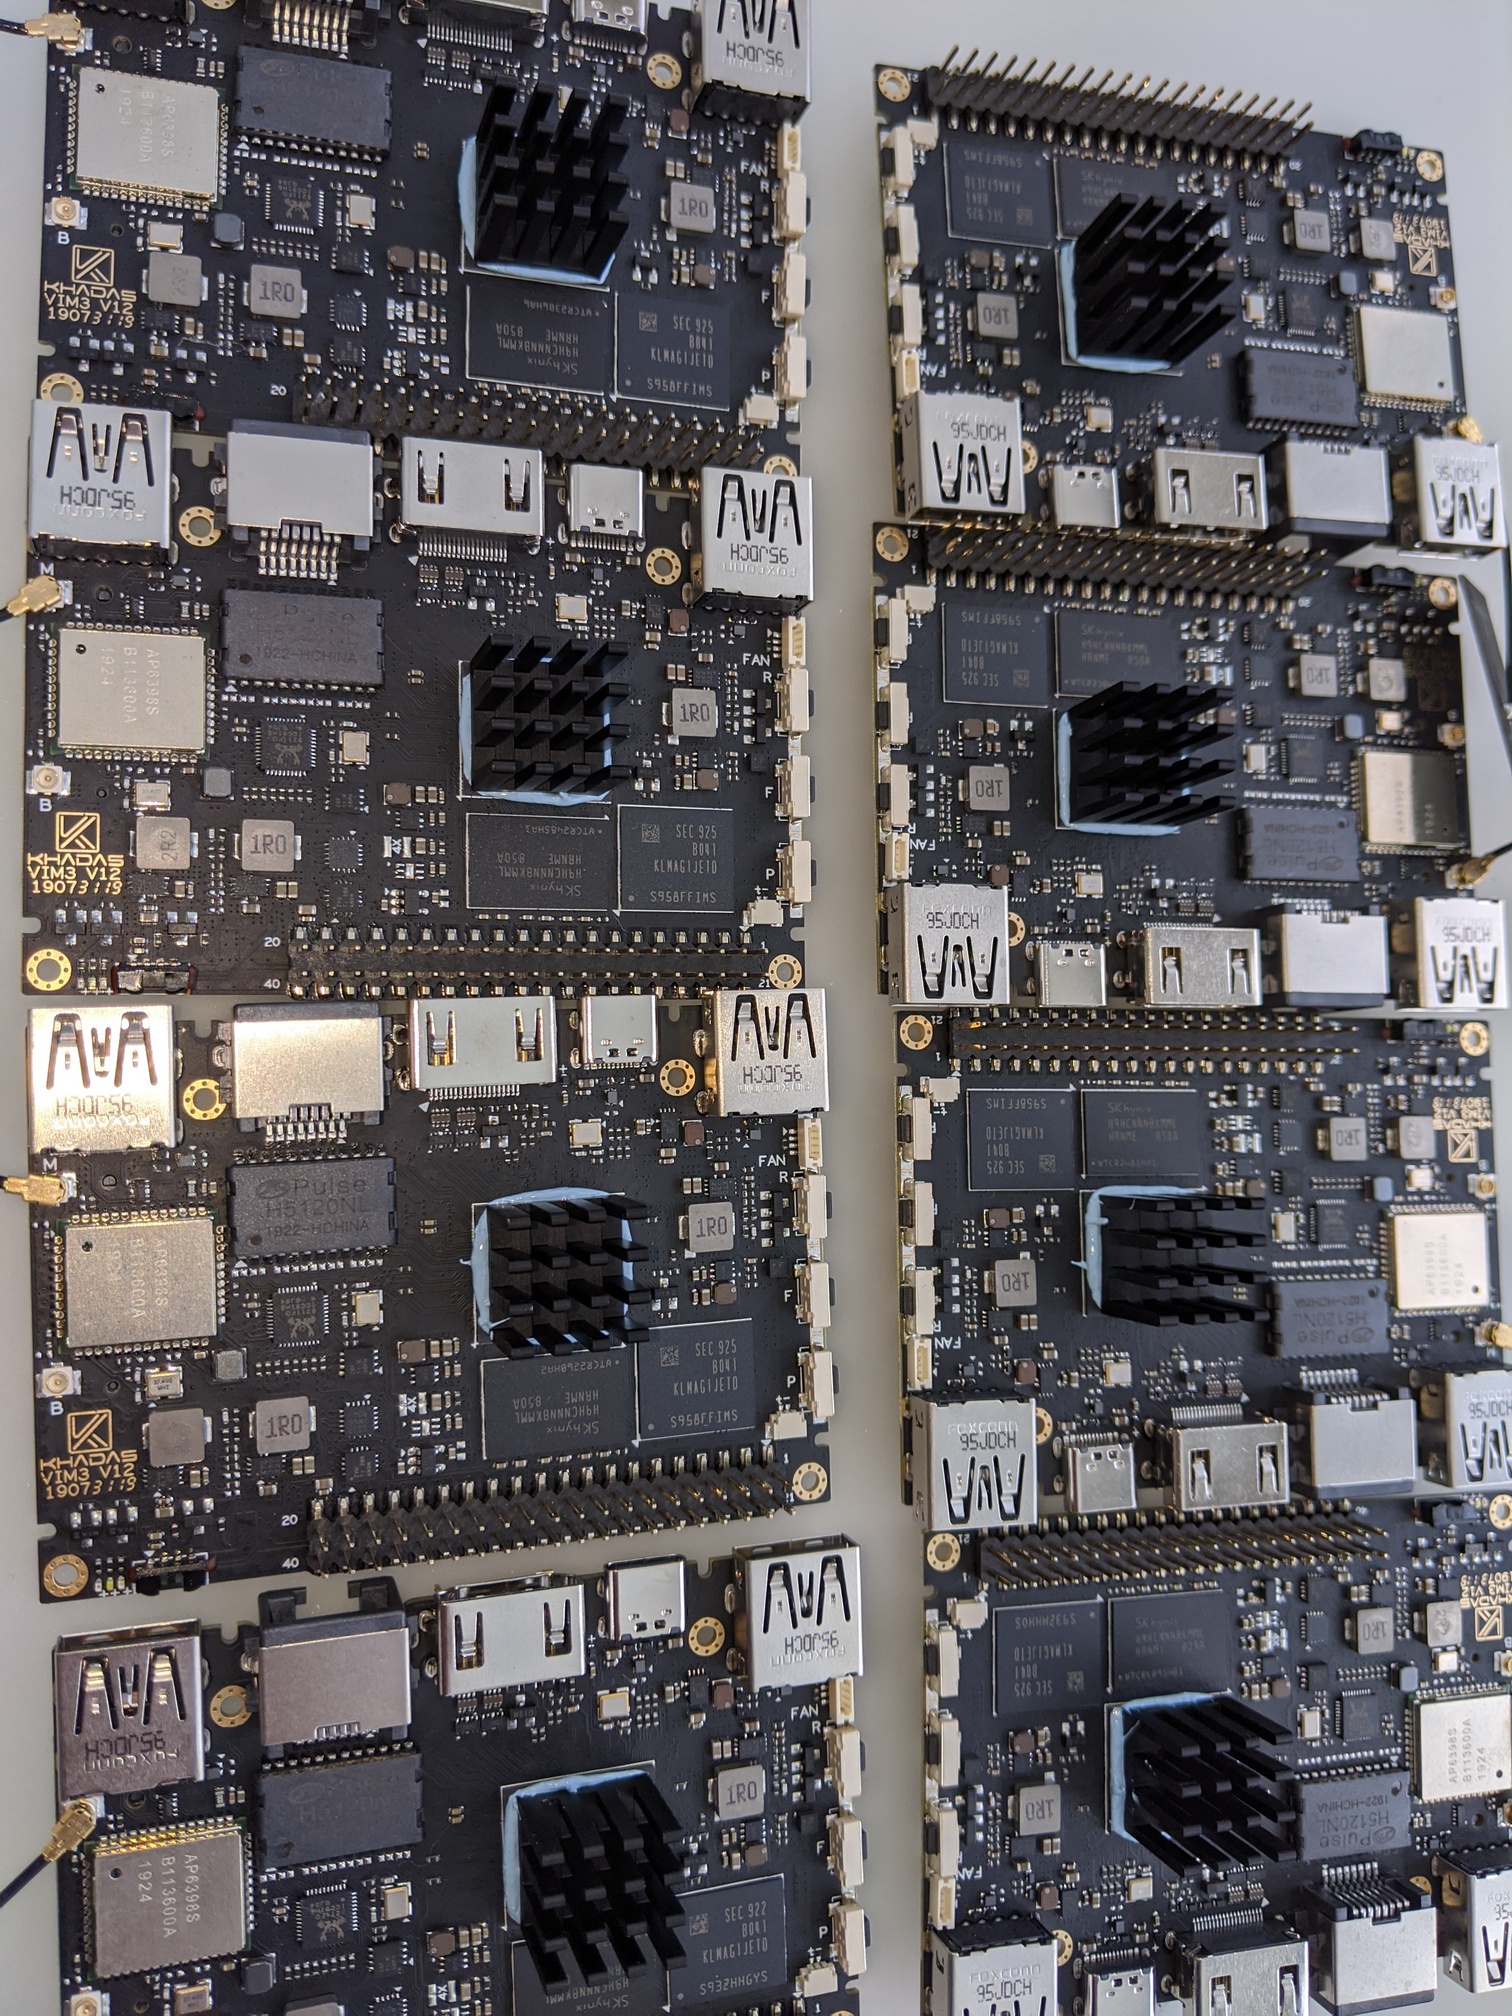
So the wait is over and I’m really excited to have my VIM3 boards here! (thanks to @willow for sorting everything out - great service from Khadas as always!) I will be making these ones into a scalable CPU miner. Will post progress here and also planning to open source all the design files for the case, the backplane PCBs and software so anyone else can build as well. Probably not going to be a fast build as have too much other stuff on at the moment!

Part 1: Unboxing!

10 Likes

Your VIM3 unboxing looks a little different than mine did.:laughing:
Look forward to seeing your project progress.

4 Likes

Miners I’d like you to test xmrig v3.0 or up, sgminer-arm for GPU mining on OpenCL, don’t know of another that fork on arm devices. violetminer for chukwa fork of Trtl and Wrkz.

Thanks in advance.
P.S. if you need help with links or compiling just hit me up

Will this be capable of mining Monero? :grin:

Let me have some links and I will have a look - will get a benchmarks post or something to capture the different miners / algos

1 Like

New xmr algo will be randomx and need a board with 3gb on for that - but if you have 3gb ram boards then yes definitely!

1 Like

Random X also work with a slow version of the algo on boards with less than 3GB.

Xmrig v3.1

Violetminer

Sgminer-arm


Note: This will only work if OpenCL works on the board, check with clinfo first if gives 0 platforms don’t bother testing.

Strange, so it won’t work with 4GB of RAM? :smile:

Ninjarig
Chukwa 1636 H/s
chukwa/Wrkz 3500 H/s

Even though the libmali.so is installed, we seem to be missing support for OpenCL, and Vulkan

1 Like

After starting a new job and having zero time to work on this Ive finally got around to getting this moving - have got the design finished. Have also just bought myself a reflow oven to make the pcbs up as couldnt get the boards made up at a decent price. Be interesting to see if i can make them up properly :slight_smile:

the black rectangles at the bottom are USB connectors that the VIM3 boards will get power and network over USB from

4 Likes

All these bits have now been turned into physical items so today is building day!

First up though need to add all the nice features like a working safety earth and proper temperature sensing to my new reflow oven!

5 Likes

Looking forward to it! :smile:

It is really cold now, I’m thinking of heating and mining at the same time too.

2 Likes

Your temp tests have said 26 degrees plus ambient - we call that a hot summer here lol!

Mining defo helps warm the house though - and you can take your heating bills and add them to your ROI calculations :slight_smile:

Found the first bit I forgot to order - crimps for my earth stud! To the shop!

2 Likes

Decided to get on with the miner build - more fun! Dust filter mounted

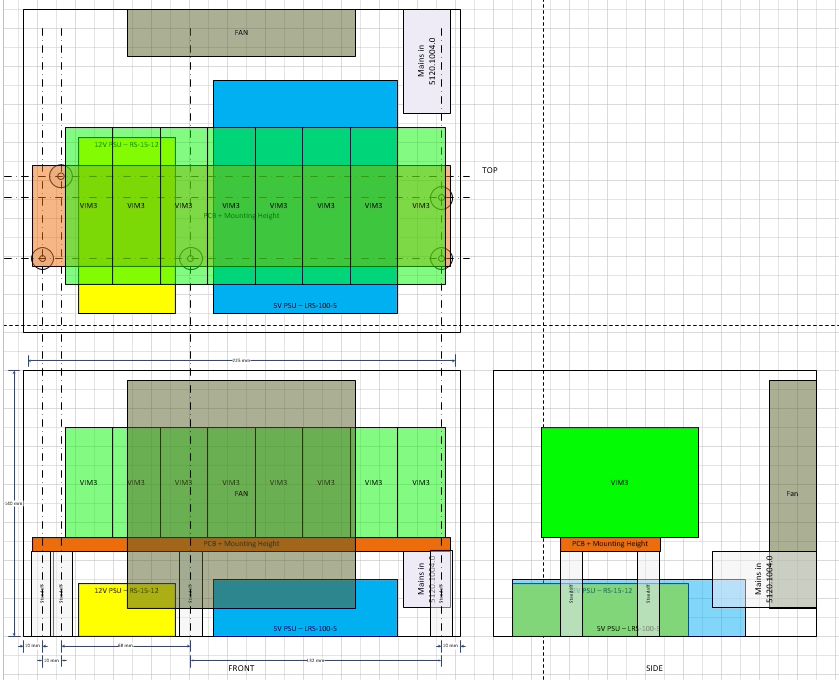
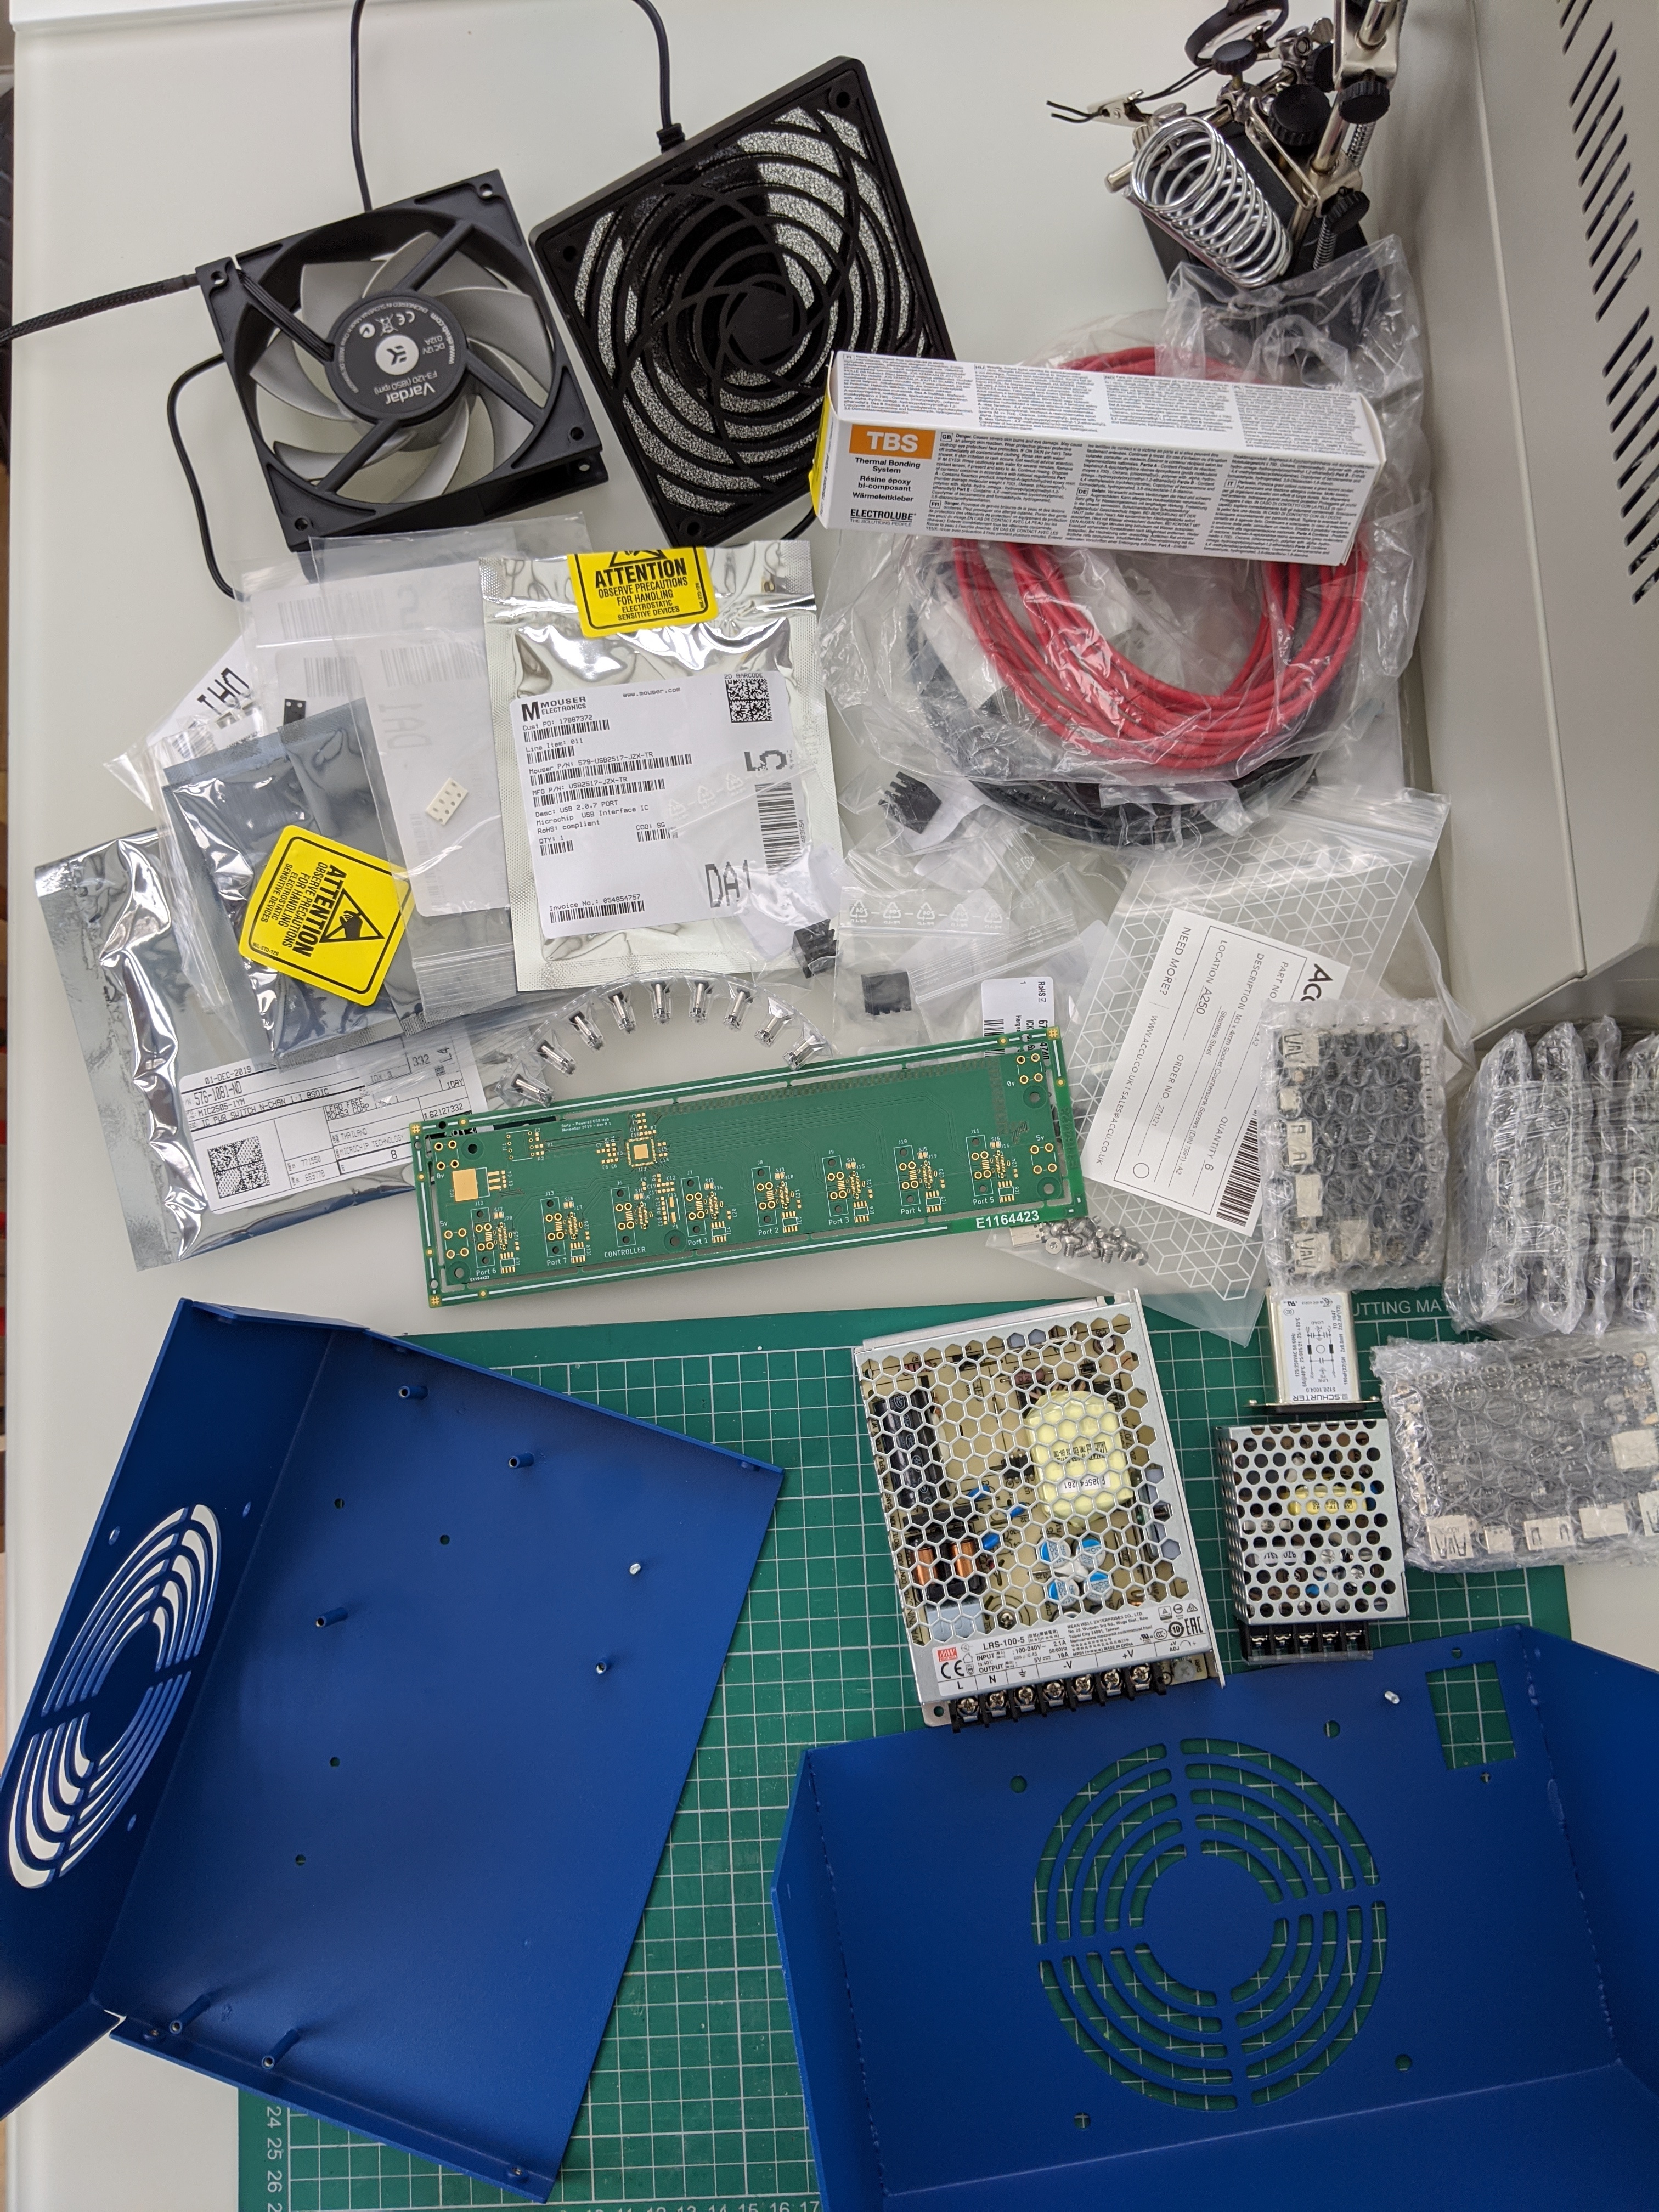
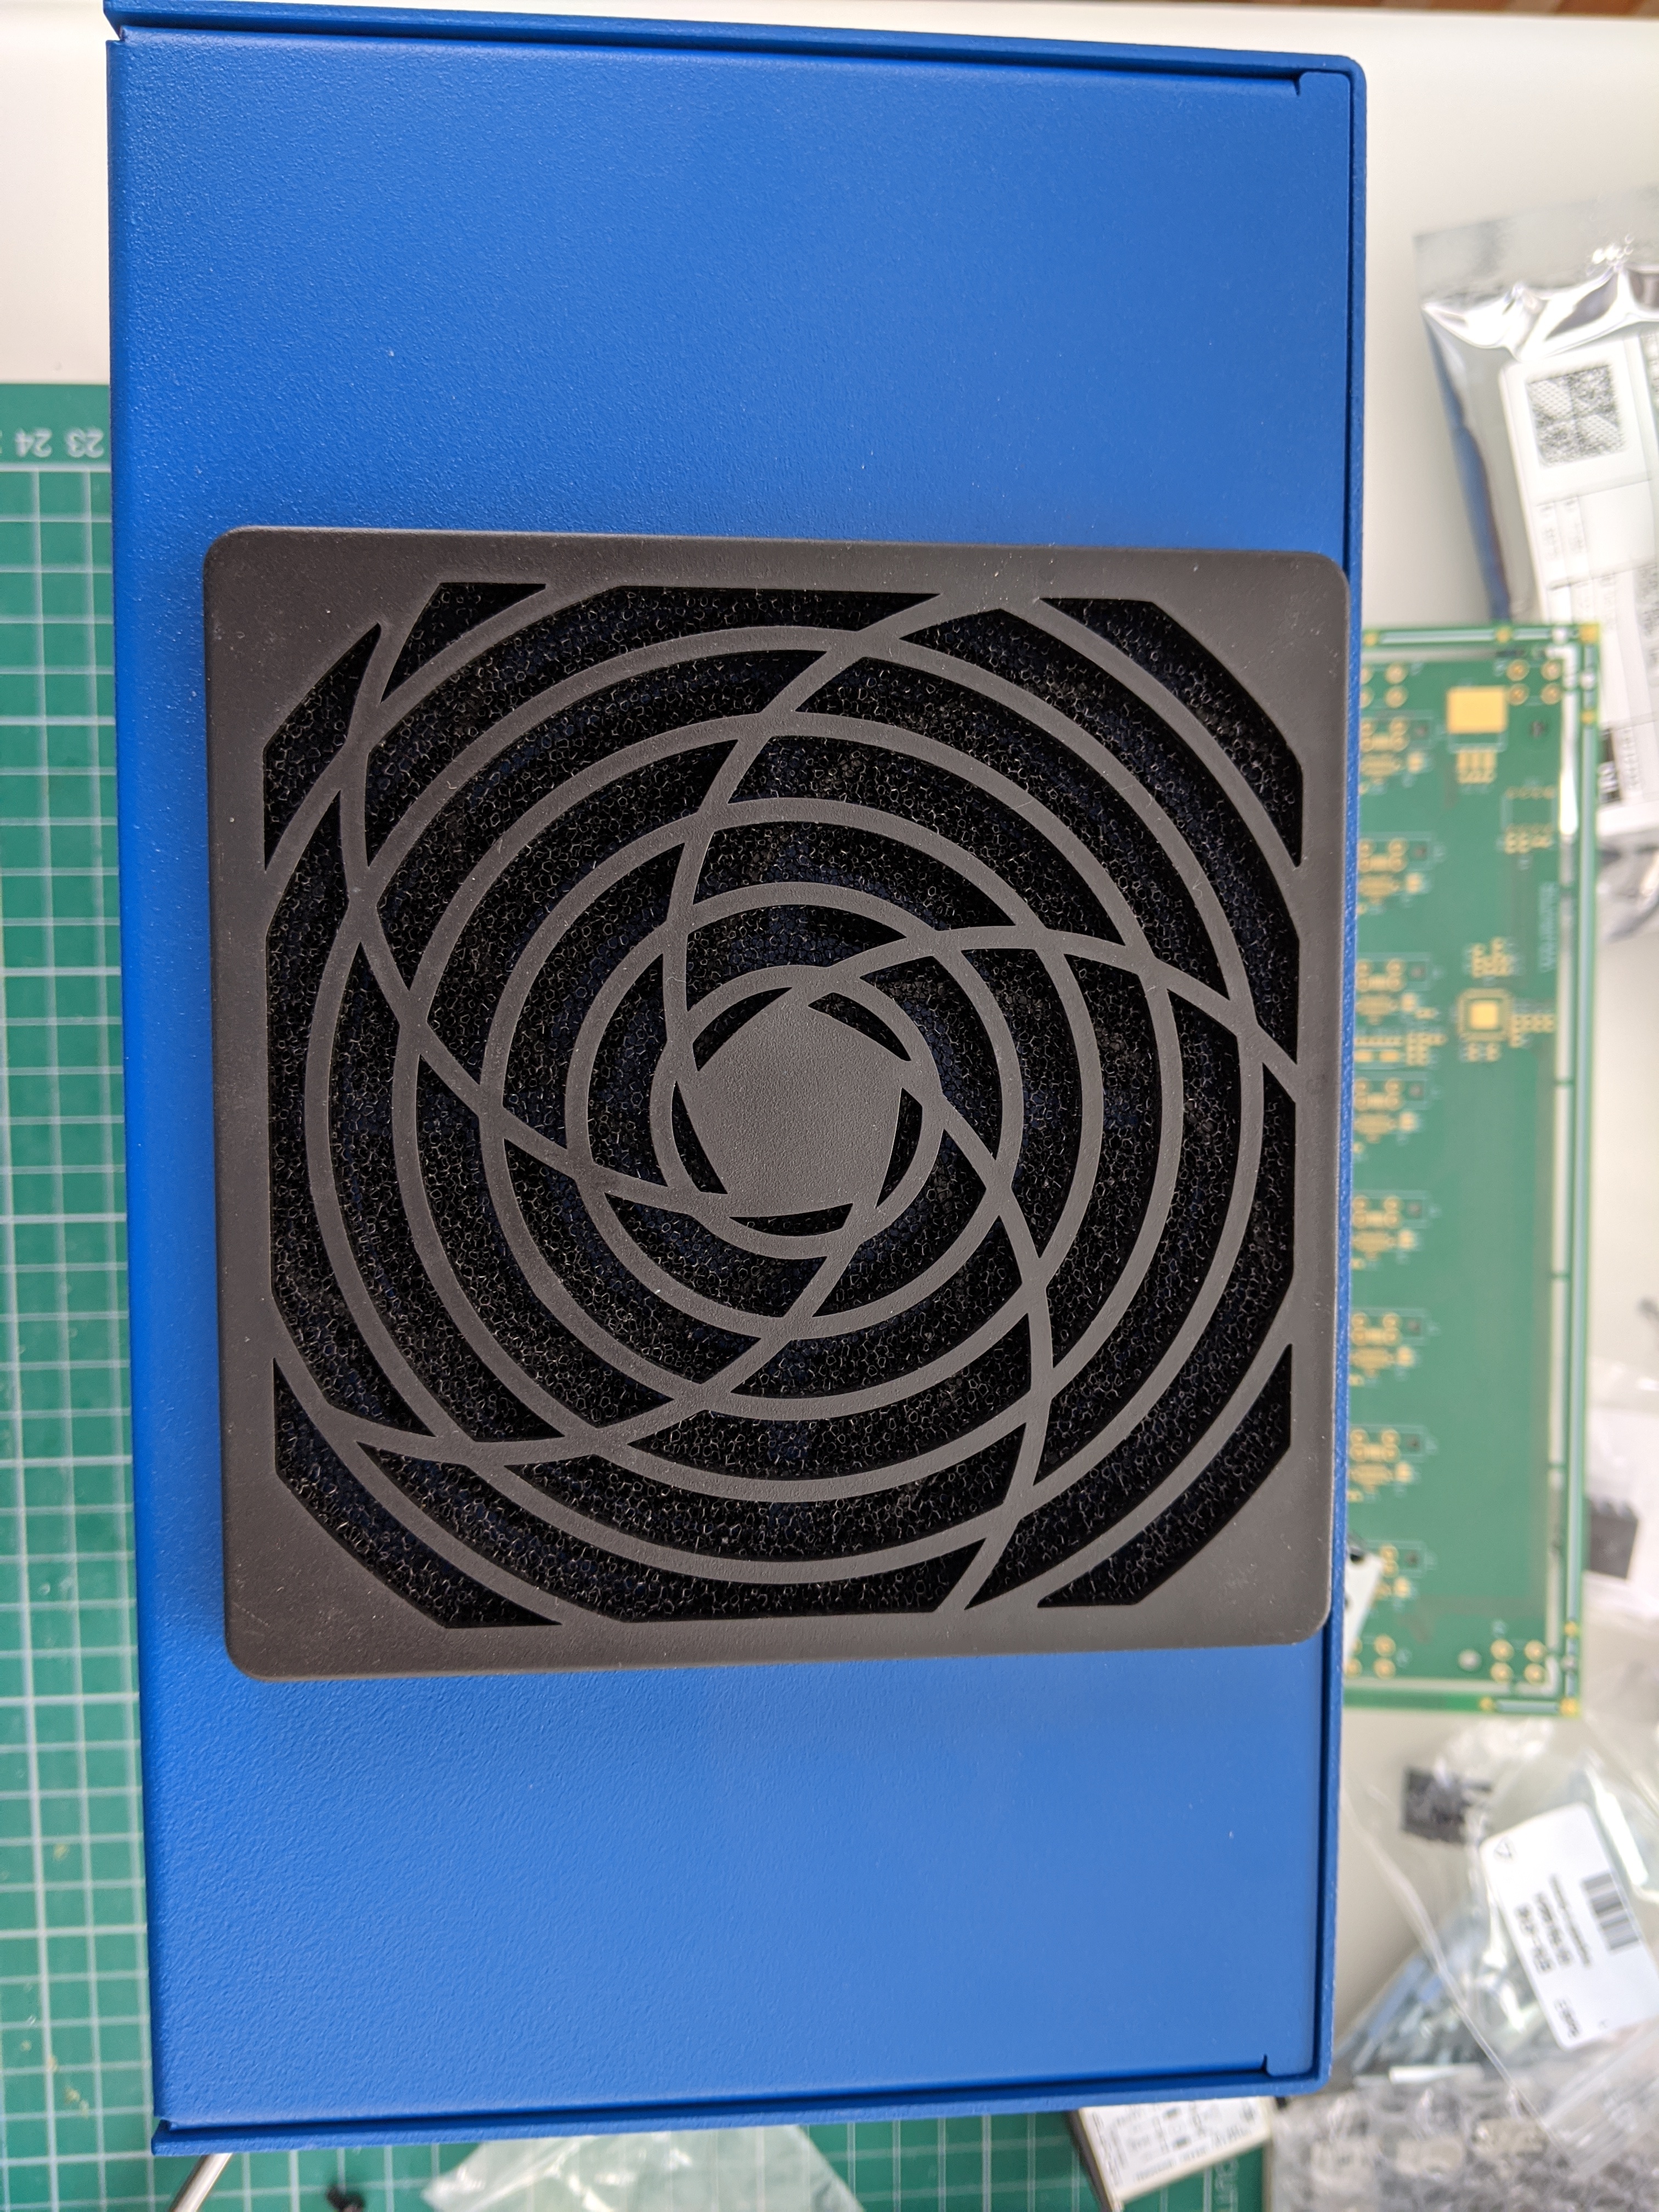
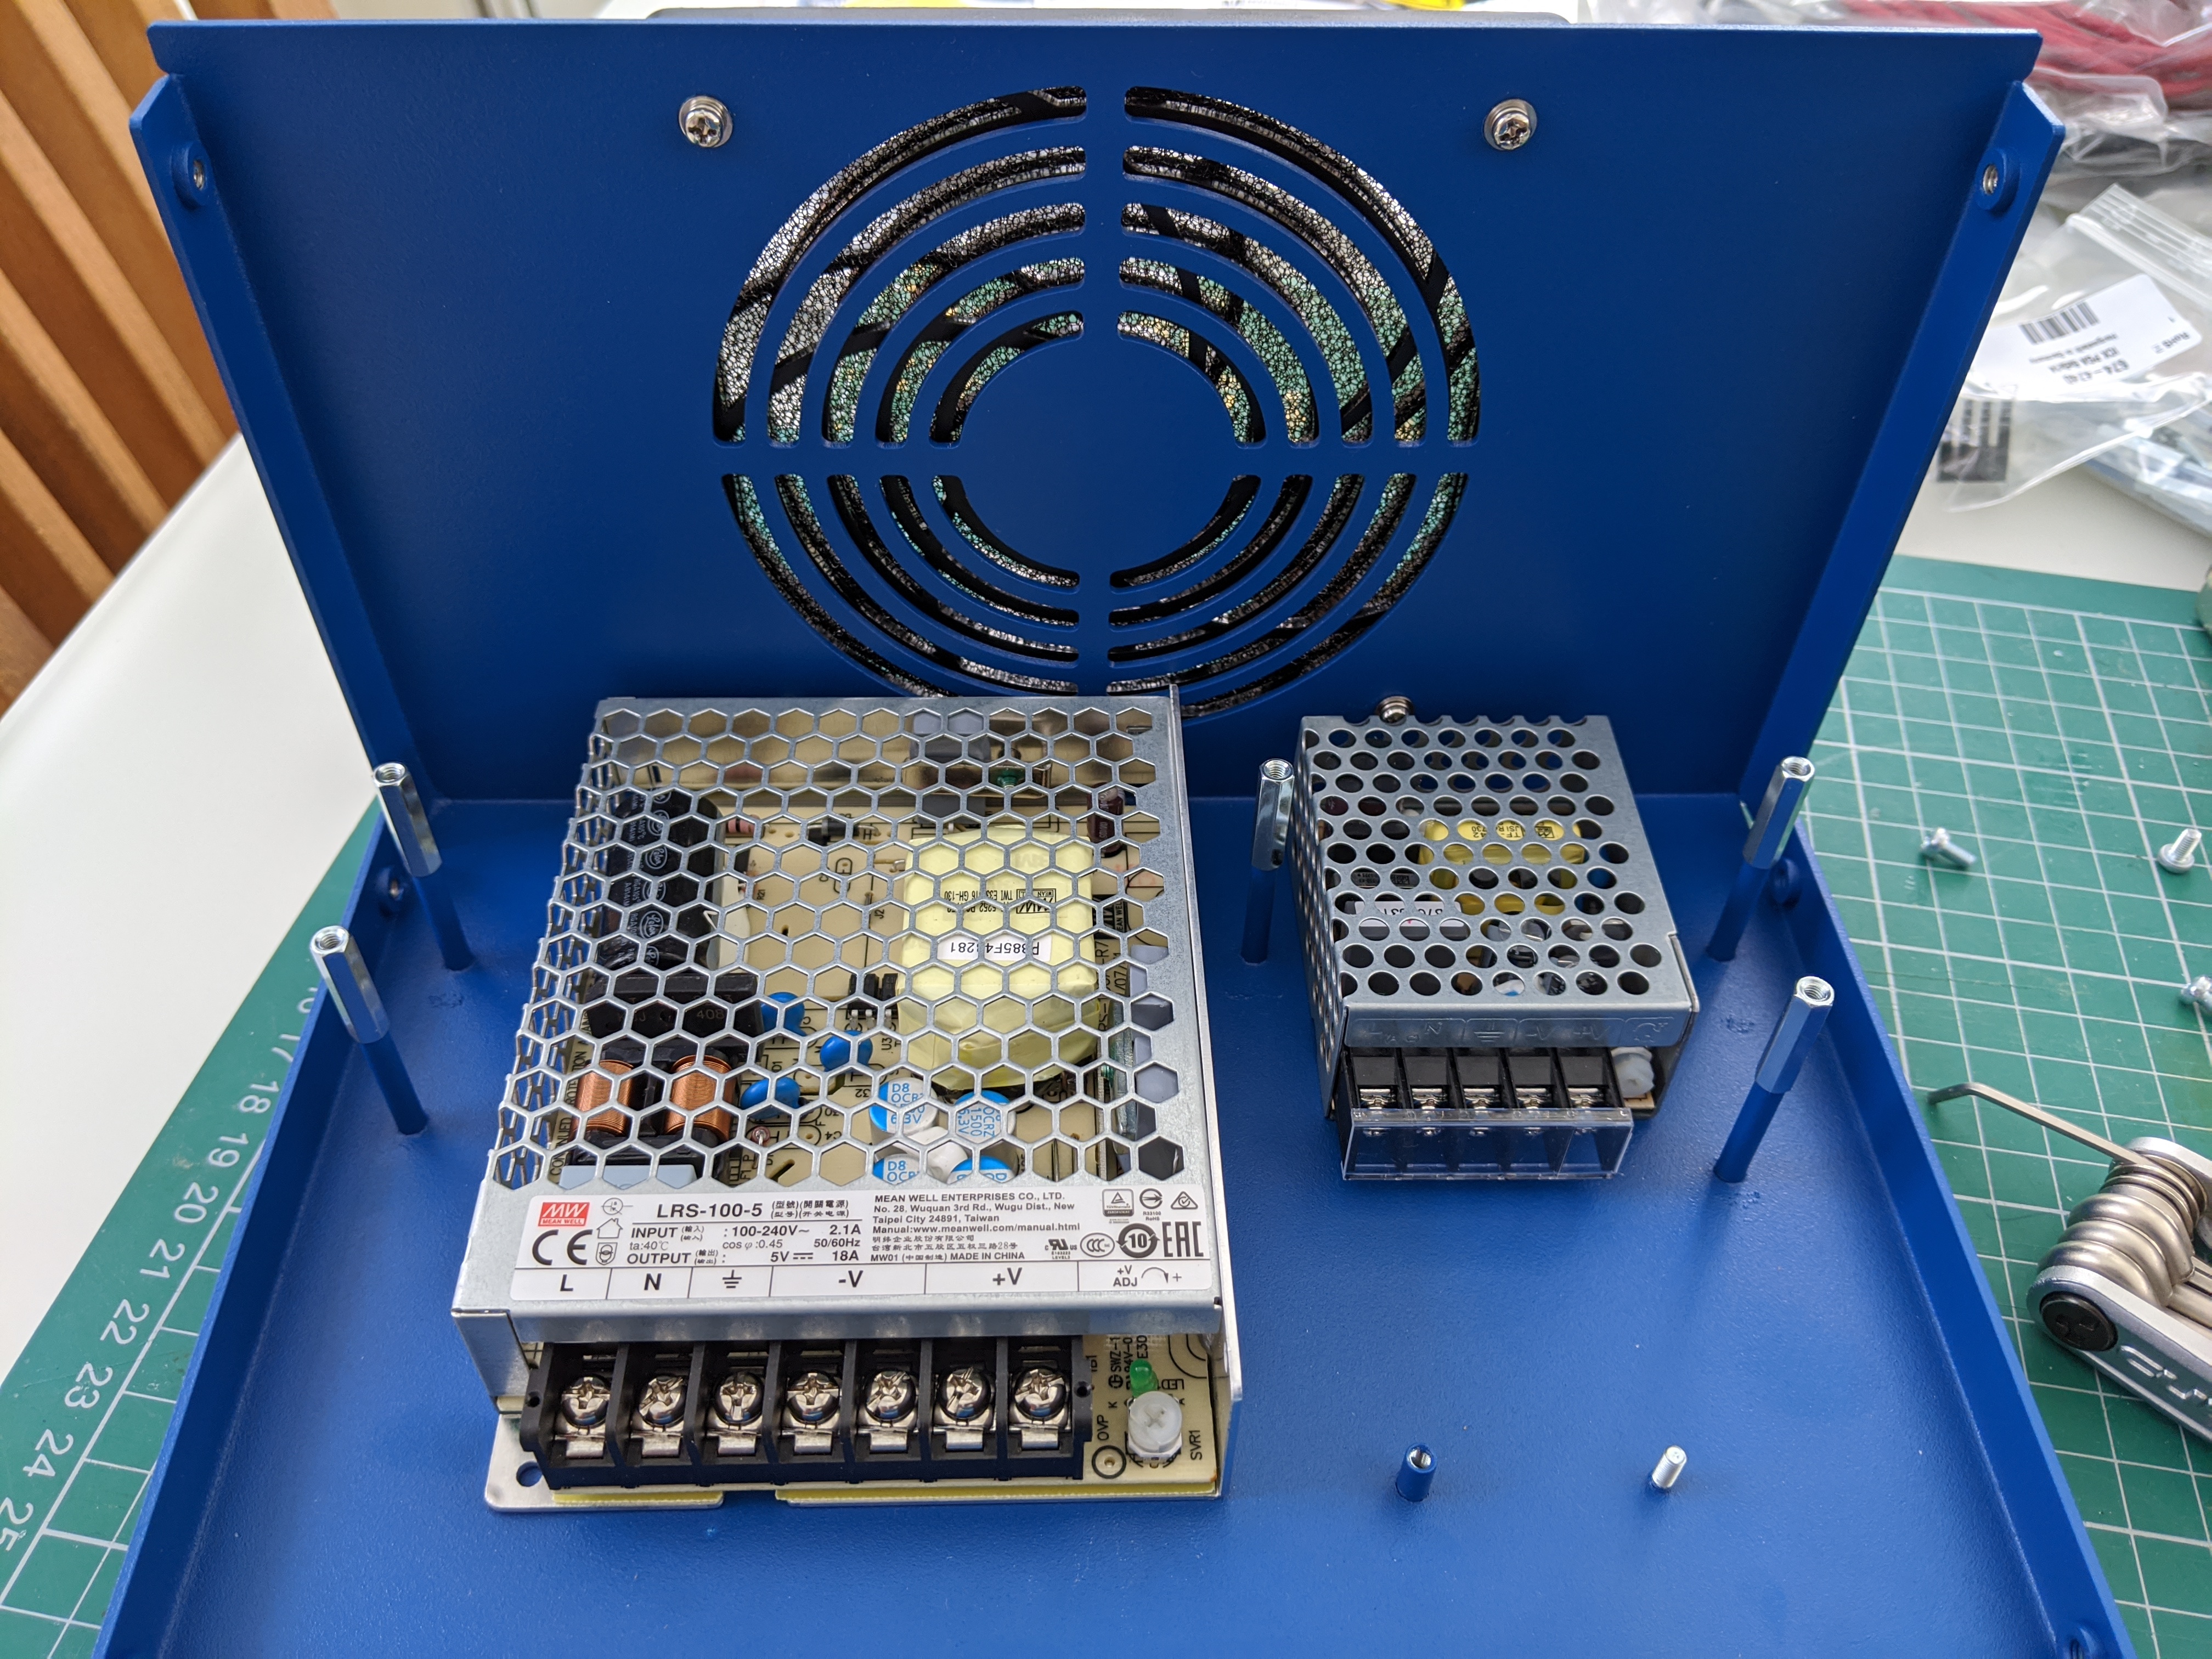
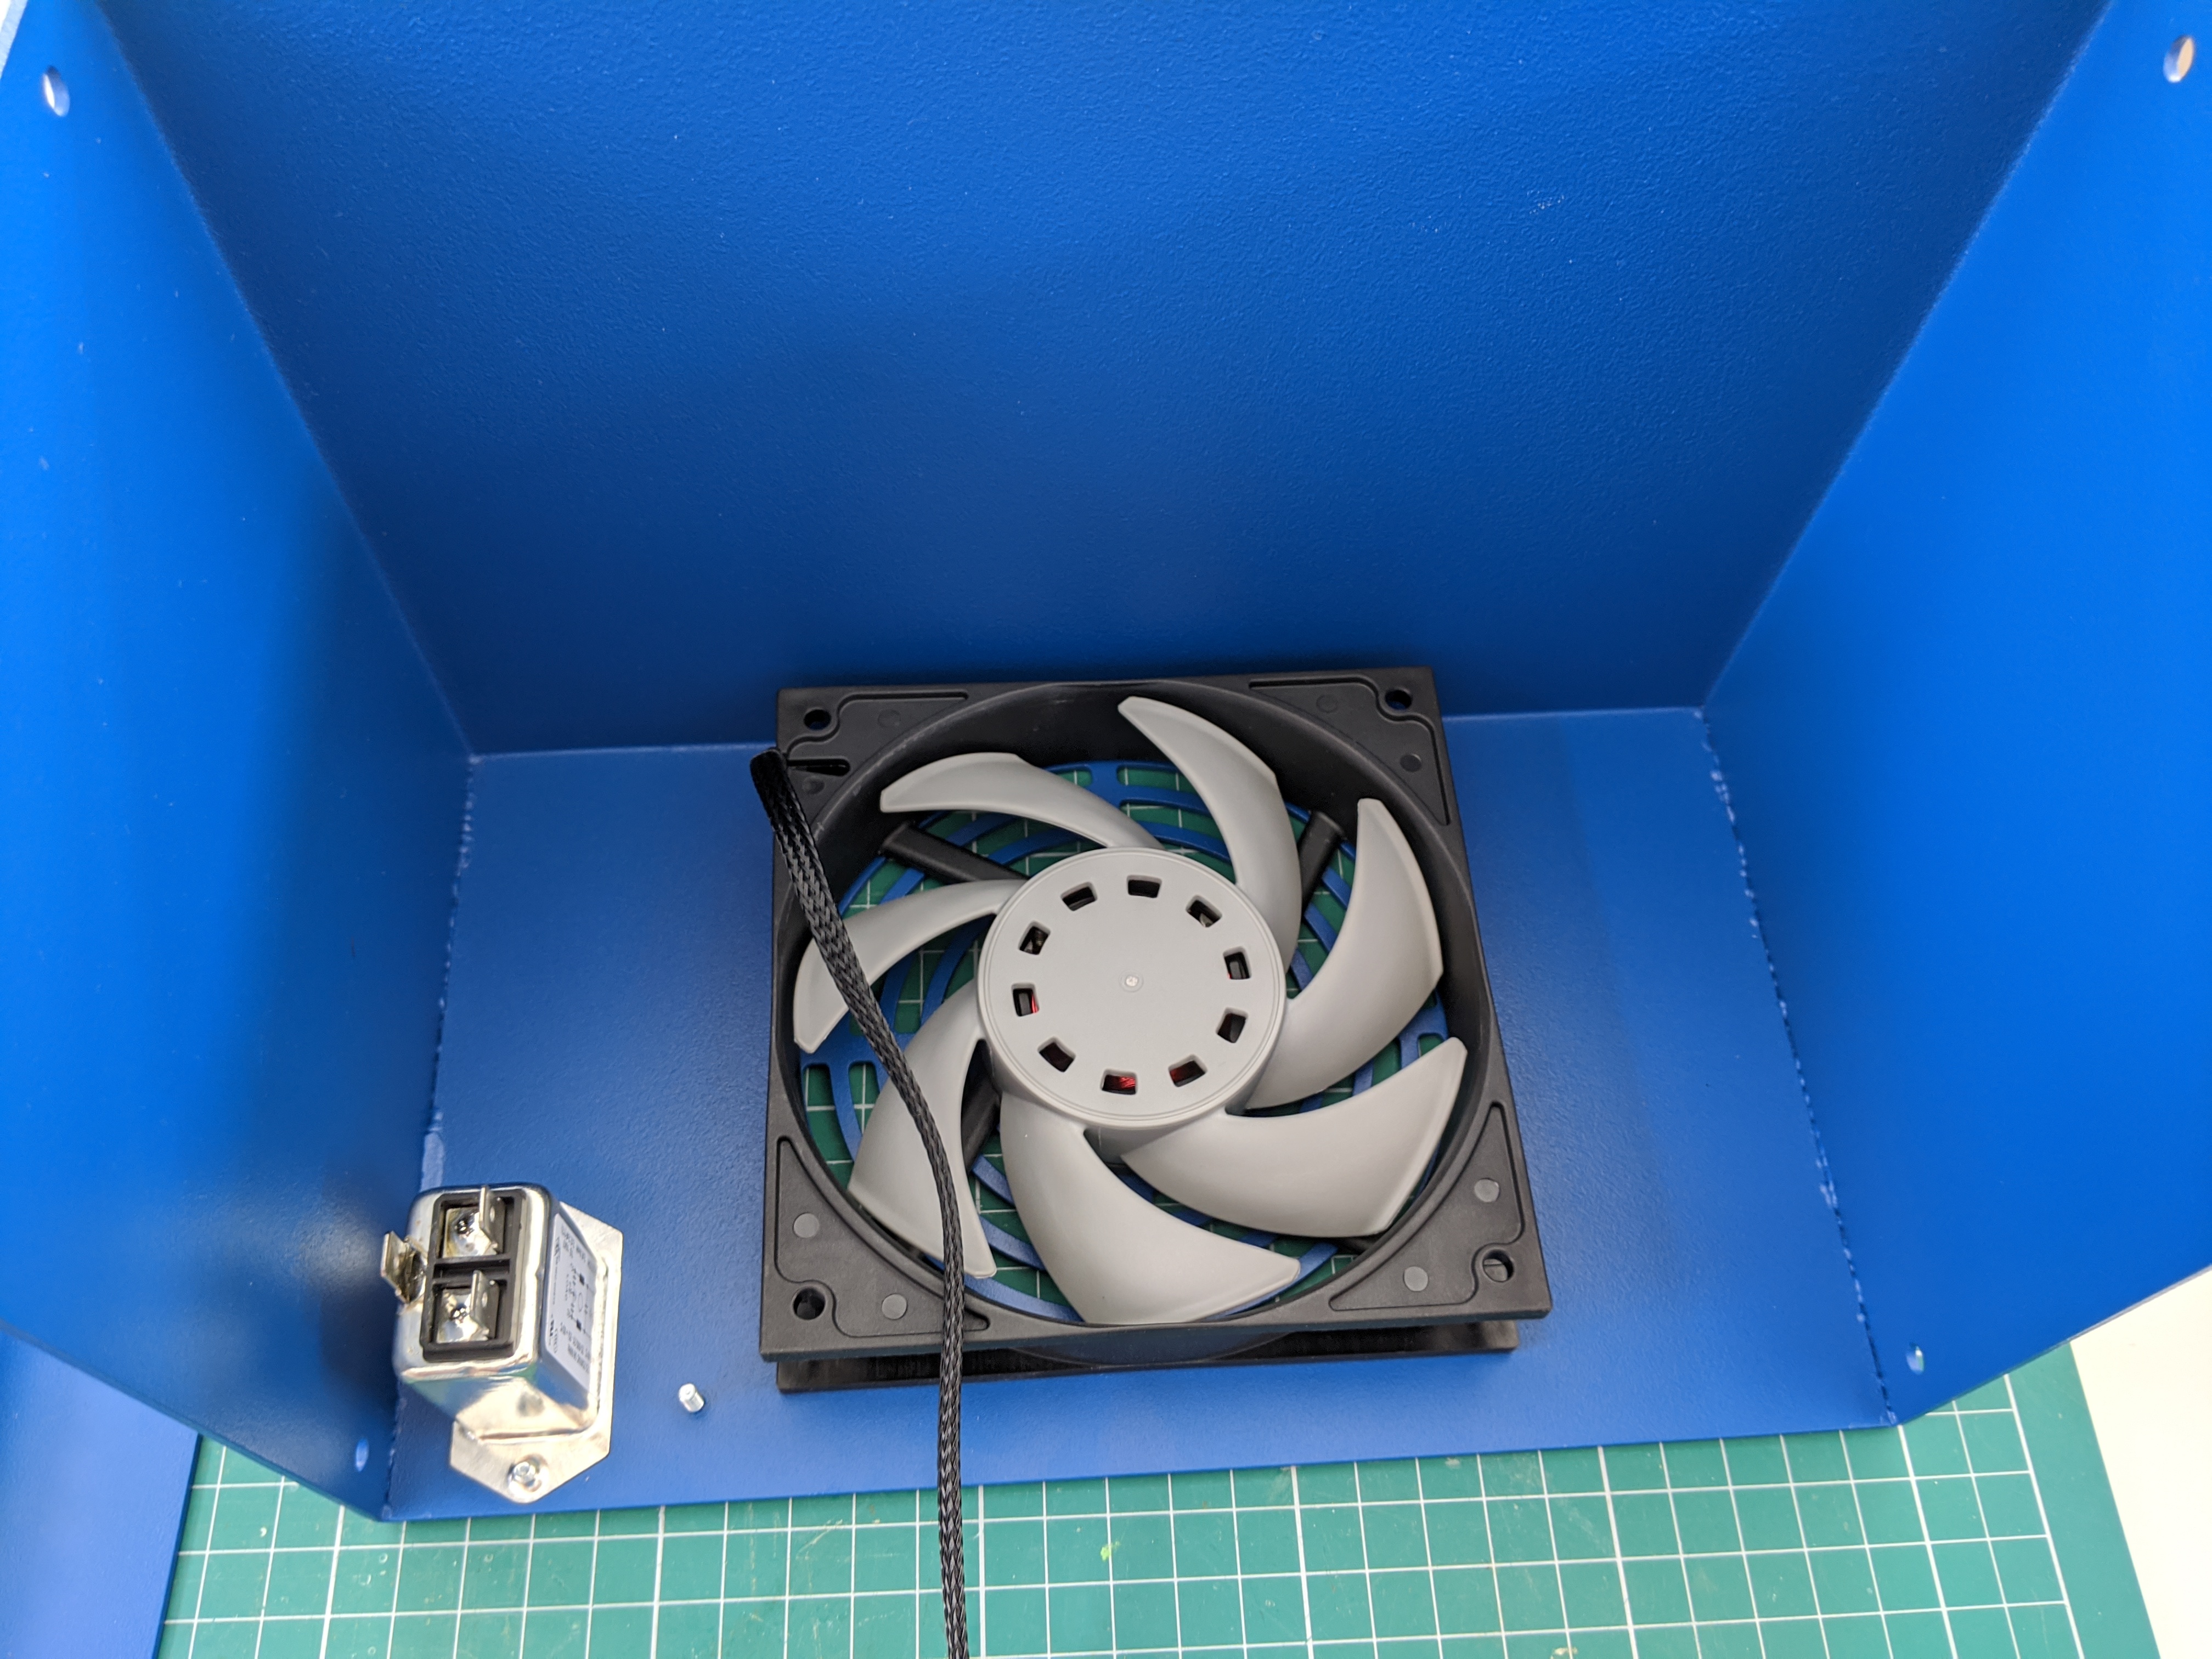
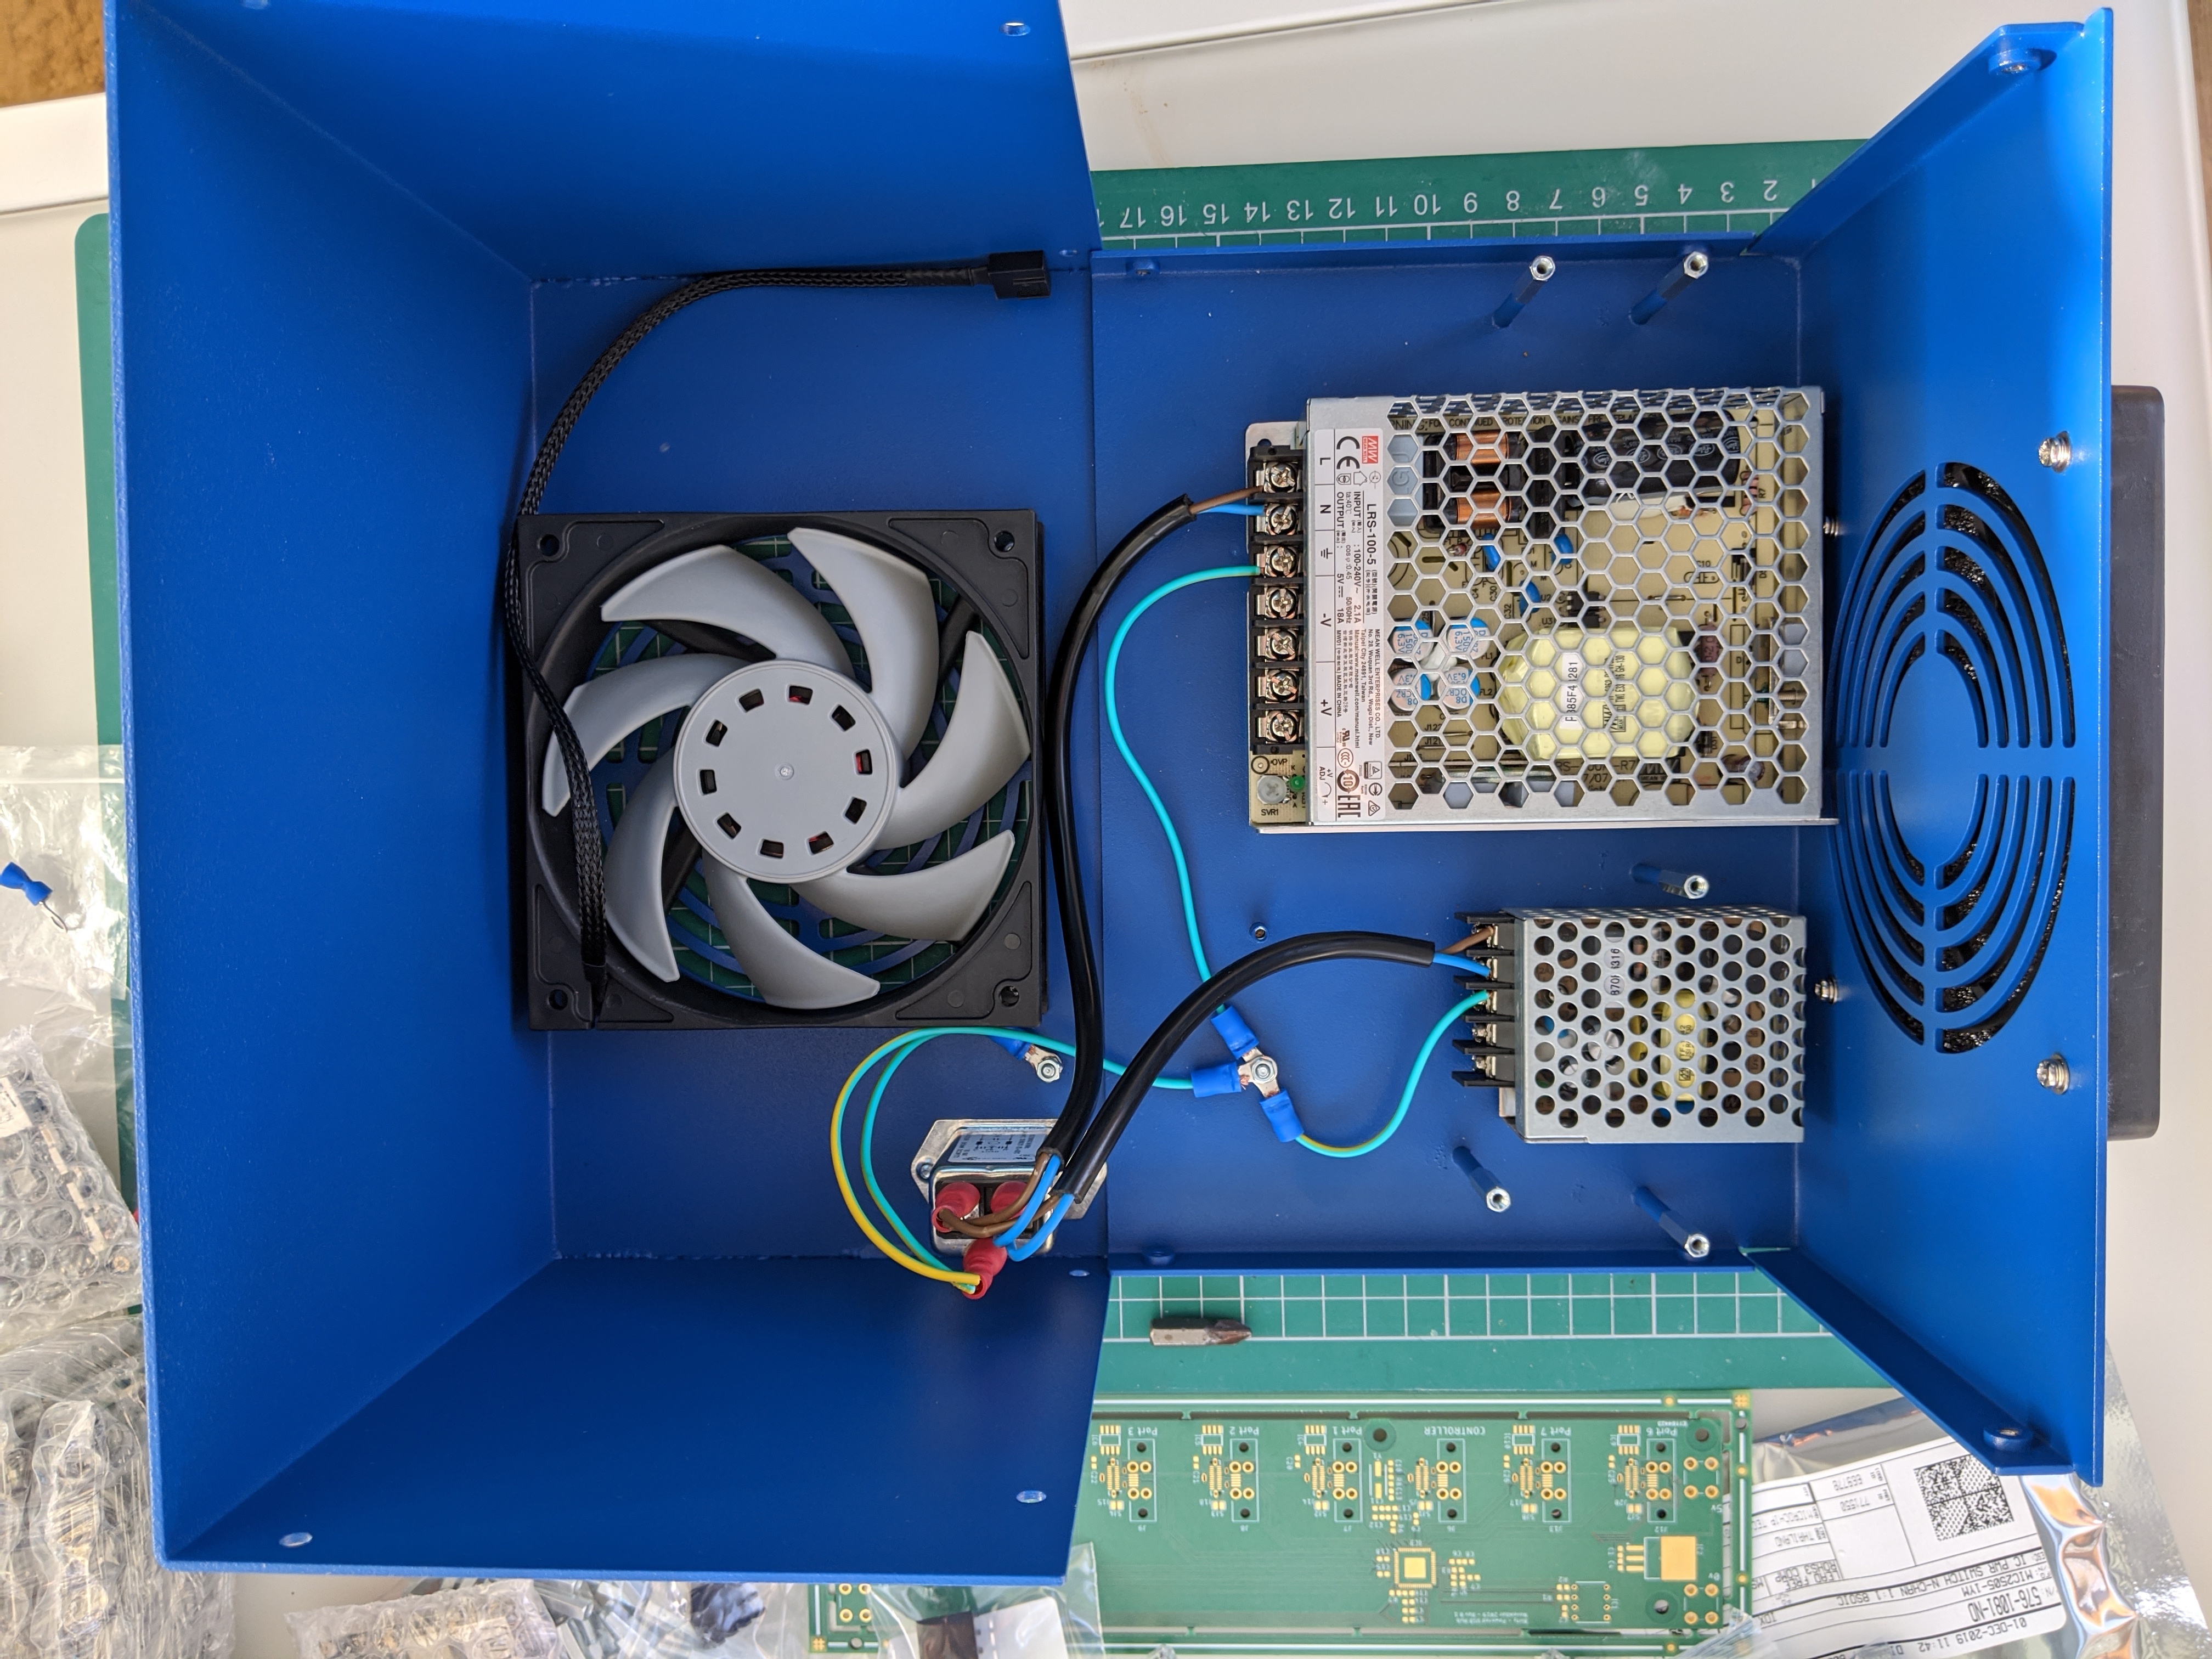
Power supplies (5v@18A for the VIM3’s and 12v for the fan - dual supplies too expensive) and PCB mounts added (place if bought the case from only had 25mm max mounts to add to the case and i needed 45mm so added 20mm hex mount extenders). Also a rear view of the dust filter.

Mains input connector and filter mounted, along with the exhaust fan

Main wiring test fit - all looks good

Now i really do need to get on with the relow oven as i need a populated PCB next!

2 Likes

Inside the reflow oven - the videos i watched online didnt lie - that well known high temperature masking tape - thats coming off!!

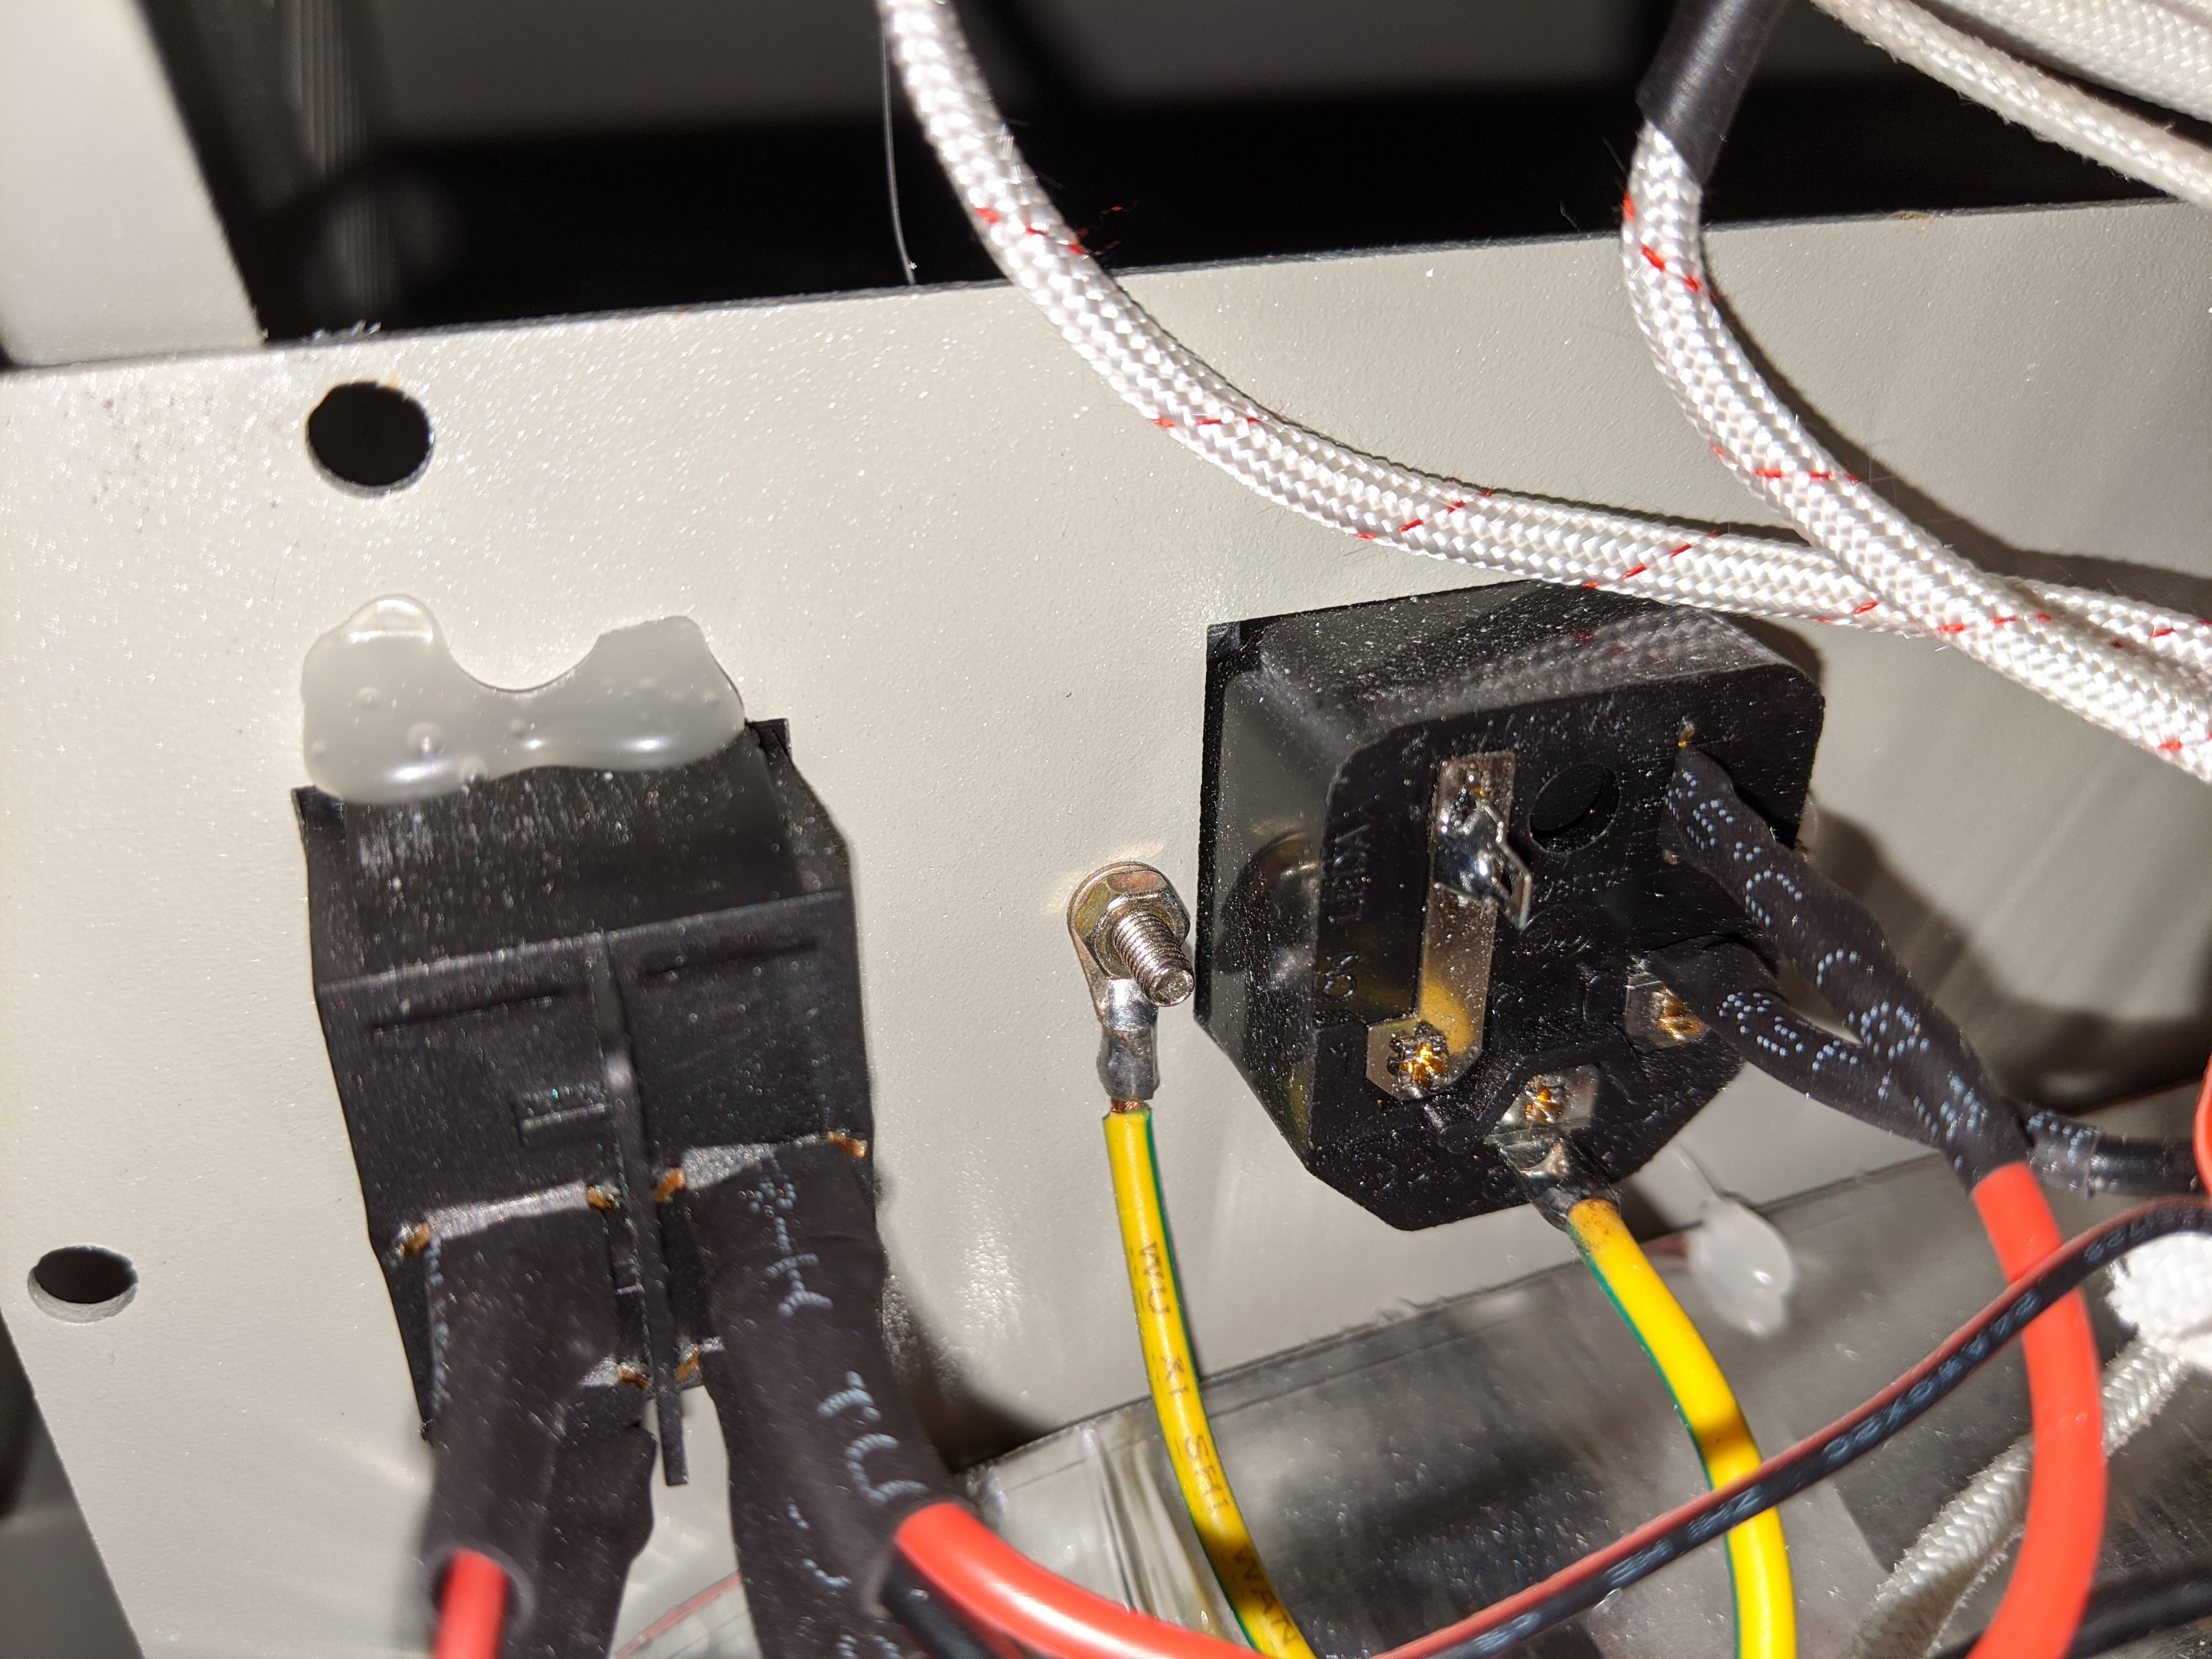
And the earth “connected” to the case via a painted surface (was covered with hot glue though so that makes it much better :grin:) - thats getting fixed as well, plus check all the other panels to make sure they have a decent earth. Death by reflow oven doesnt sound much fun!

Glad khadas build quality is soooooo much better than this!

2 Likes

That blue casing looks rad. :smile:

1 Like

Thanks - I like that colour!

Reflow oven now working - with a nearly correct reflow temperature profile so now to test out my SMD pick and place ability - time to get the magnifying glass out!

1 Like

first up today - get the heatsinks stuck to the boardsas the epoxy takes a while to cure

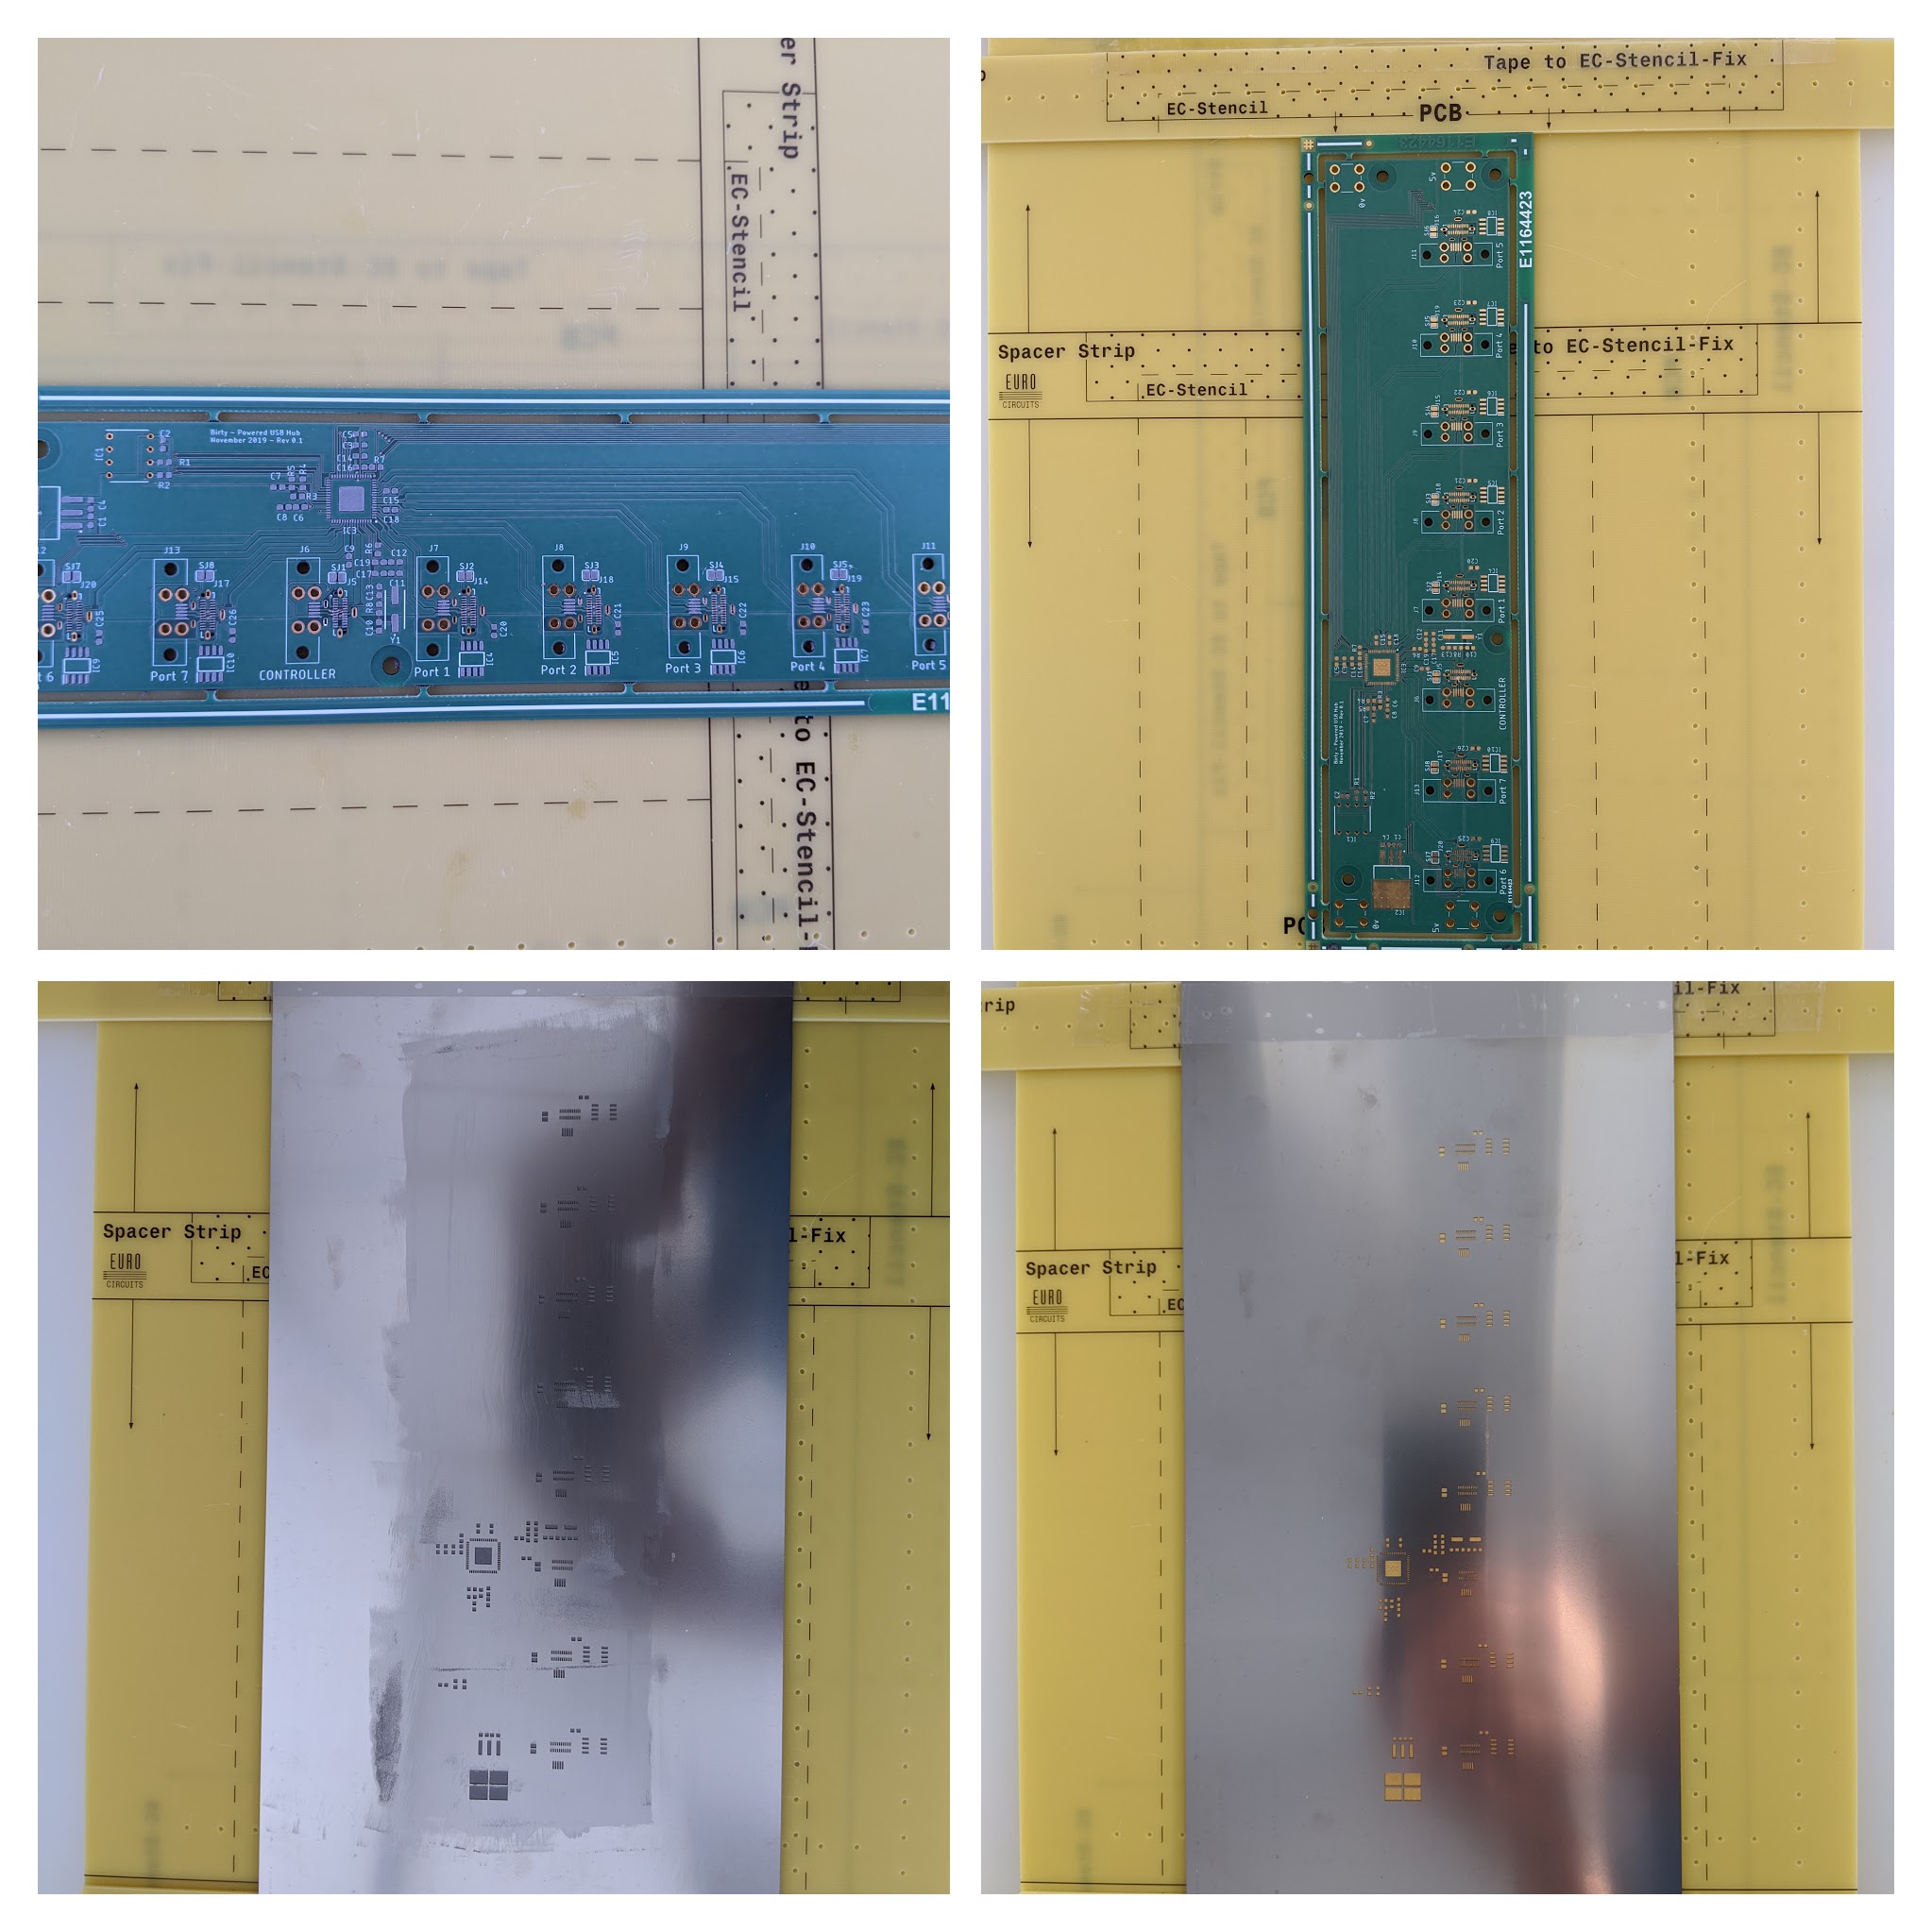
The get the board into the solder paste stencil holder, put the stencil on, apply solder paste and there we have a board with all the solder paste in the right places!

Now place all the components - my eyes are getting too old for this!!!

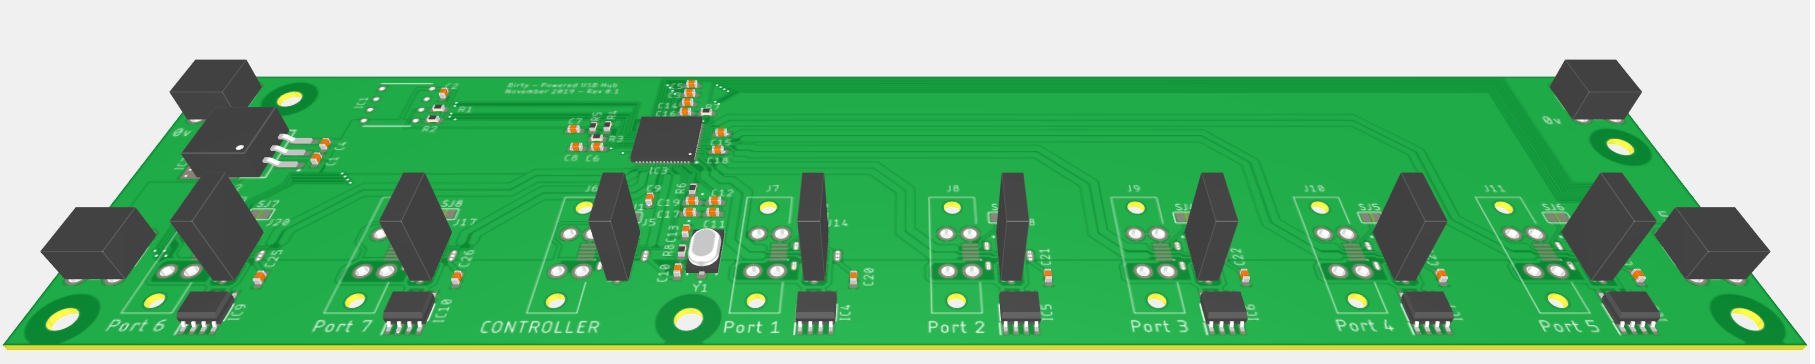
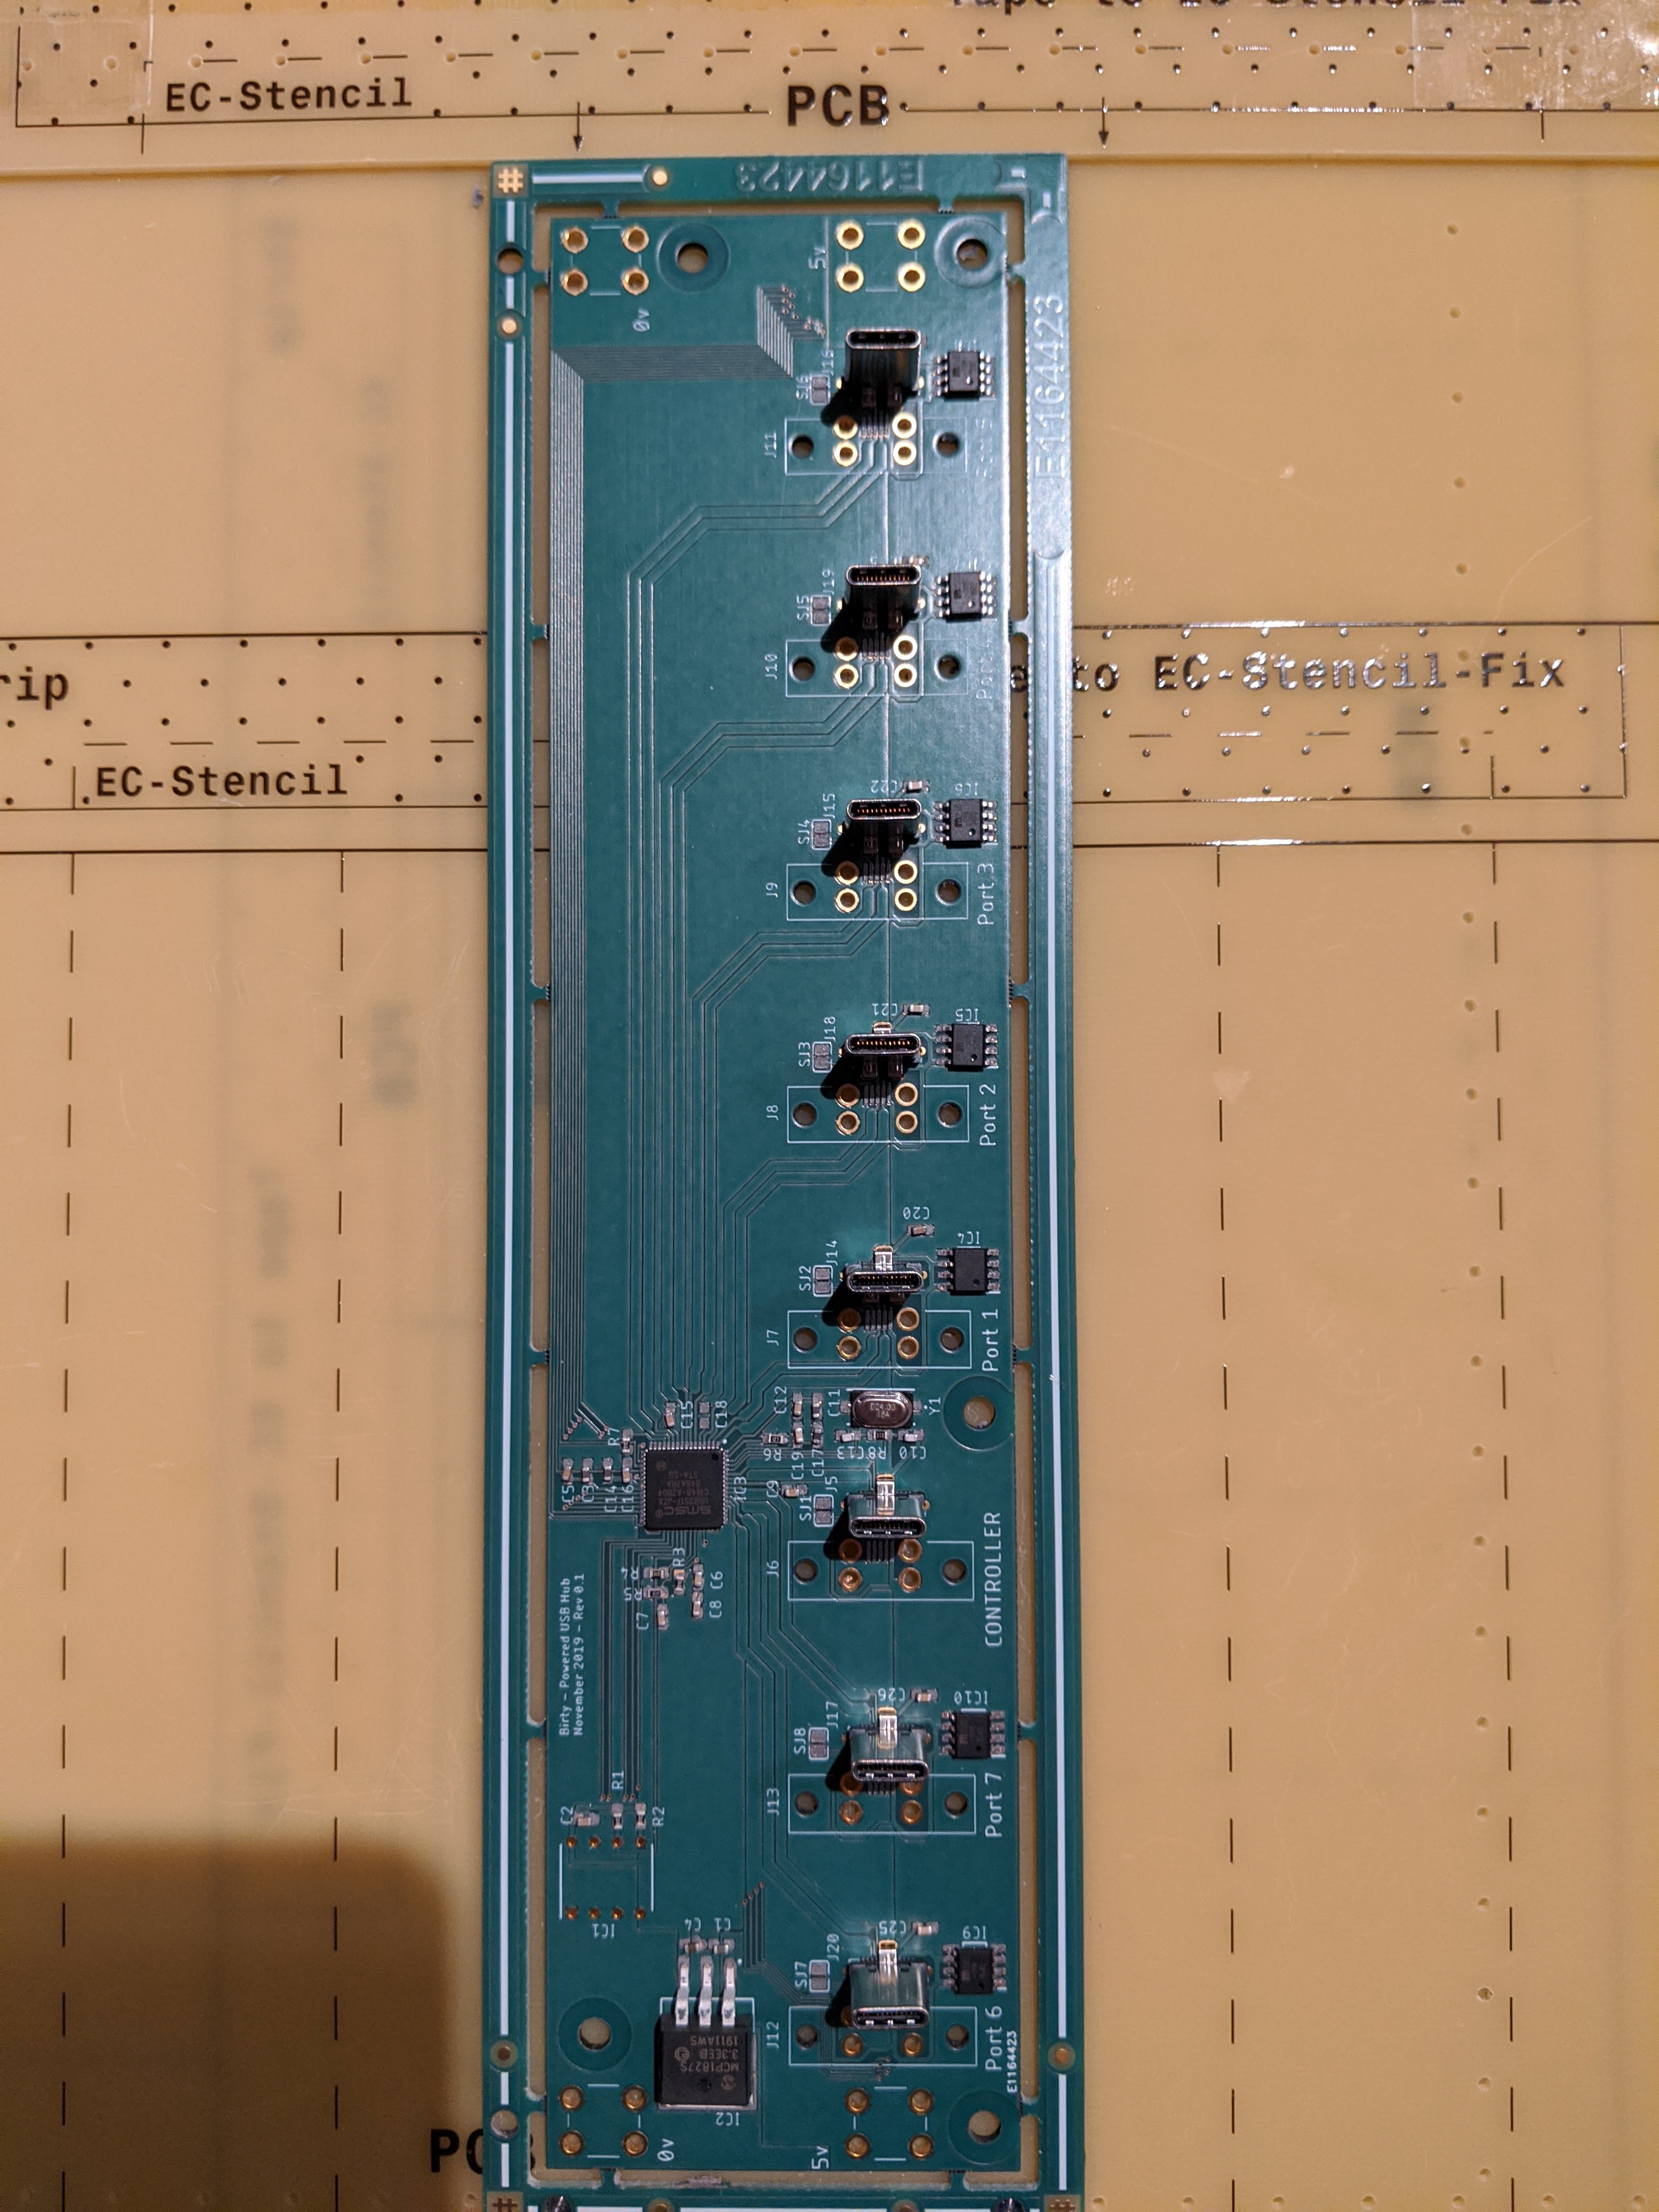
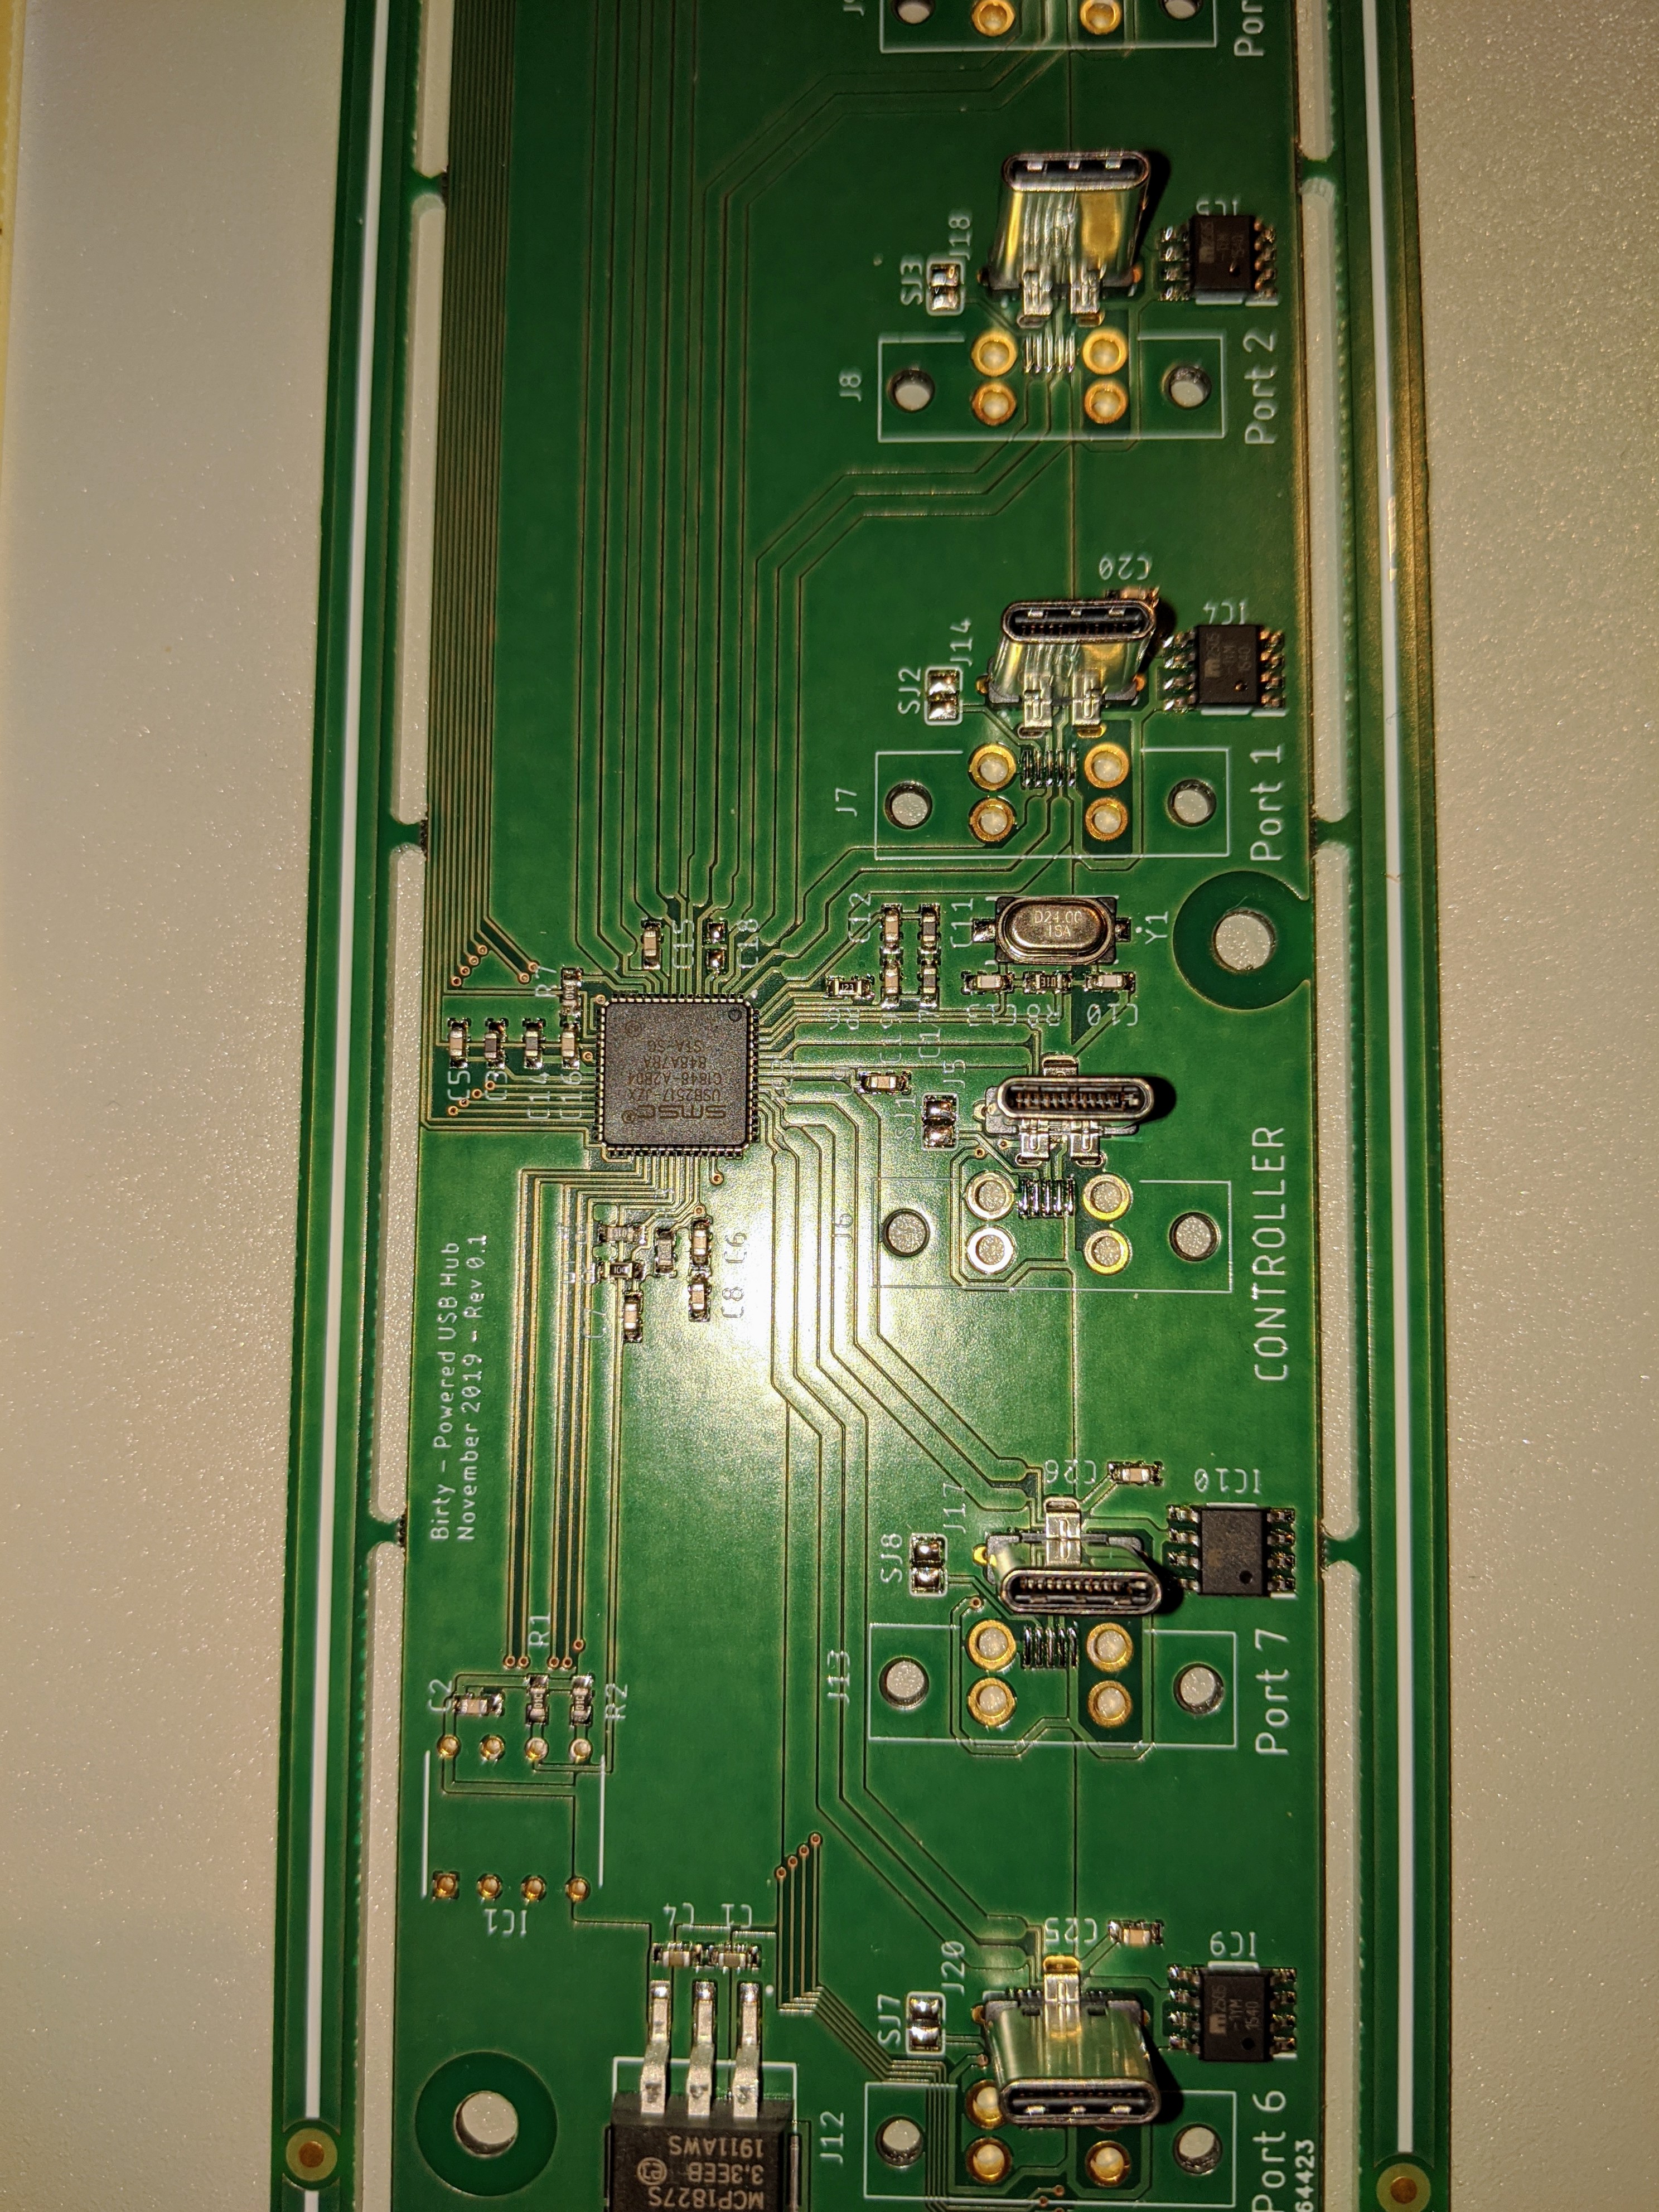
And here is the finished board after it has been through the reflow oven - all the components have been nicely sucked into much better alignment. Board looks good - quite pleased for my first ever SMD board

7 Likes

Its Incredible work man ! Respect

5 Likes

Lets see if it works first :grin: Trying to find time to put it all together and test it - work geting in the way - need to retire, sadly many years off yet!

2 Likes