OldNavi HeadUnit DIY project - Khadas’ 1st Community Competition

Hi everybody!

This topic raised to describe and showcase my DIY project I built for my ATV.
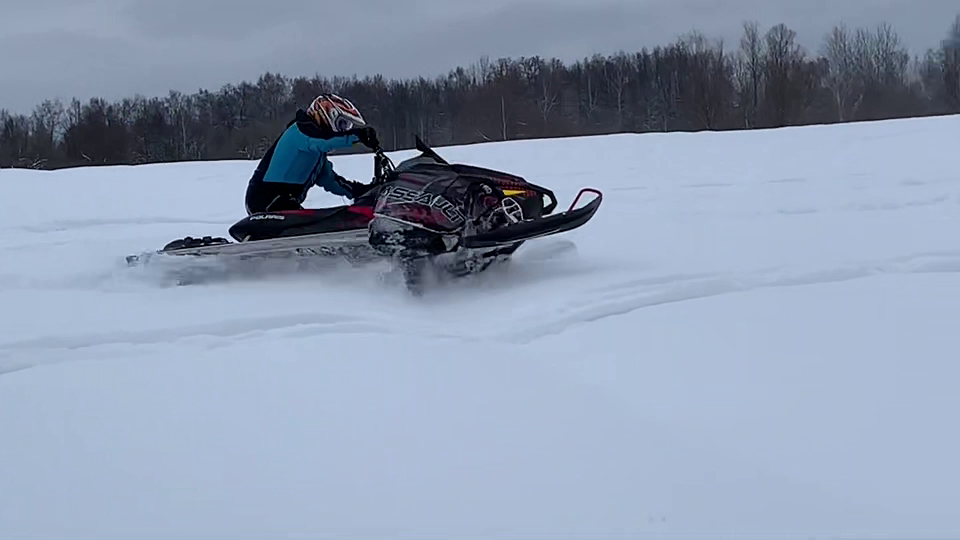
I’m really big fan of an extreme outdoor sports, like riding ATV’s and snowmobiles and some day in a past - asked myself if I could build something useful for that purpose. And after looking what is on a market - i was a bit disappointed that there are not much things there and if it is - it costs too mush $$ and often misses functionality I would like to have for my ATV/Snowmobile

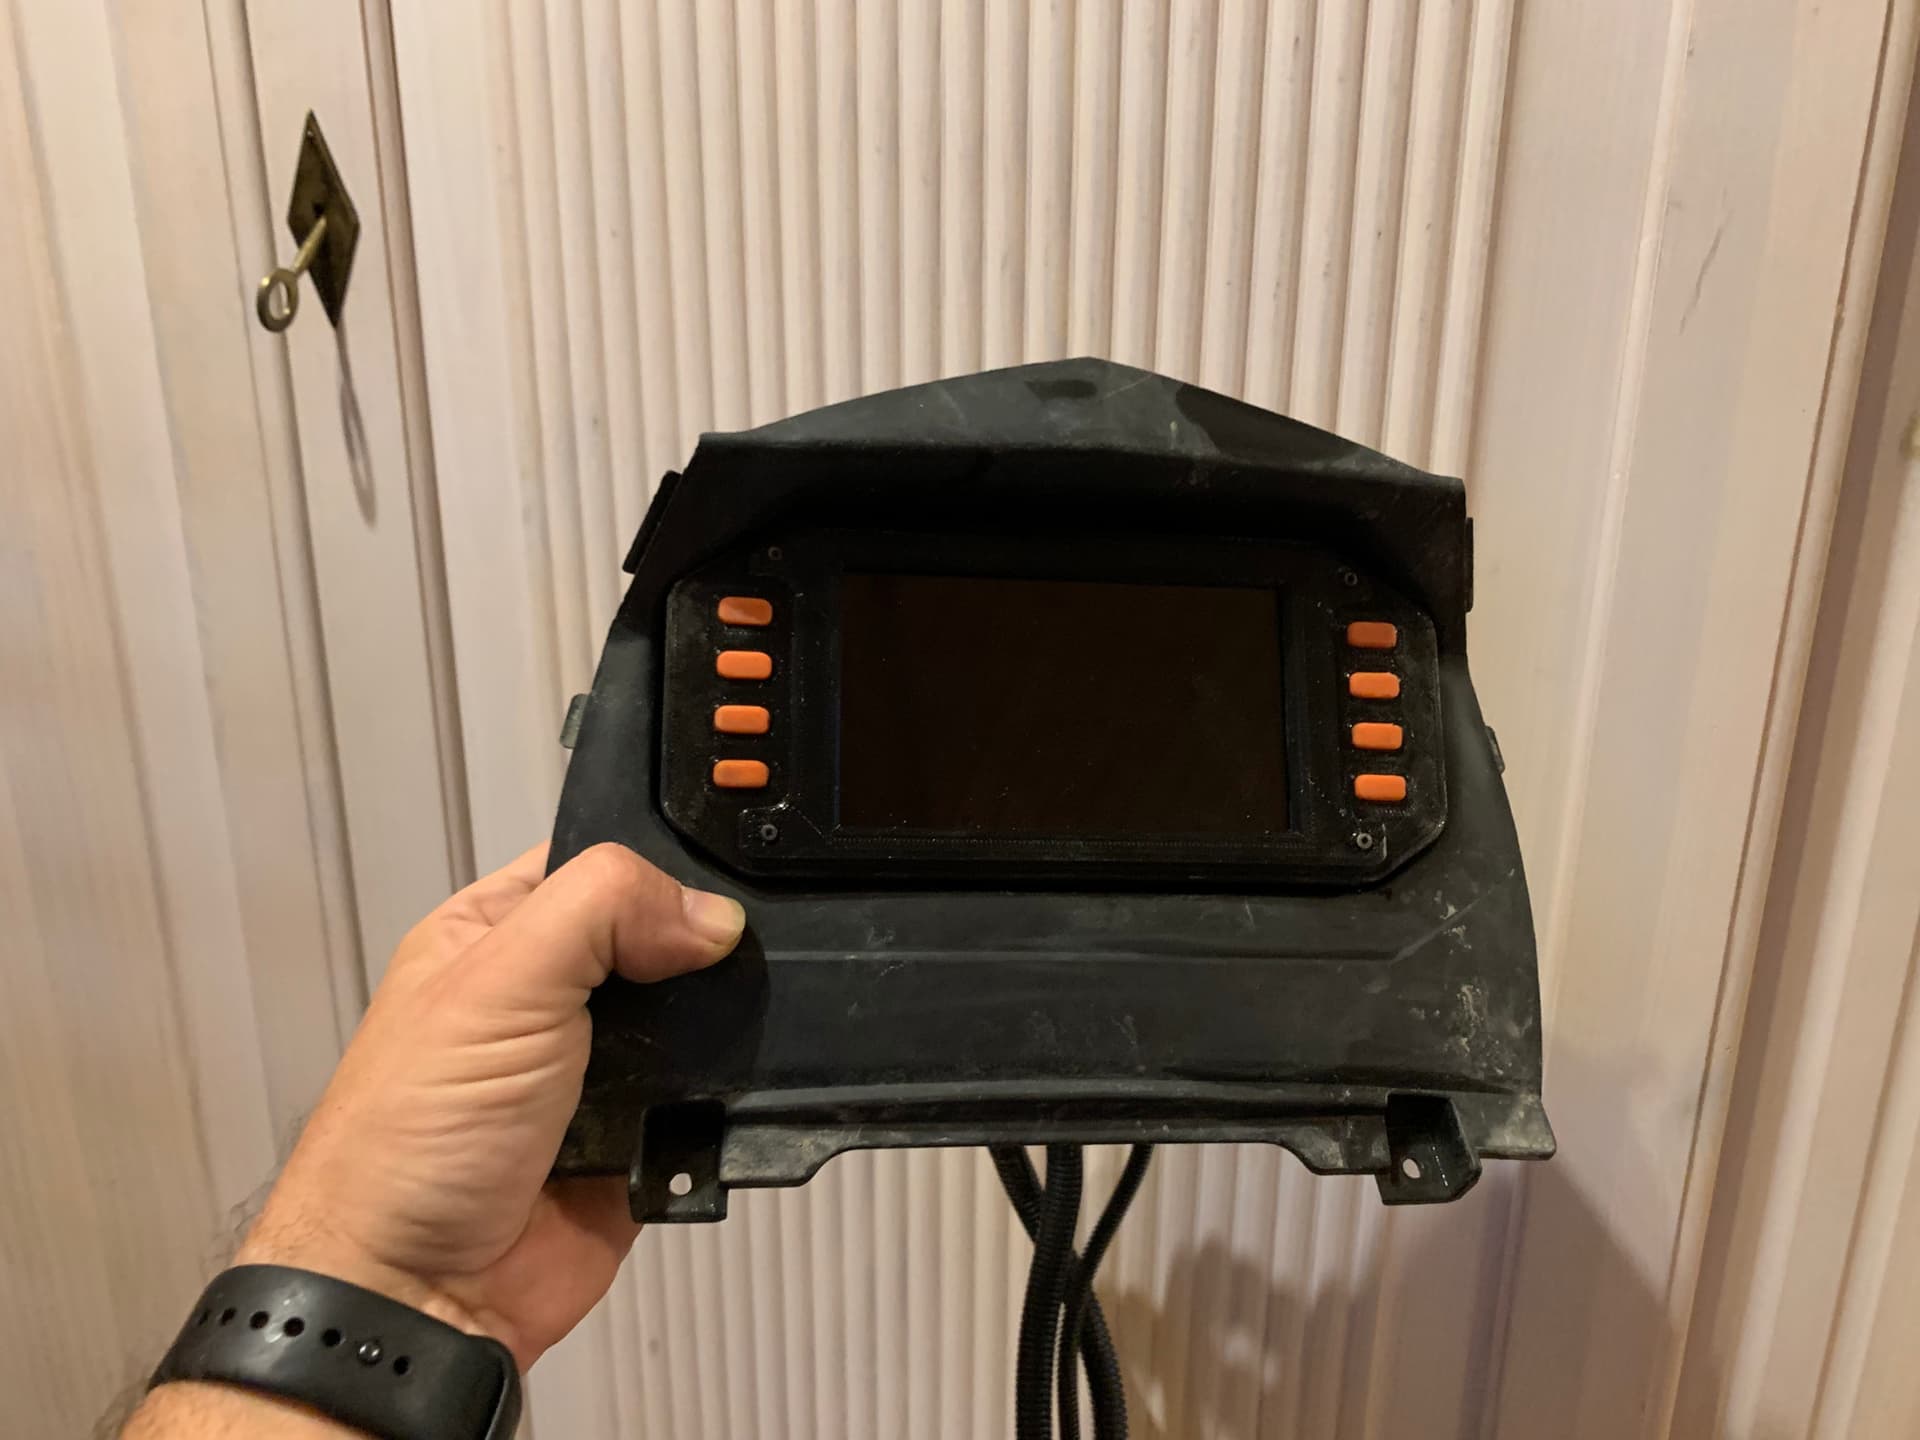
So decision was made to create a headunit for my Russian ATV RM-800 (which is pretty the same as ODES Assailant v800)


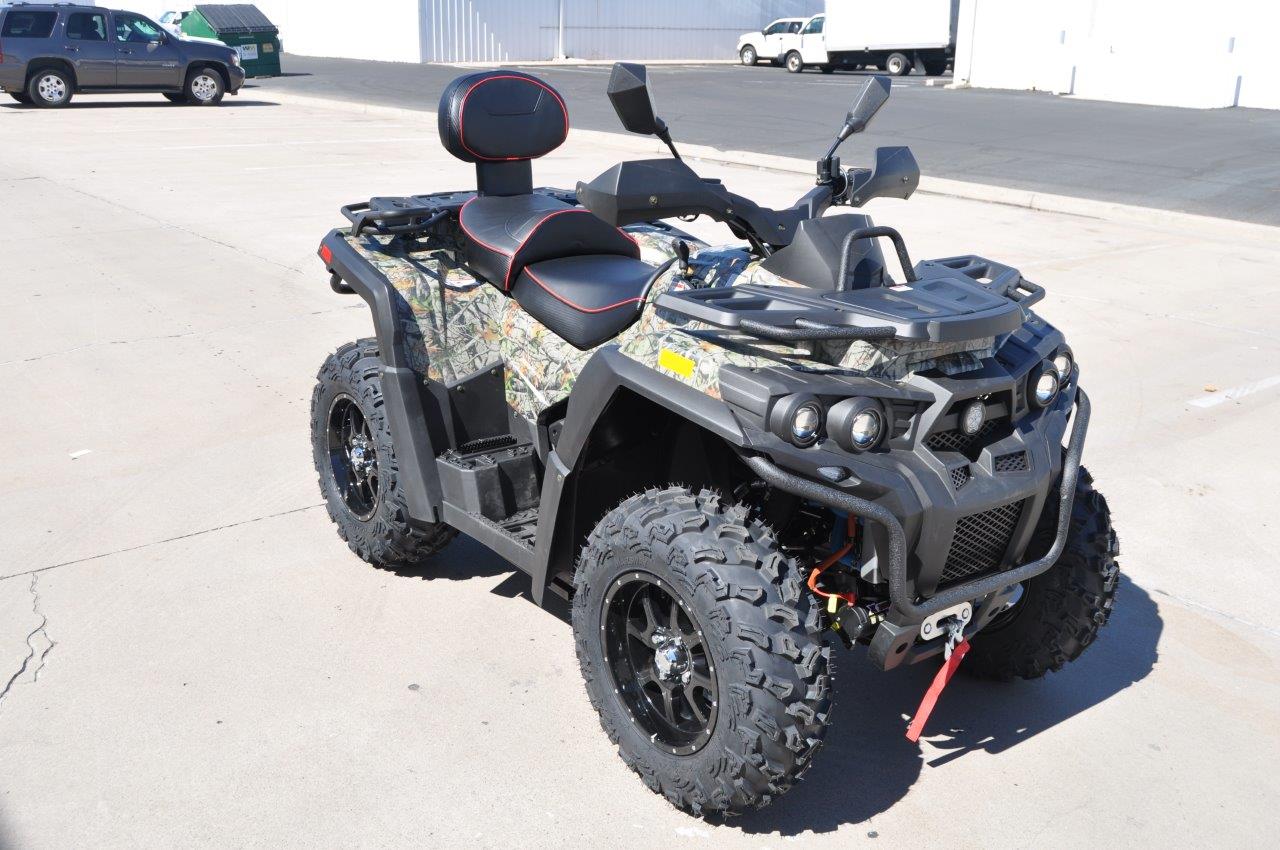
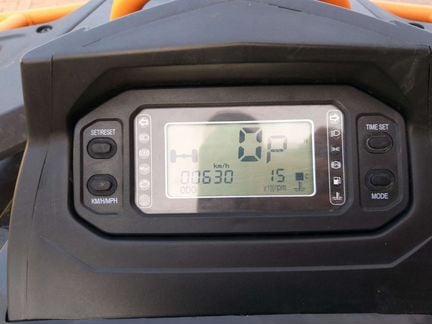
as replacement for original one.
hDzg_LauKNW2WaLS5P7cQRBfKg

At the beginning I wrote a small to do list with my expectations I’'ve planned to realize in my DIY headunit. So here it is:
1/ It should be no changes be made into the my ATV wiring. So in case of failure - I can easily revert everything back
2/ It should be absolutely no changes to the plastic body details of my ATV, so I’ve put everything into the existing headunit body limits
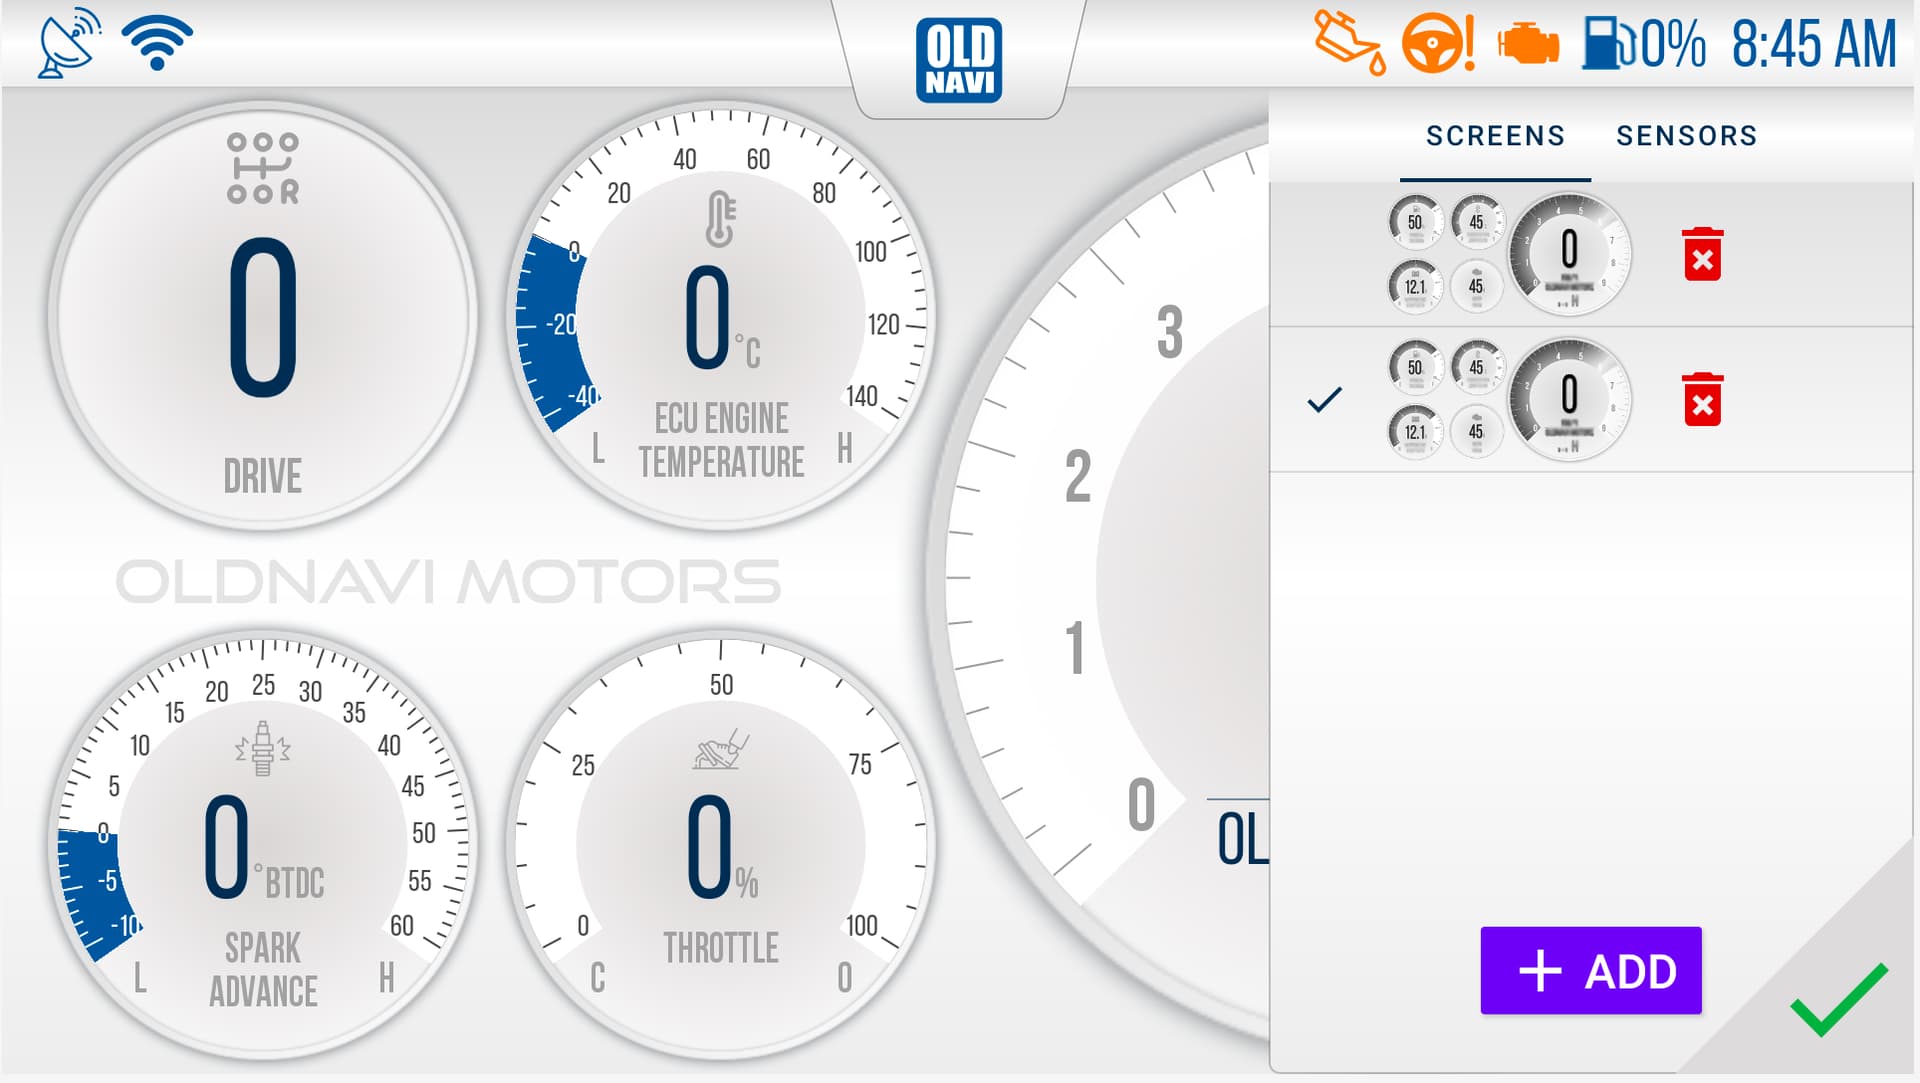
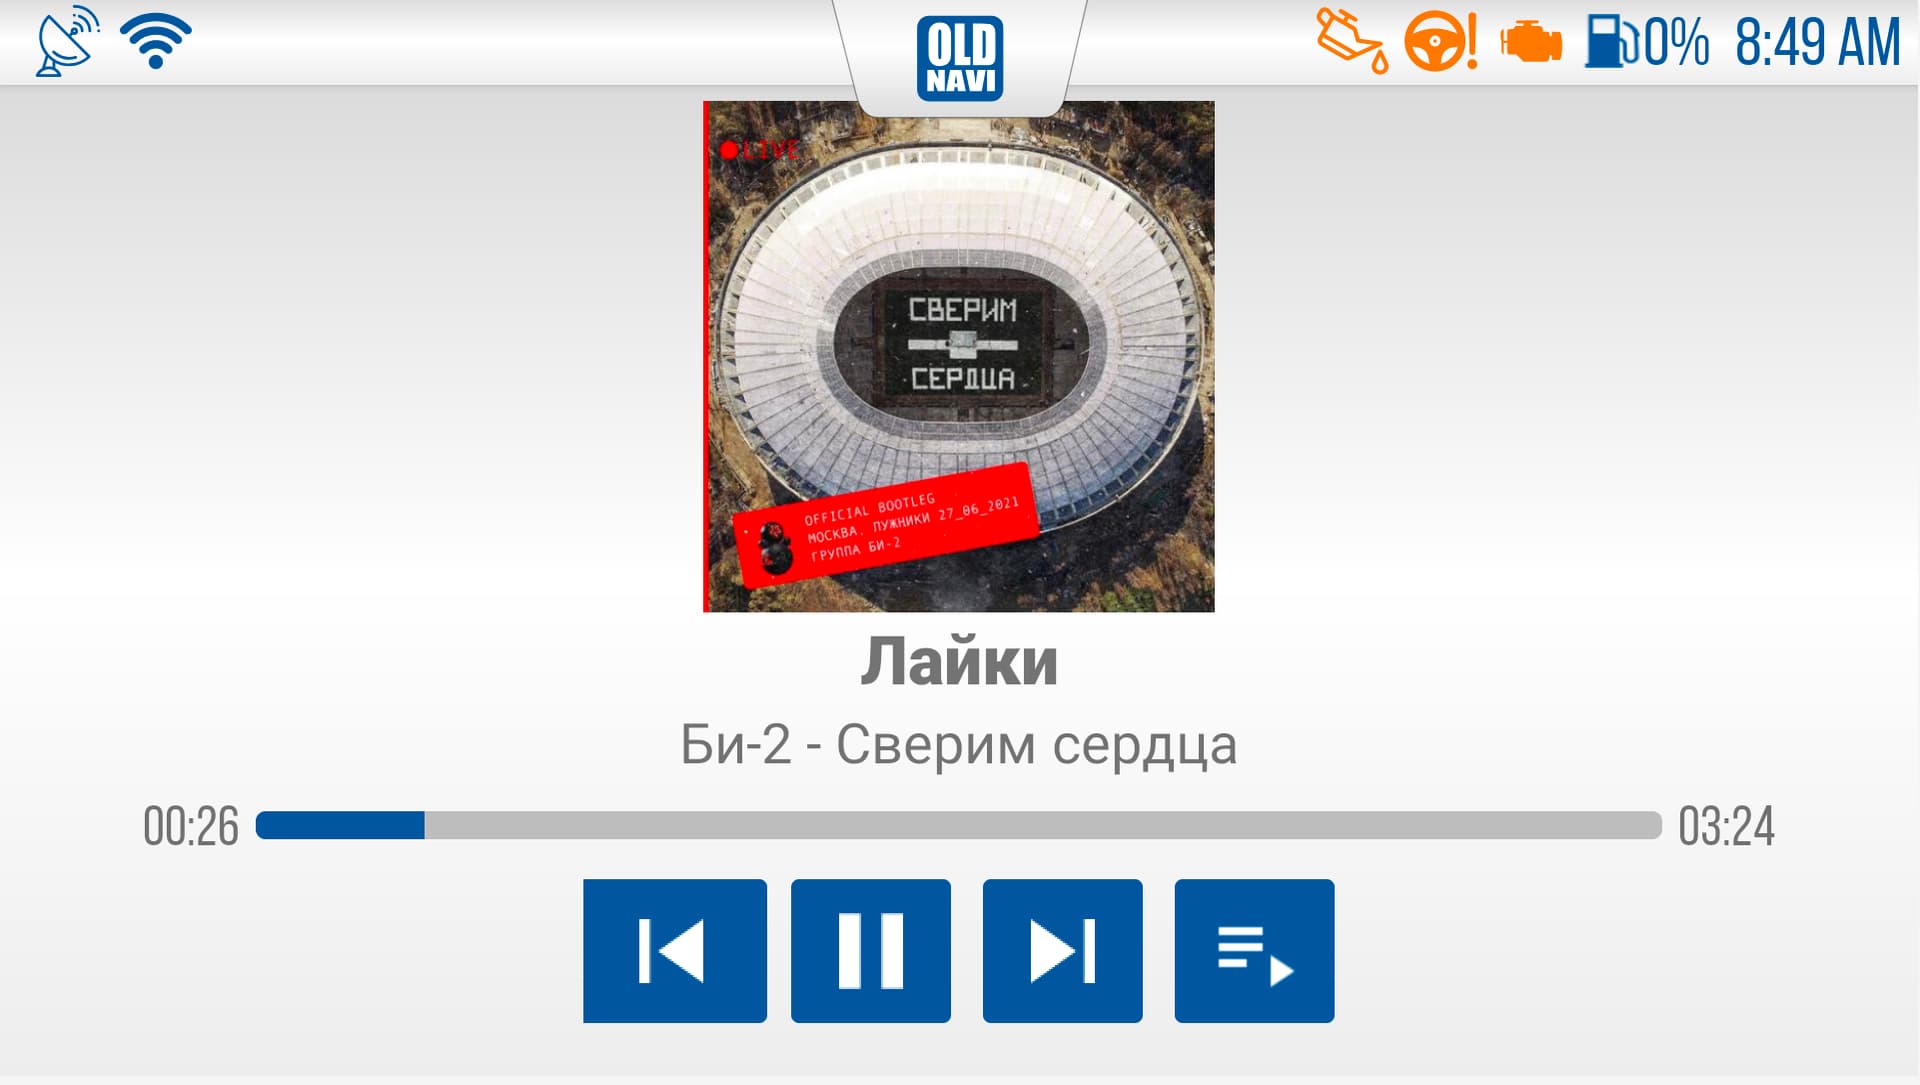
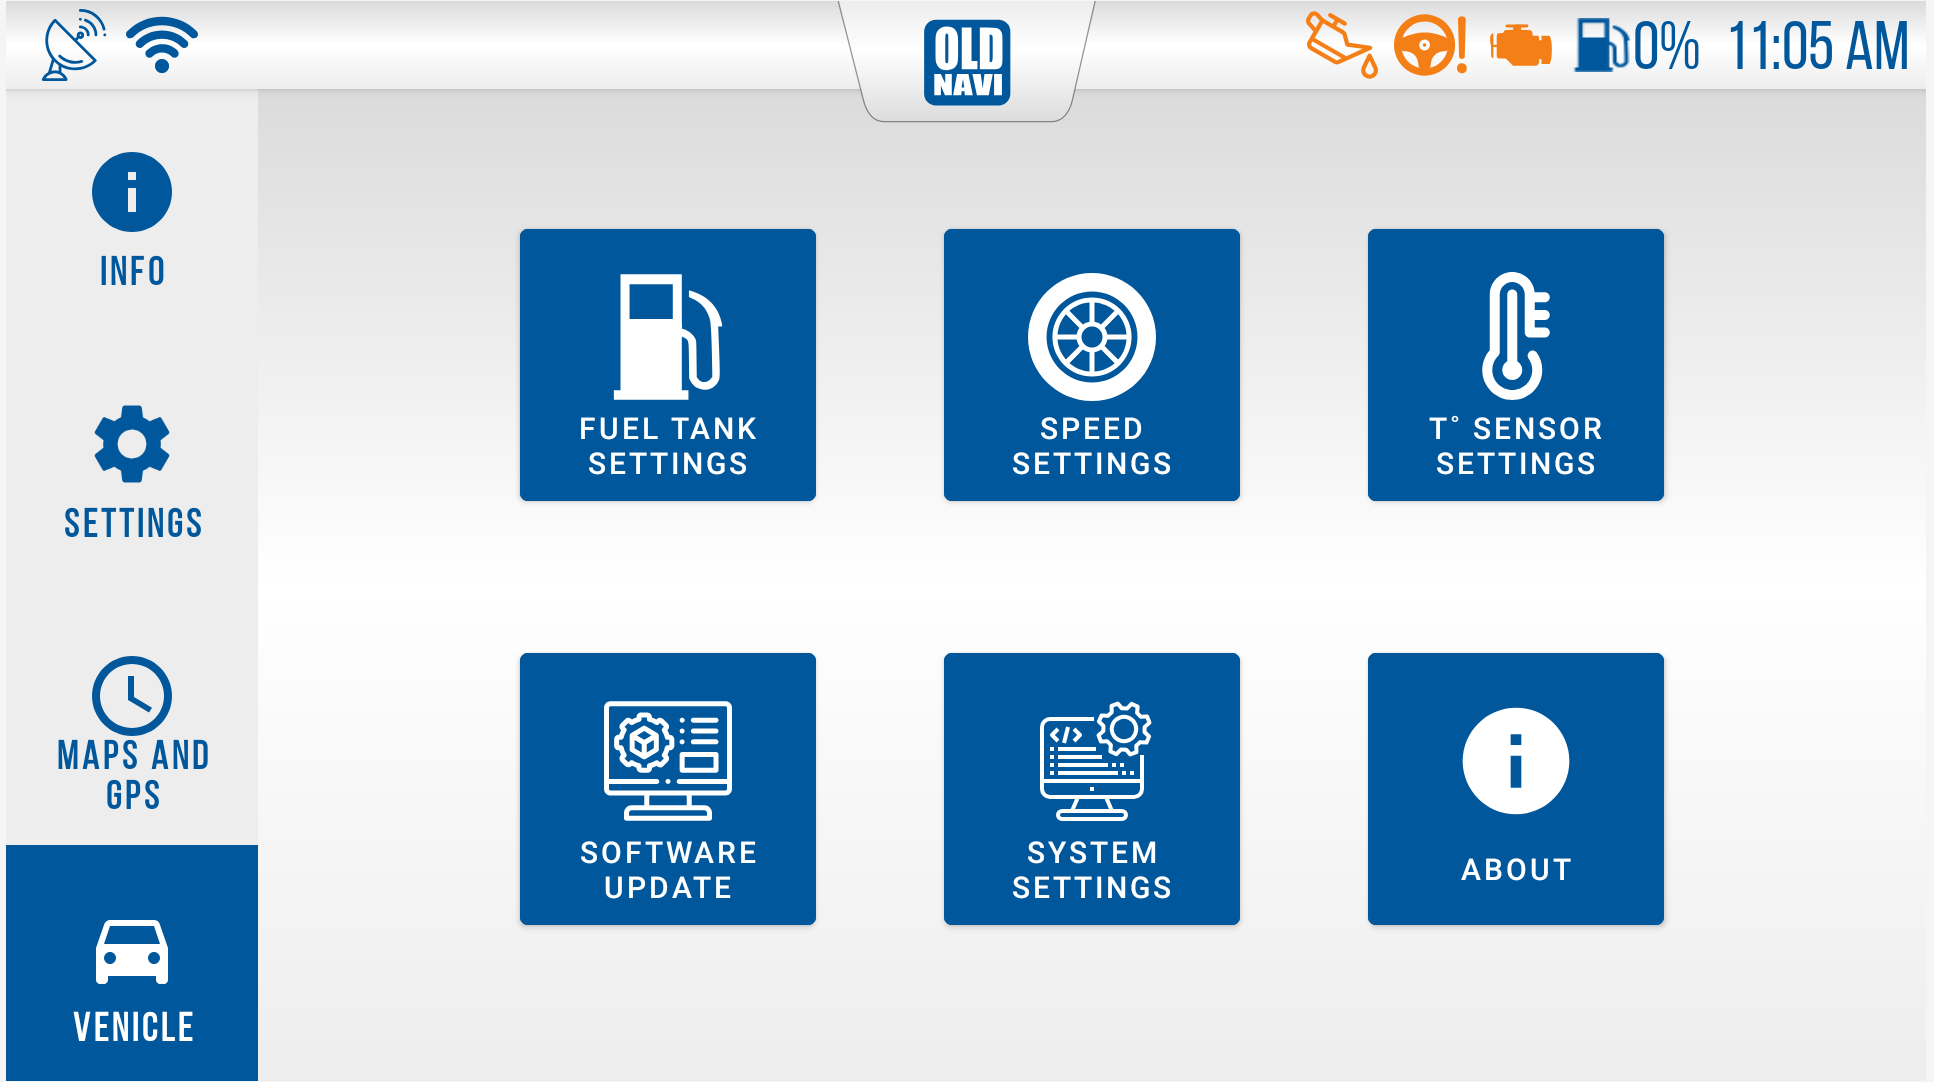
3/ I want to have really nice GUI with modern LCD displays
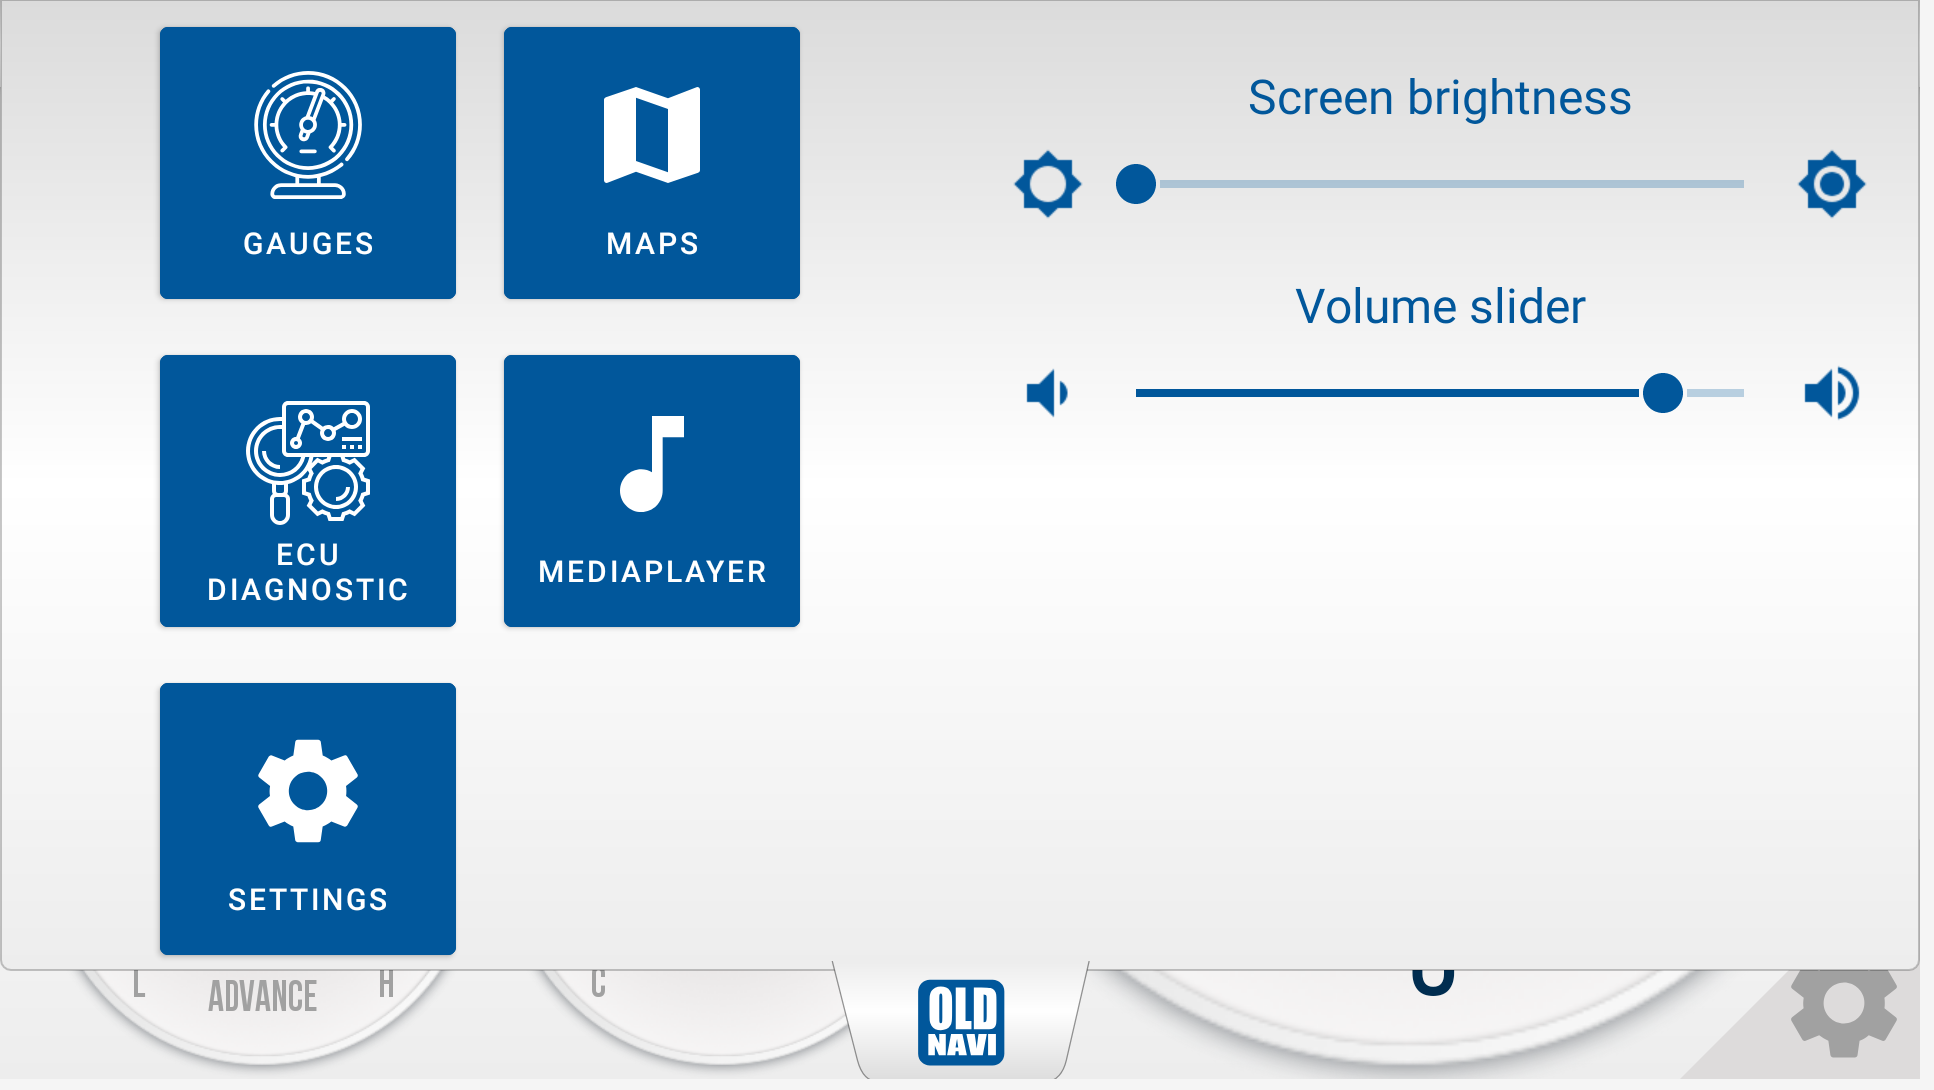
4/ I want to have offline maps for navigation (both raster from satellites and vector maps)
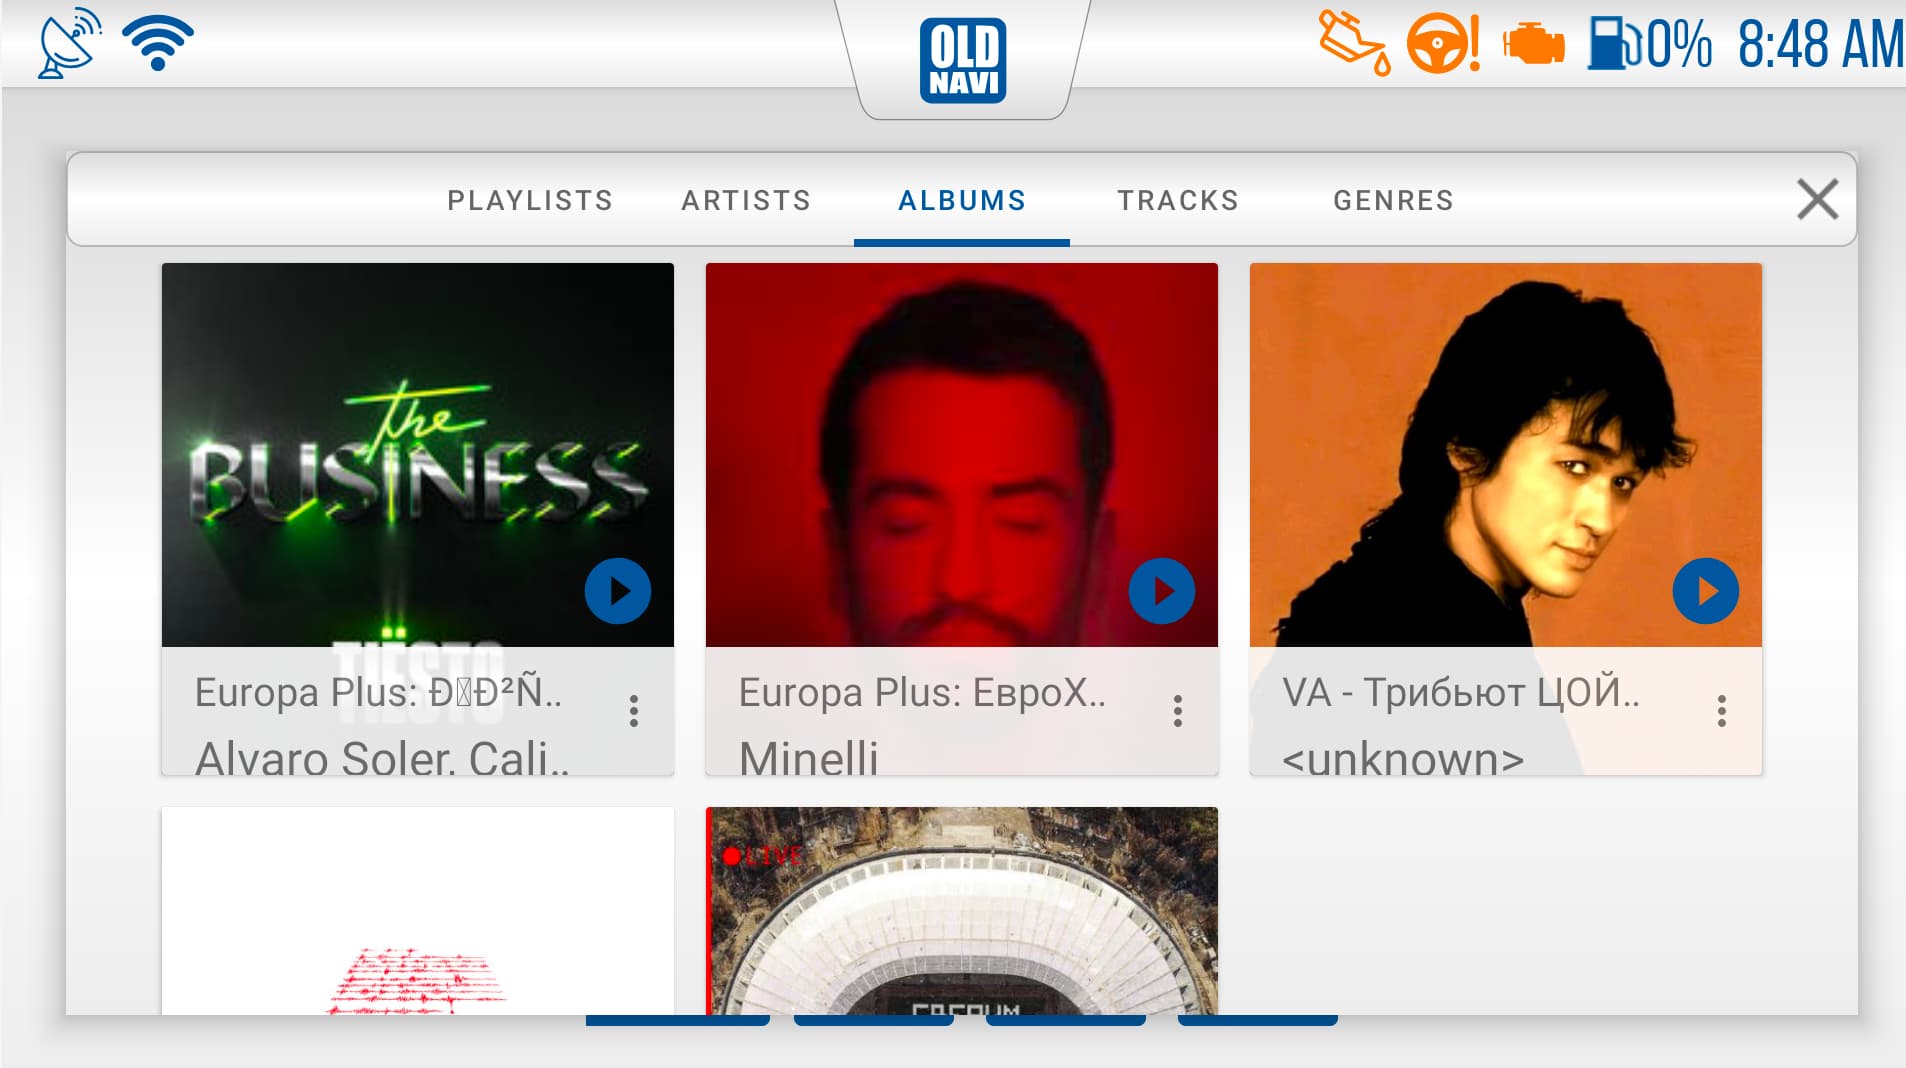
5/ Having some multimedia player would be a nice option too
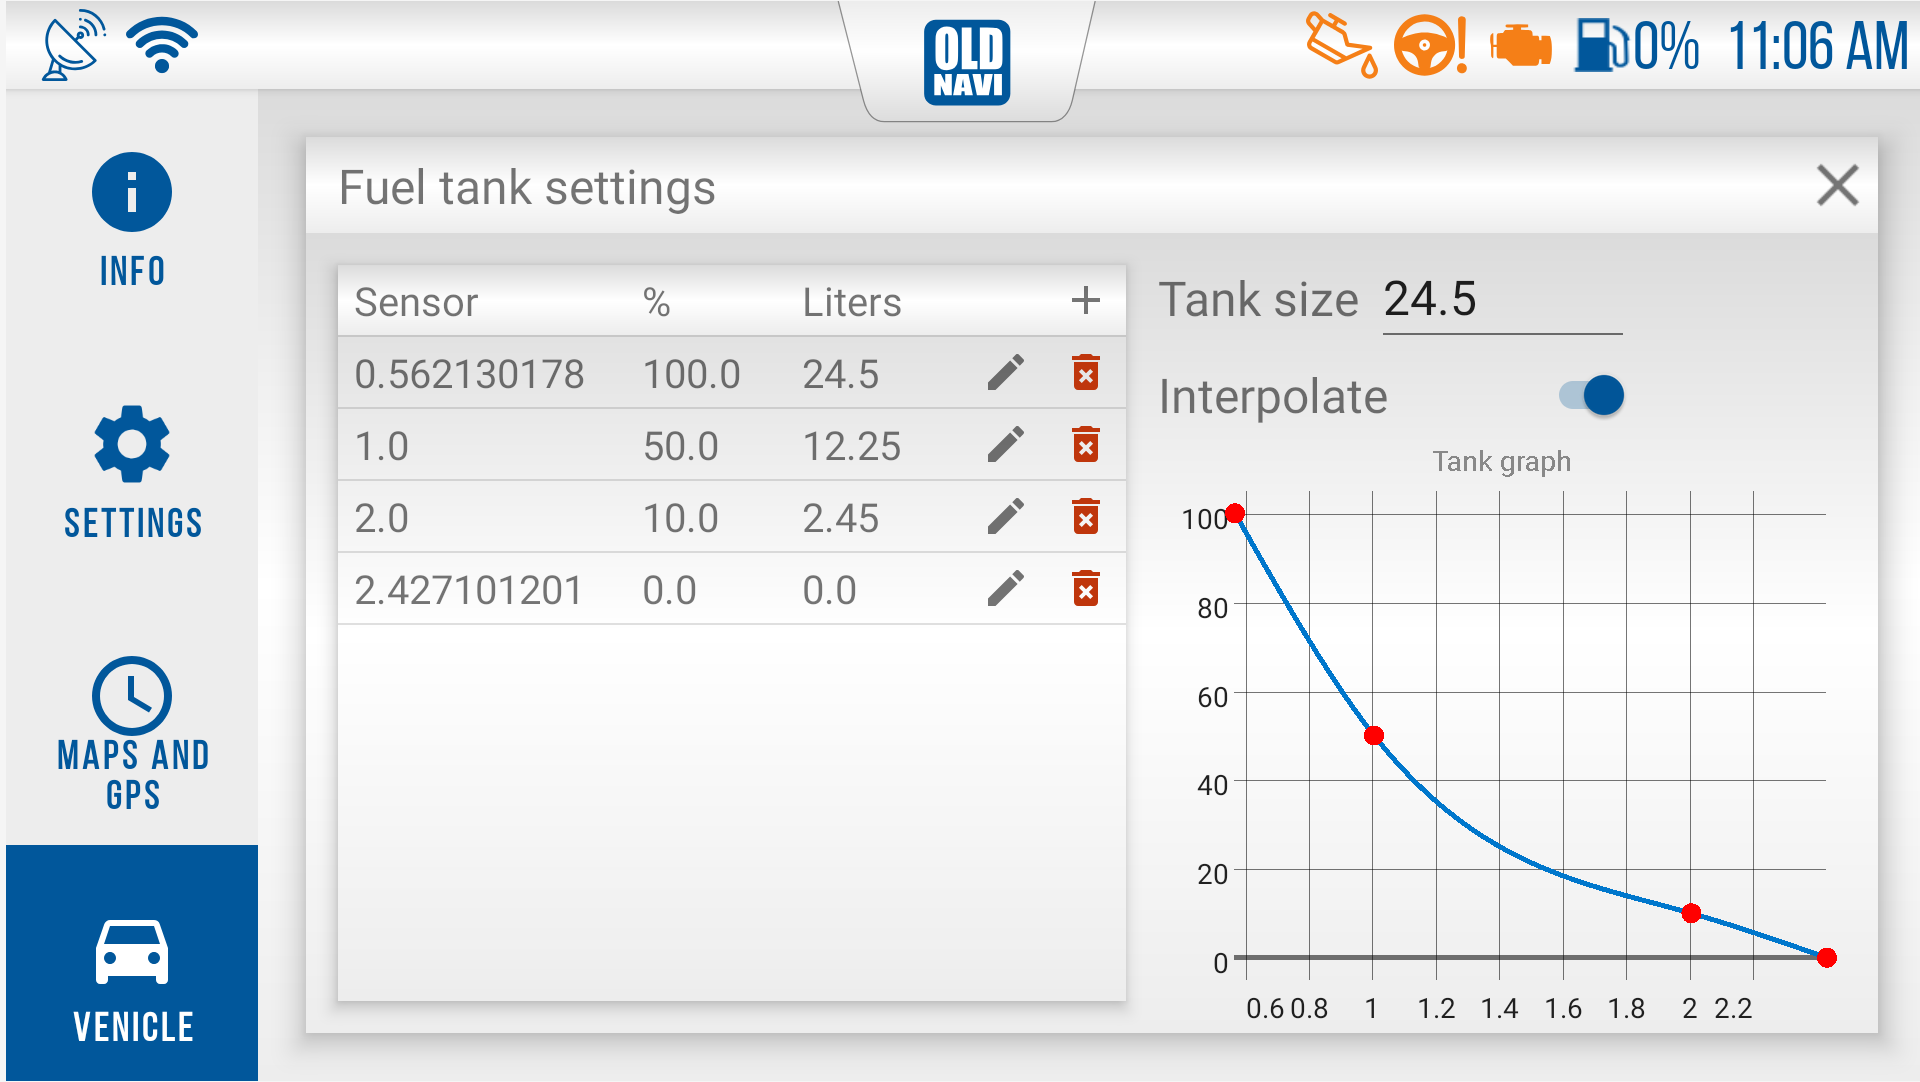
6/ I want everything to be tunable - so I can have an ability to arrange sensors view as I need (tachometer, speedometer, temperature and etc)
7/ I want my headunit to work with all hardware sensors available on my ATV
8/ I want my headunit to work directly with engine ECU unit, get ECU sensors data, read and flush engine errors and etc.
9/ Experimental features - I want my headunit to share and receive a valuable information (speed, GPS, coordinates, status, nicknames and etc) over Bluetooth BLE broadcast messages. This really cool feature when you’re riding with group of riders - so you always know where everybody are and also even can have “follow-me” lead functionality. There is similar feature available from Polaris - called Polaris Team Ride - but the price is really big (and I don’t have Polaris ATV :slight_smile: )

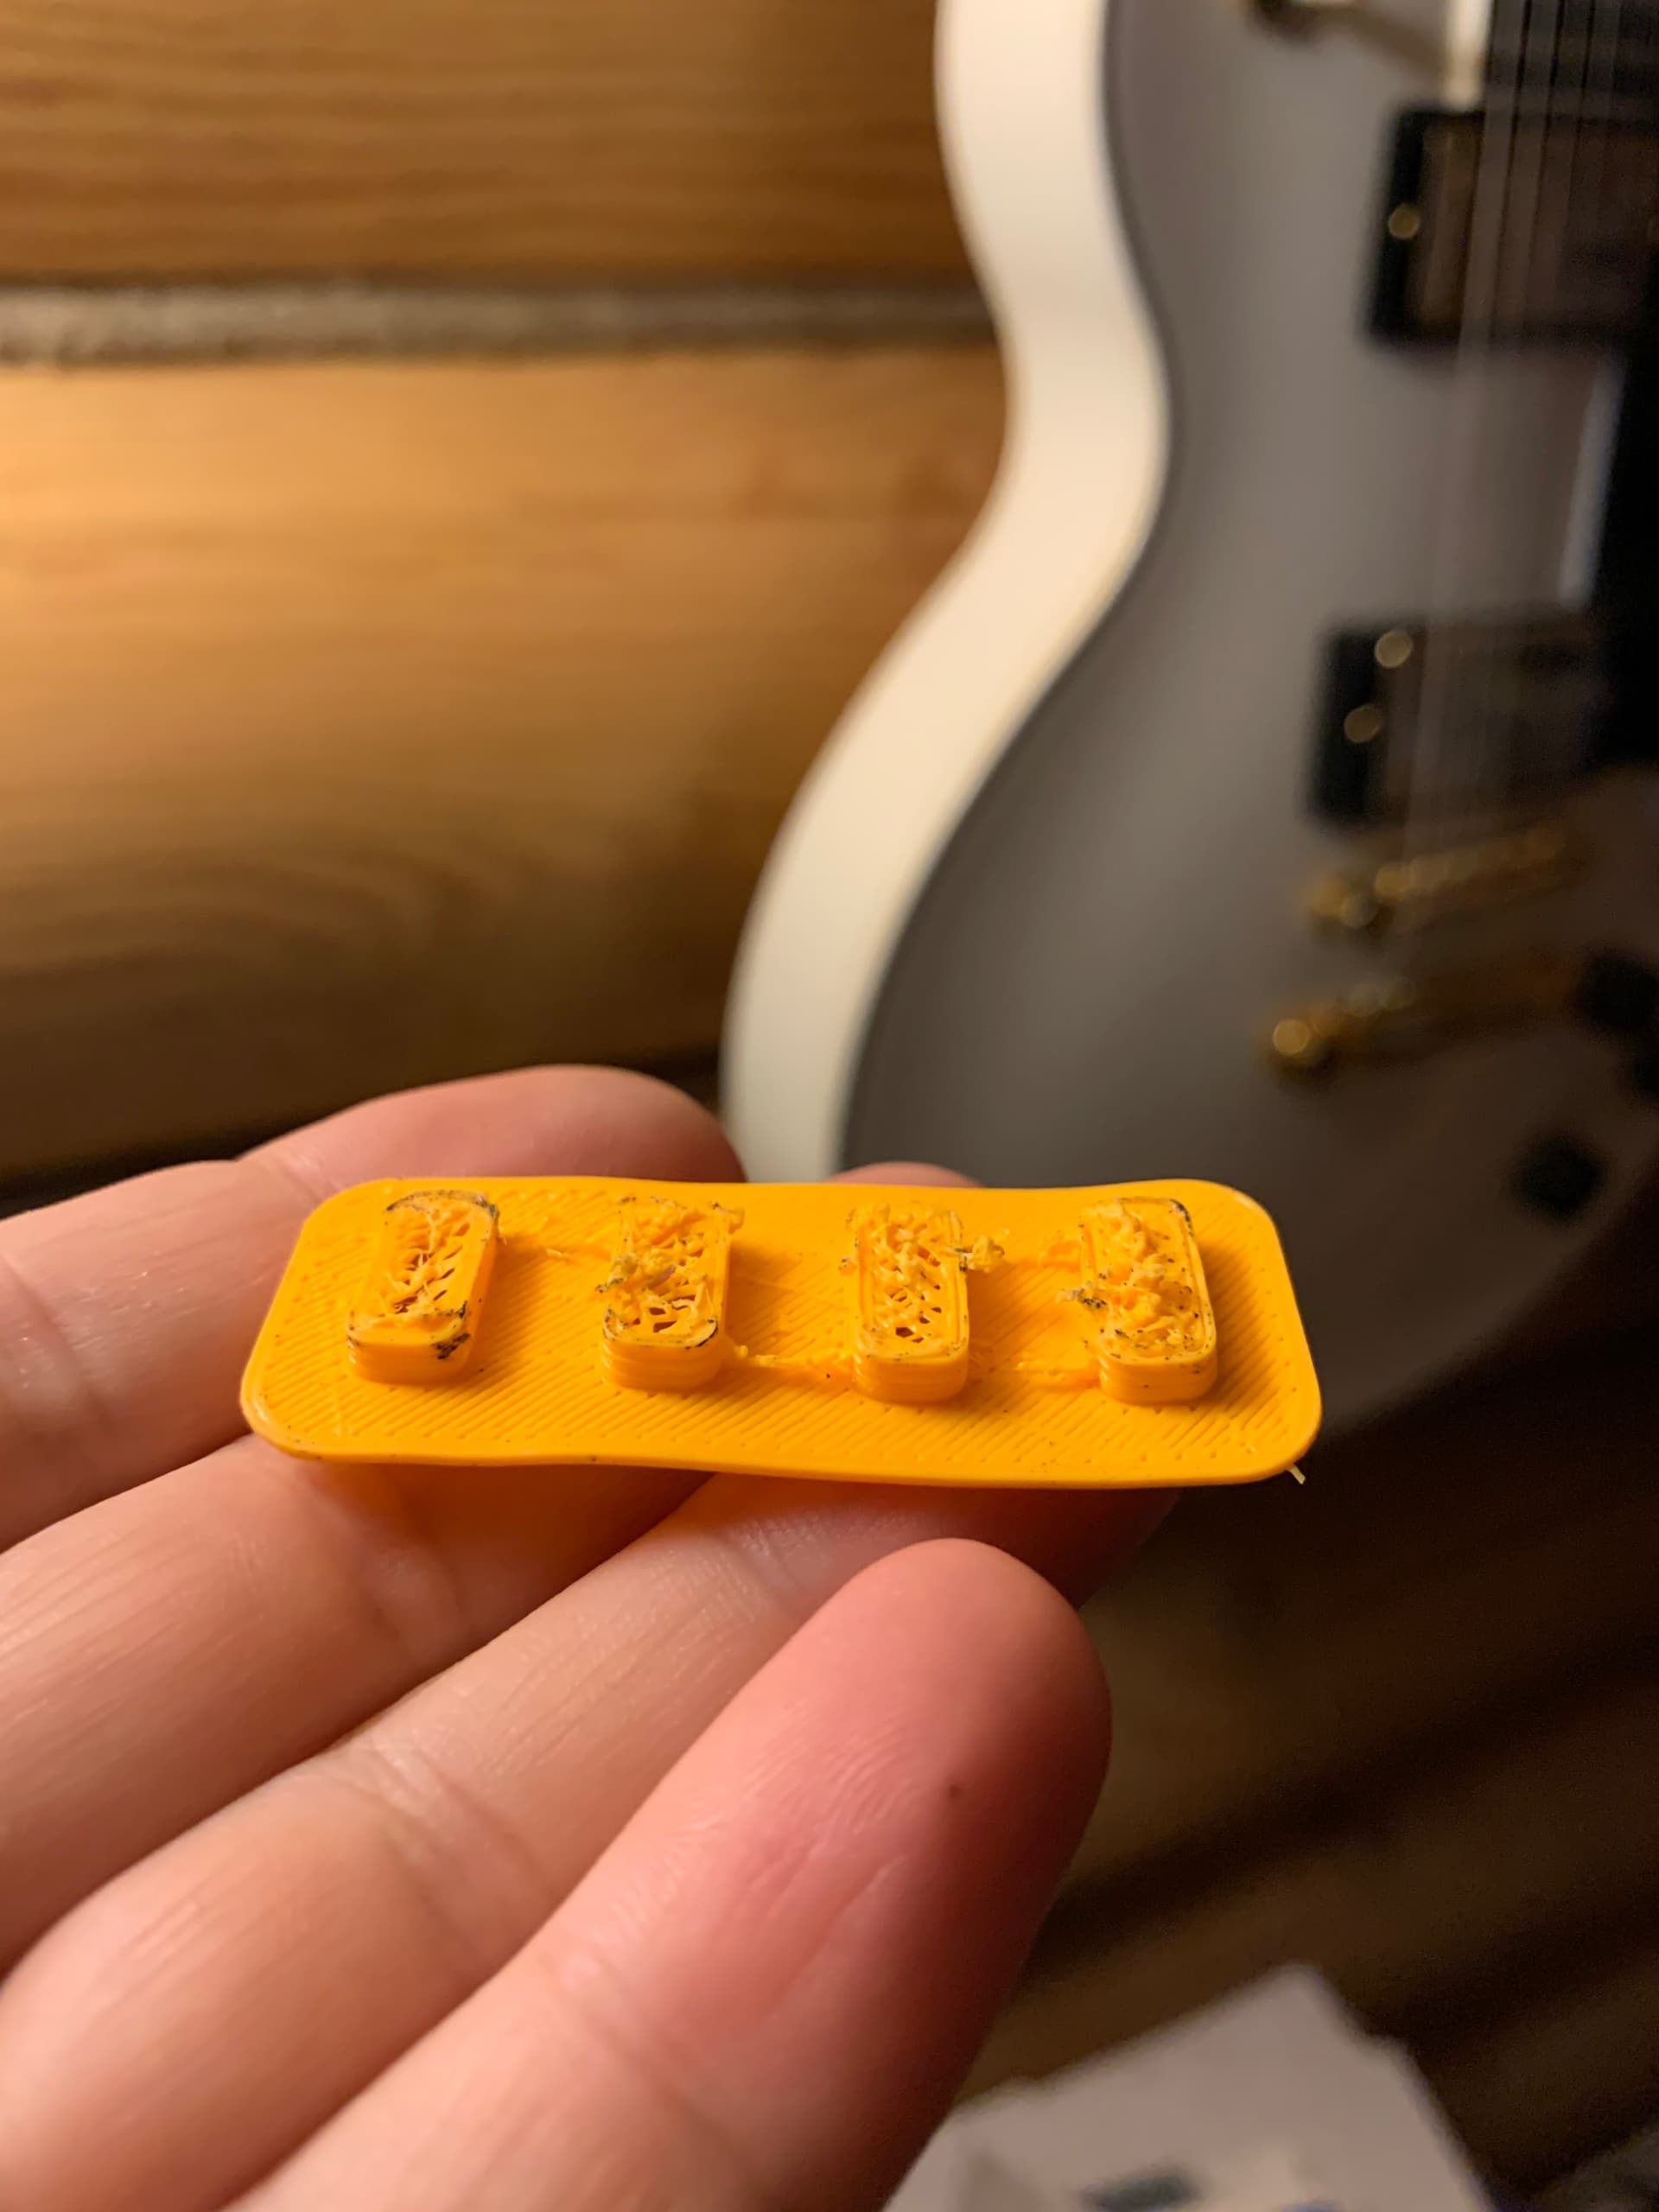
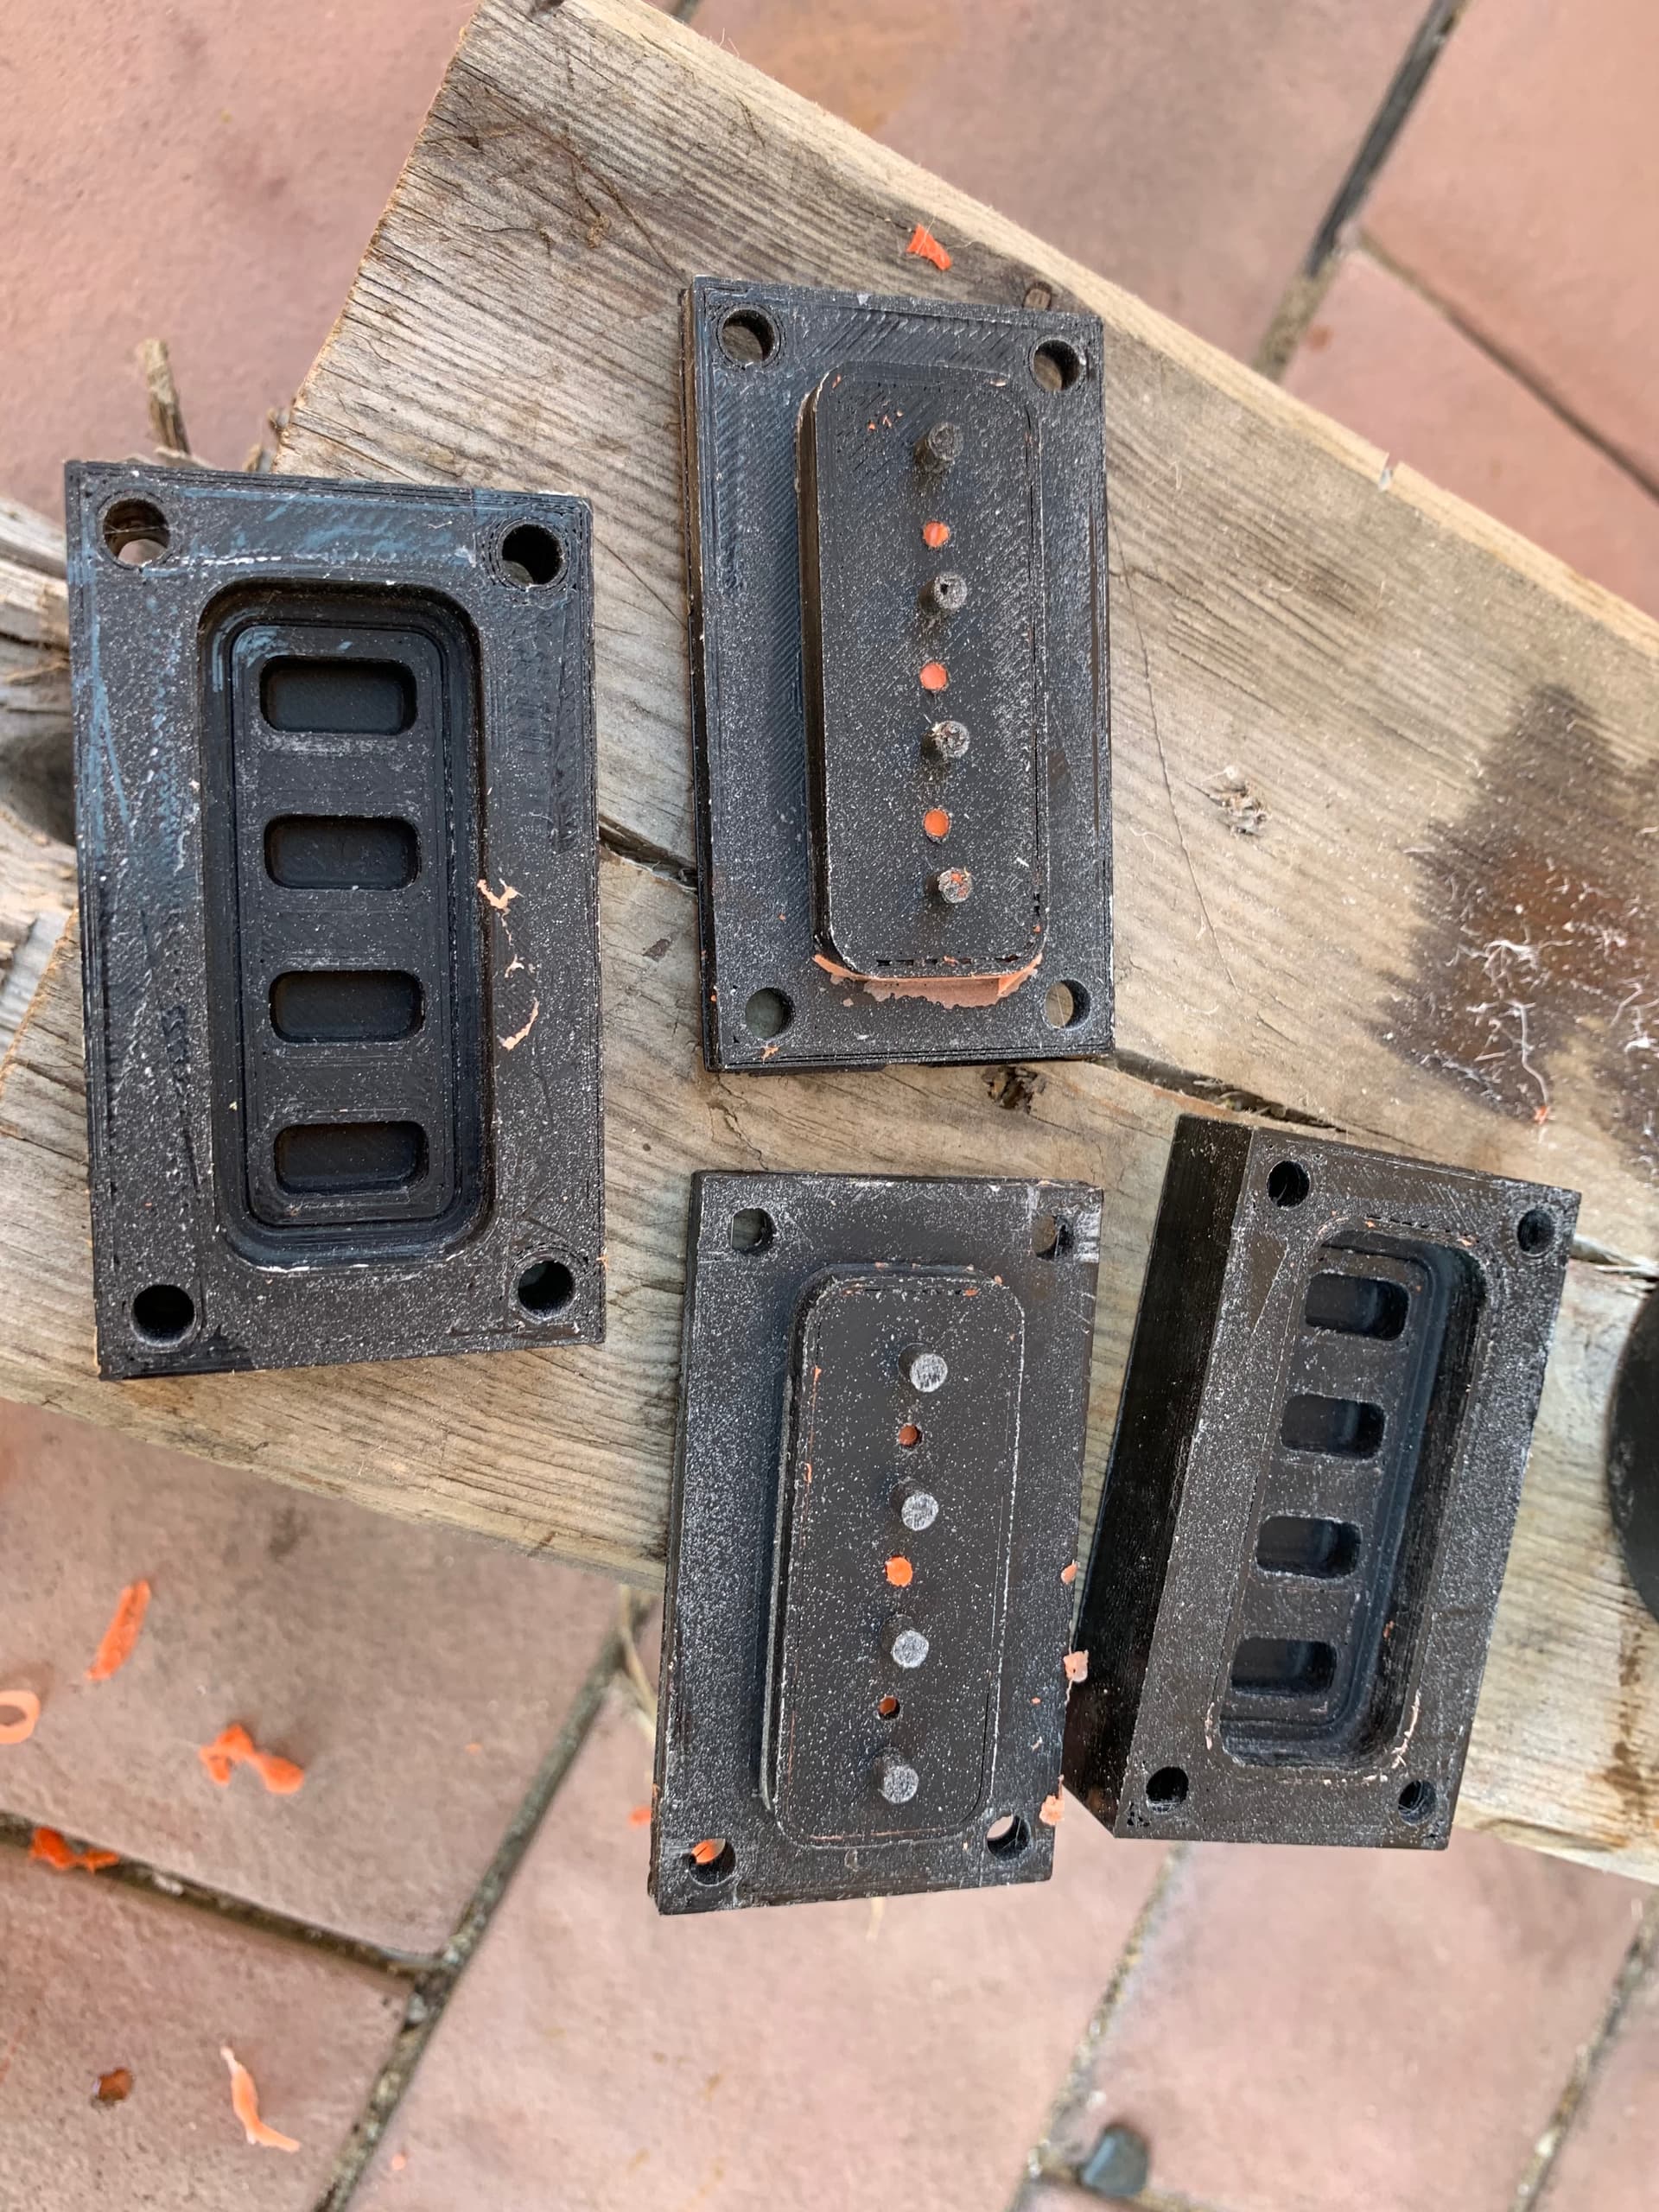
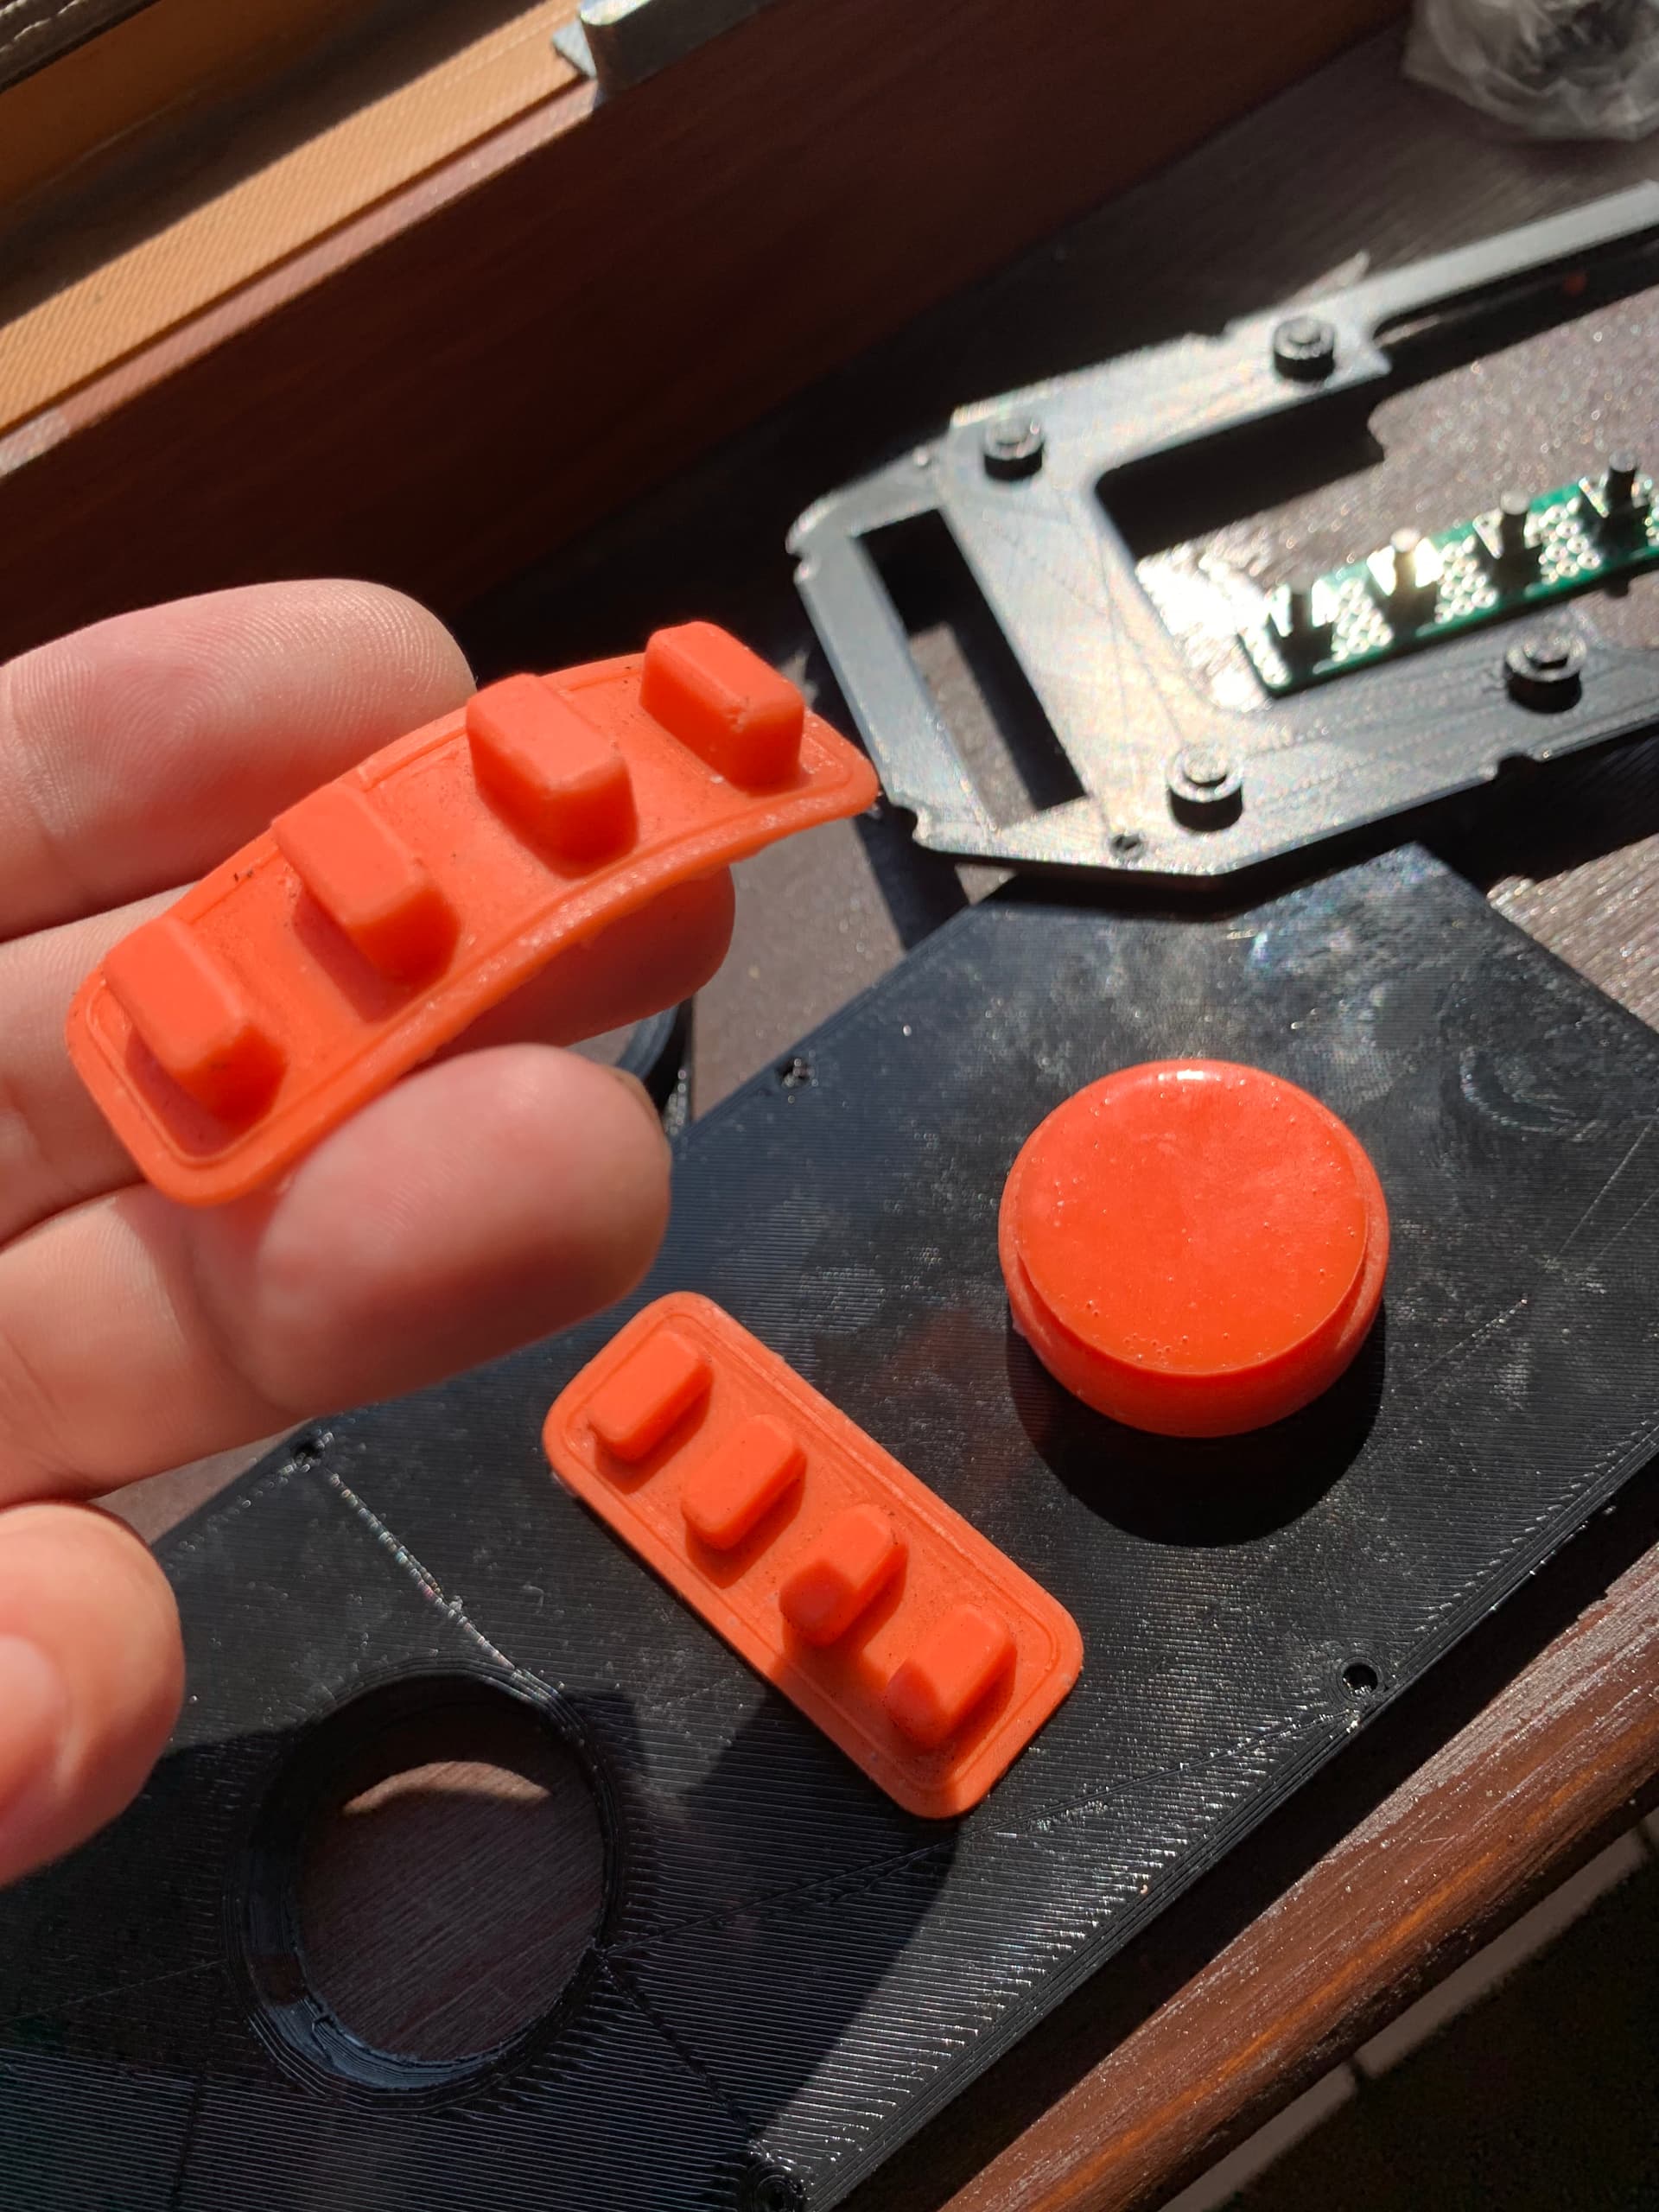
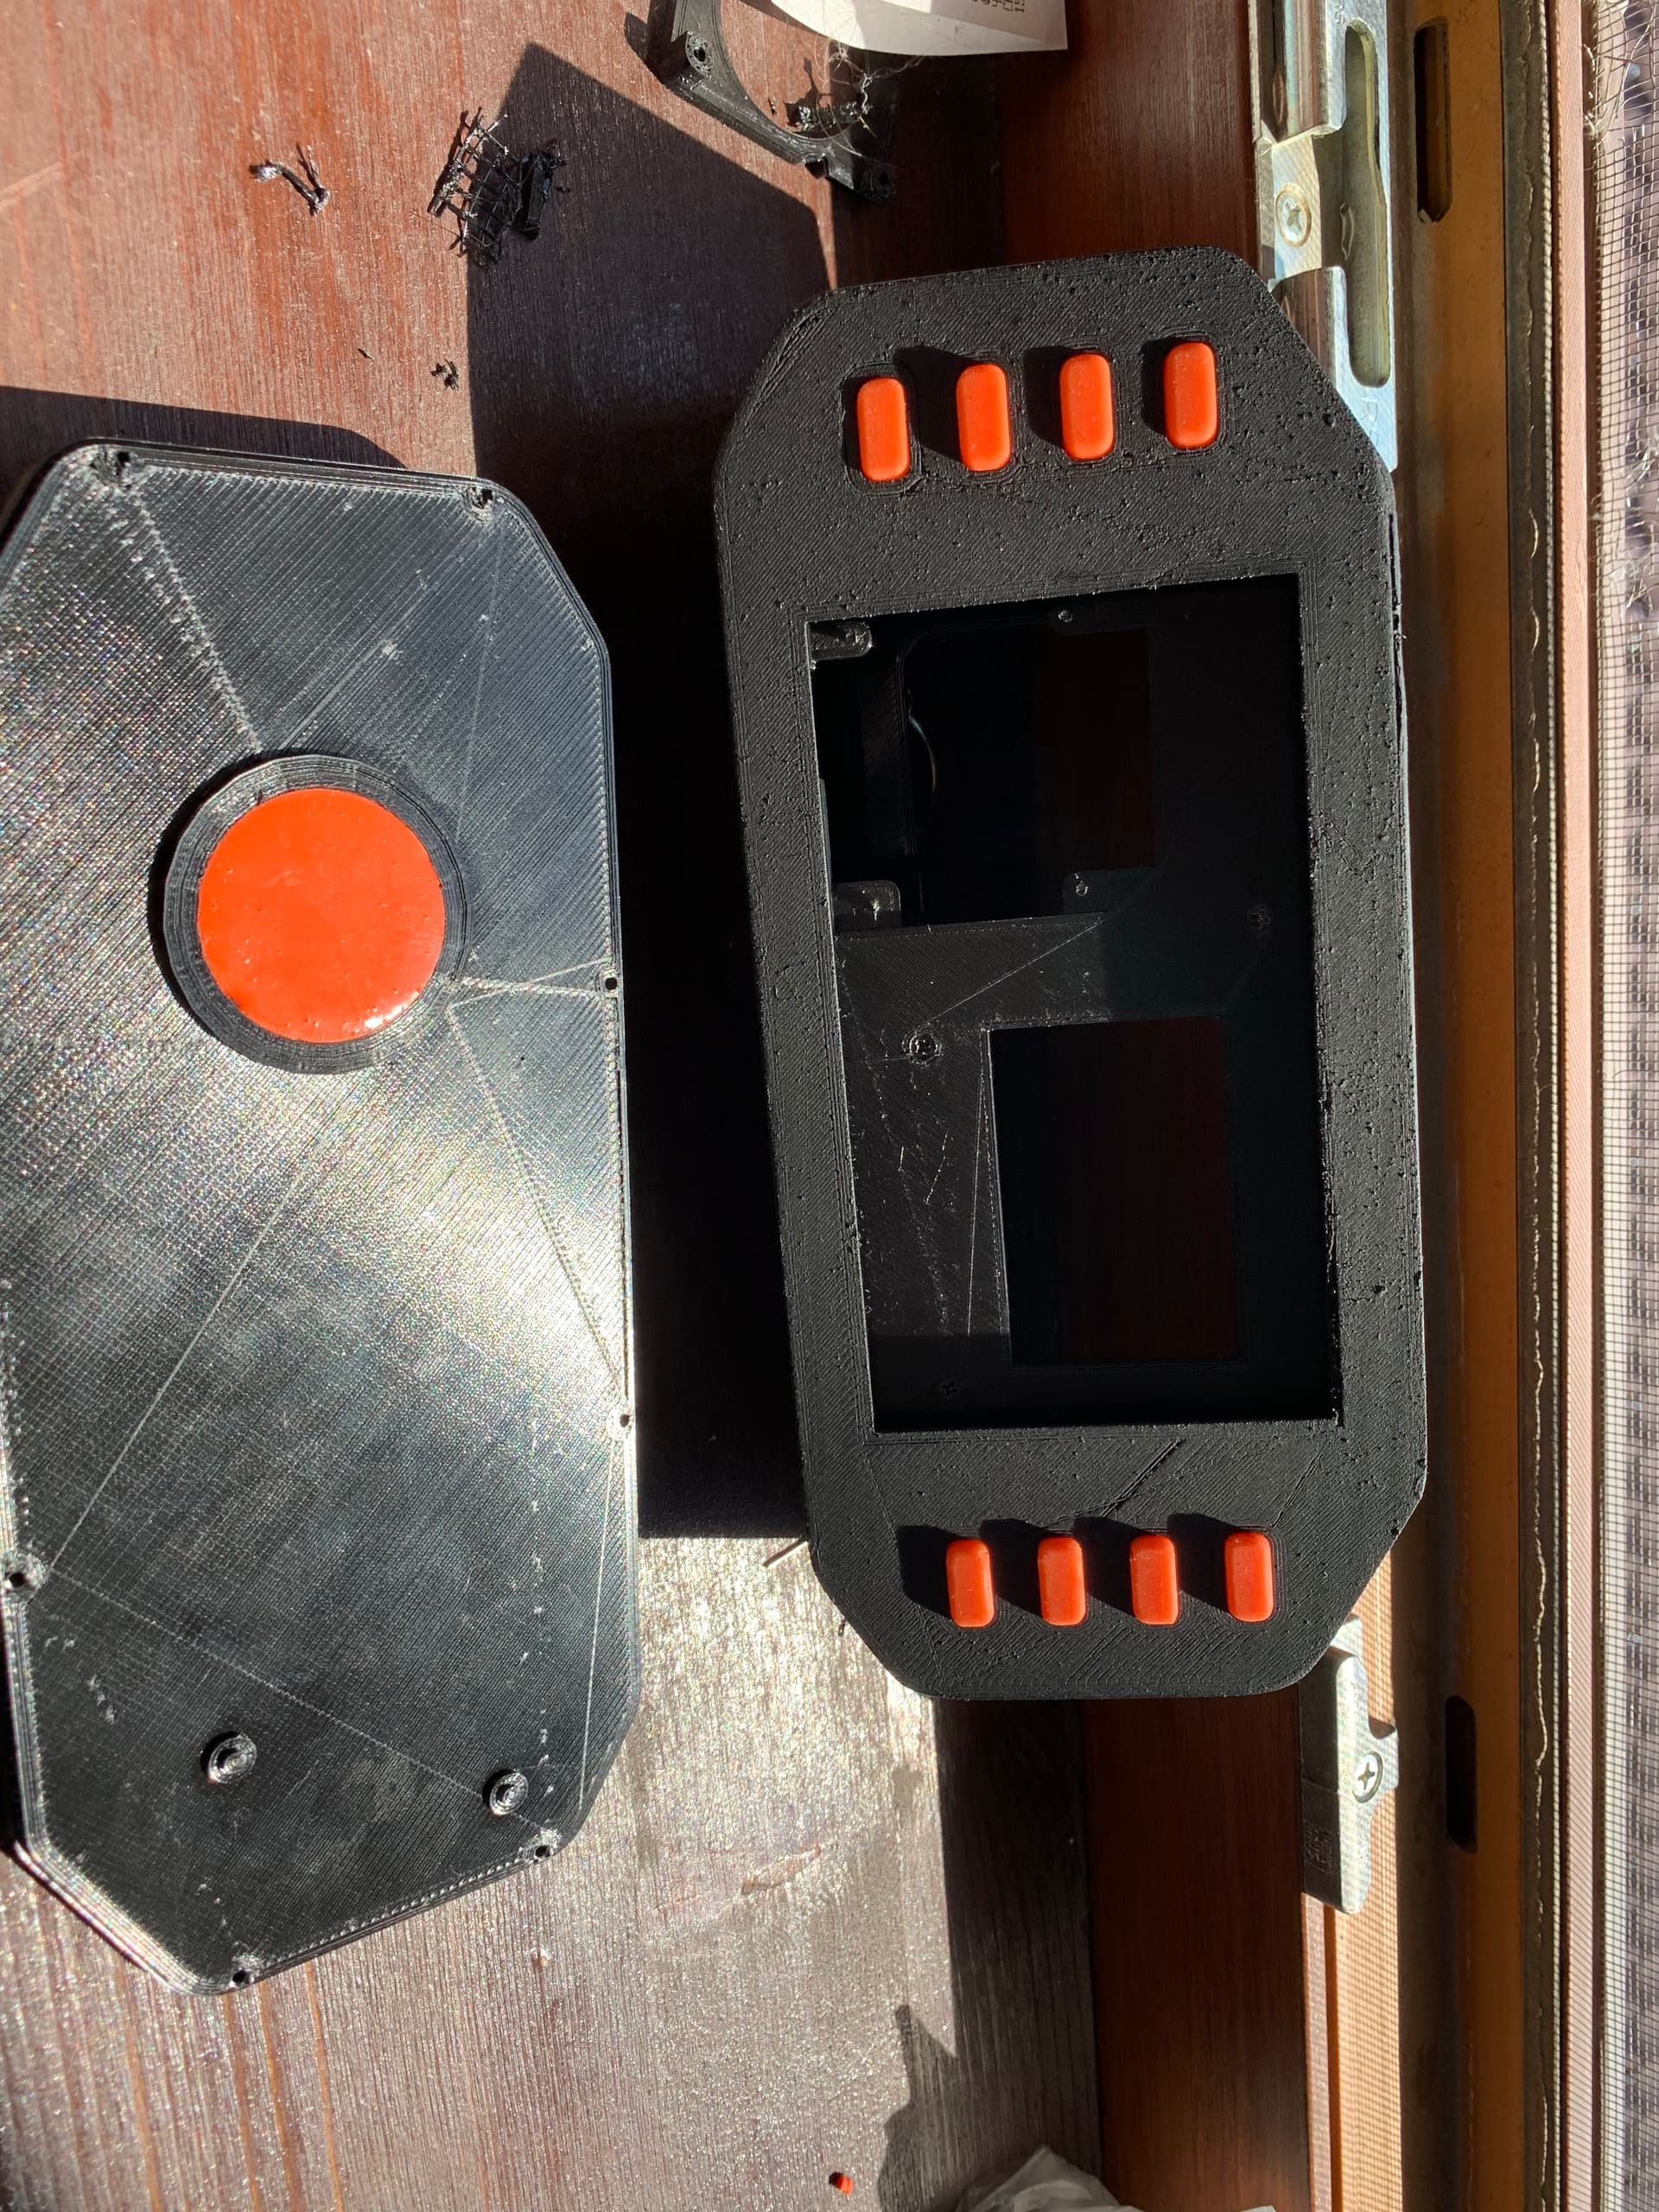
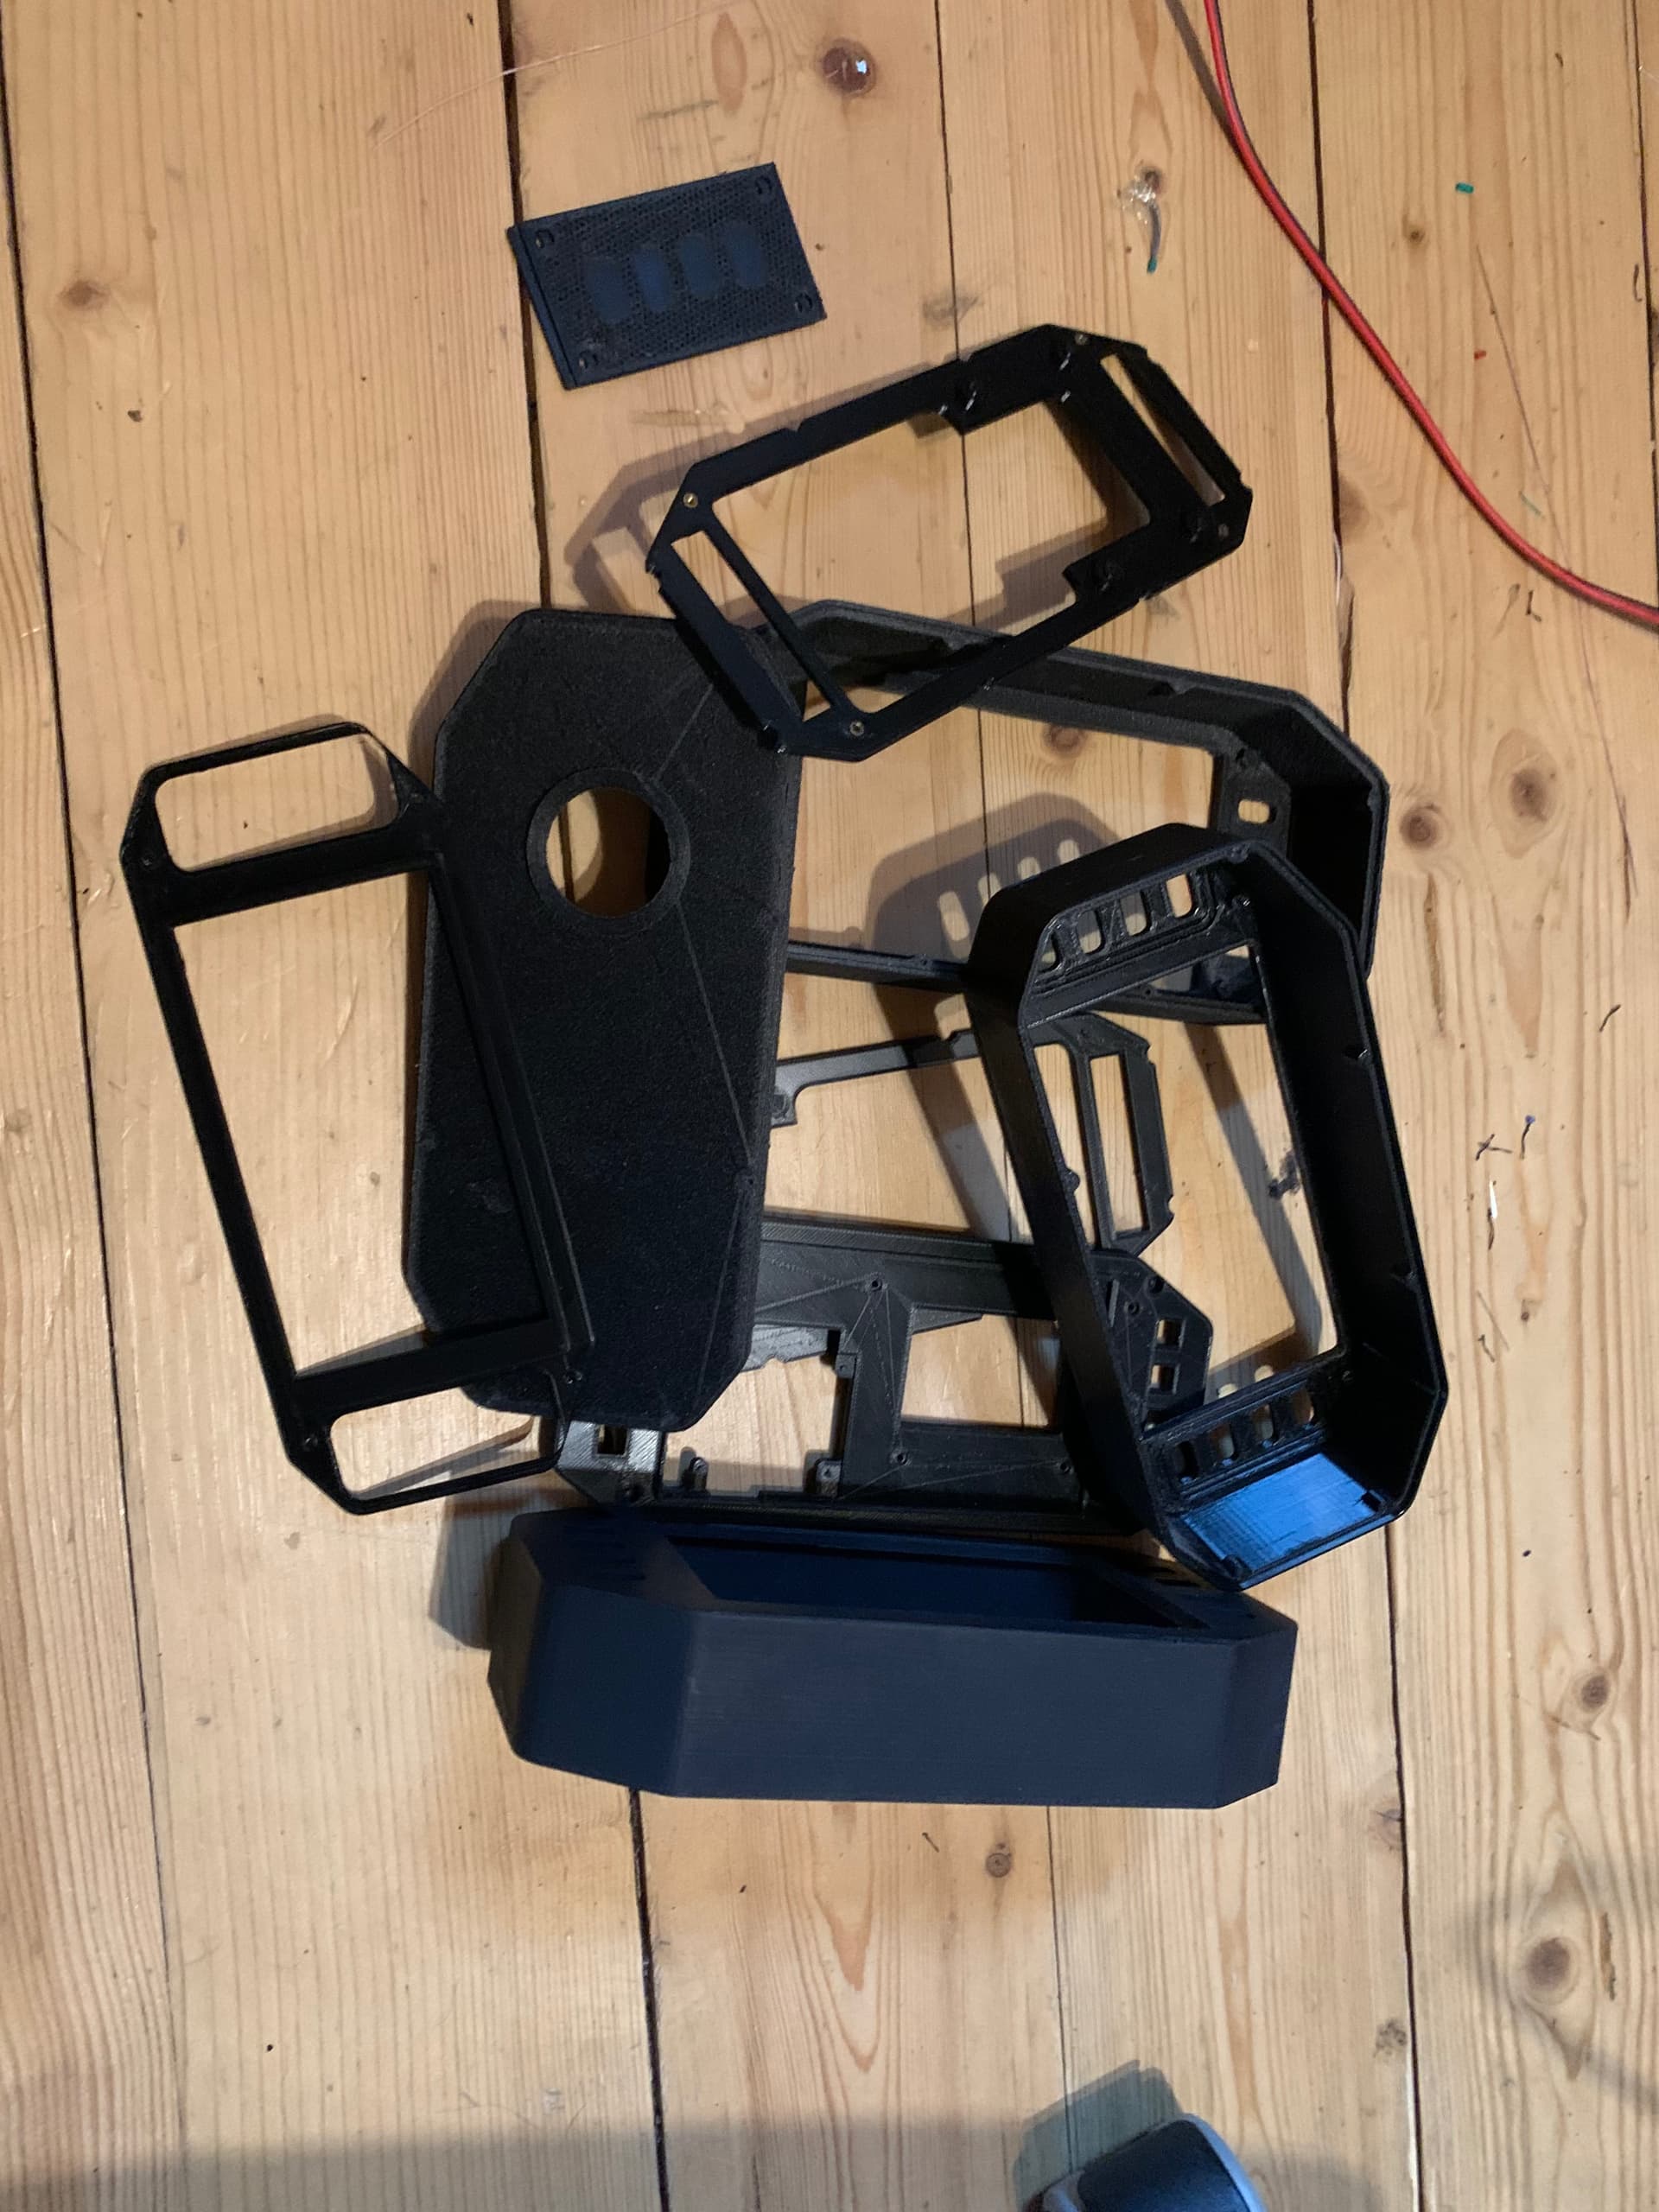
N/. The body of my headunit has to be designed water and mud proof and build using modern 3D printing technique.

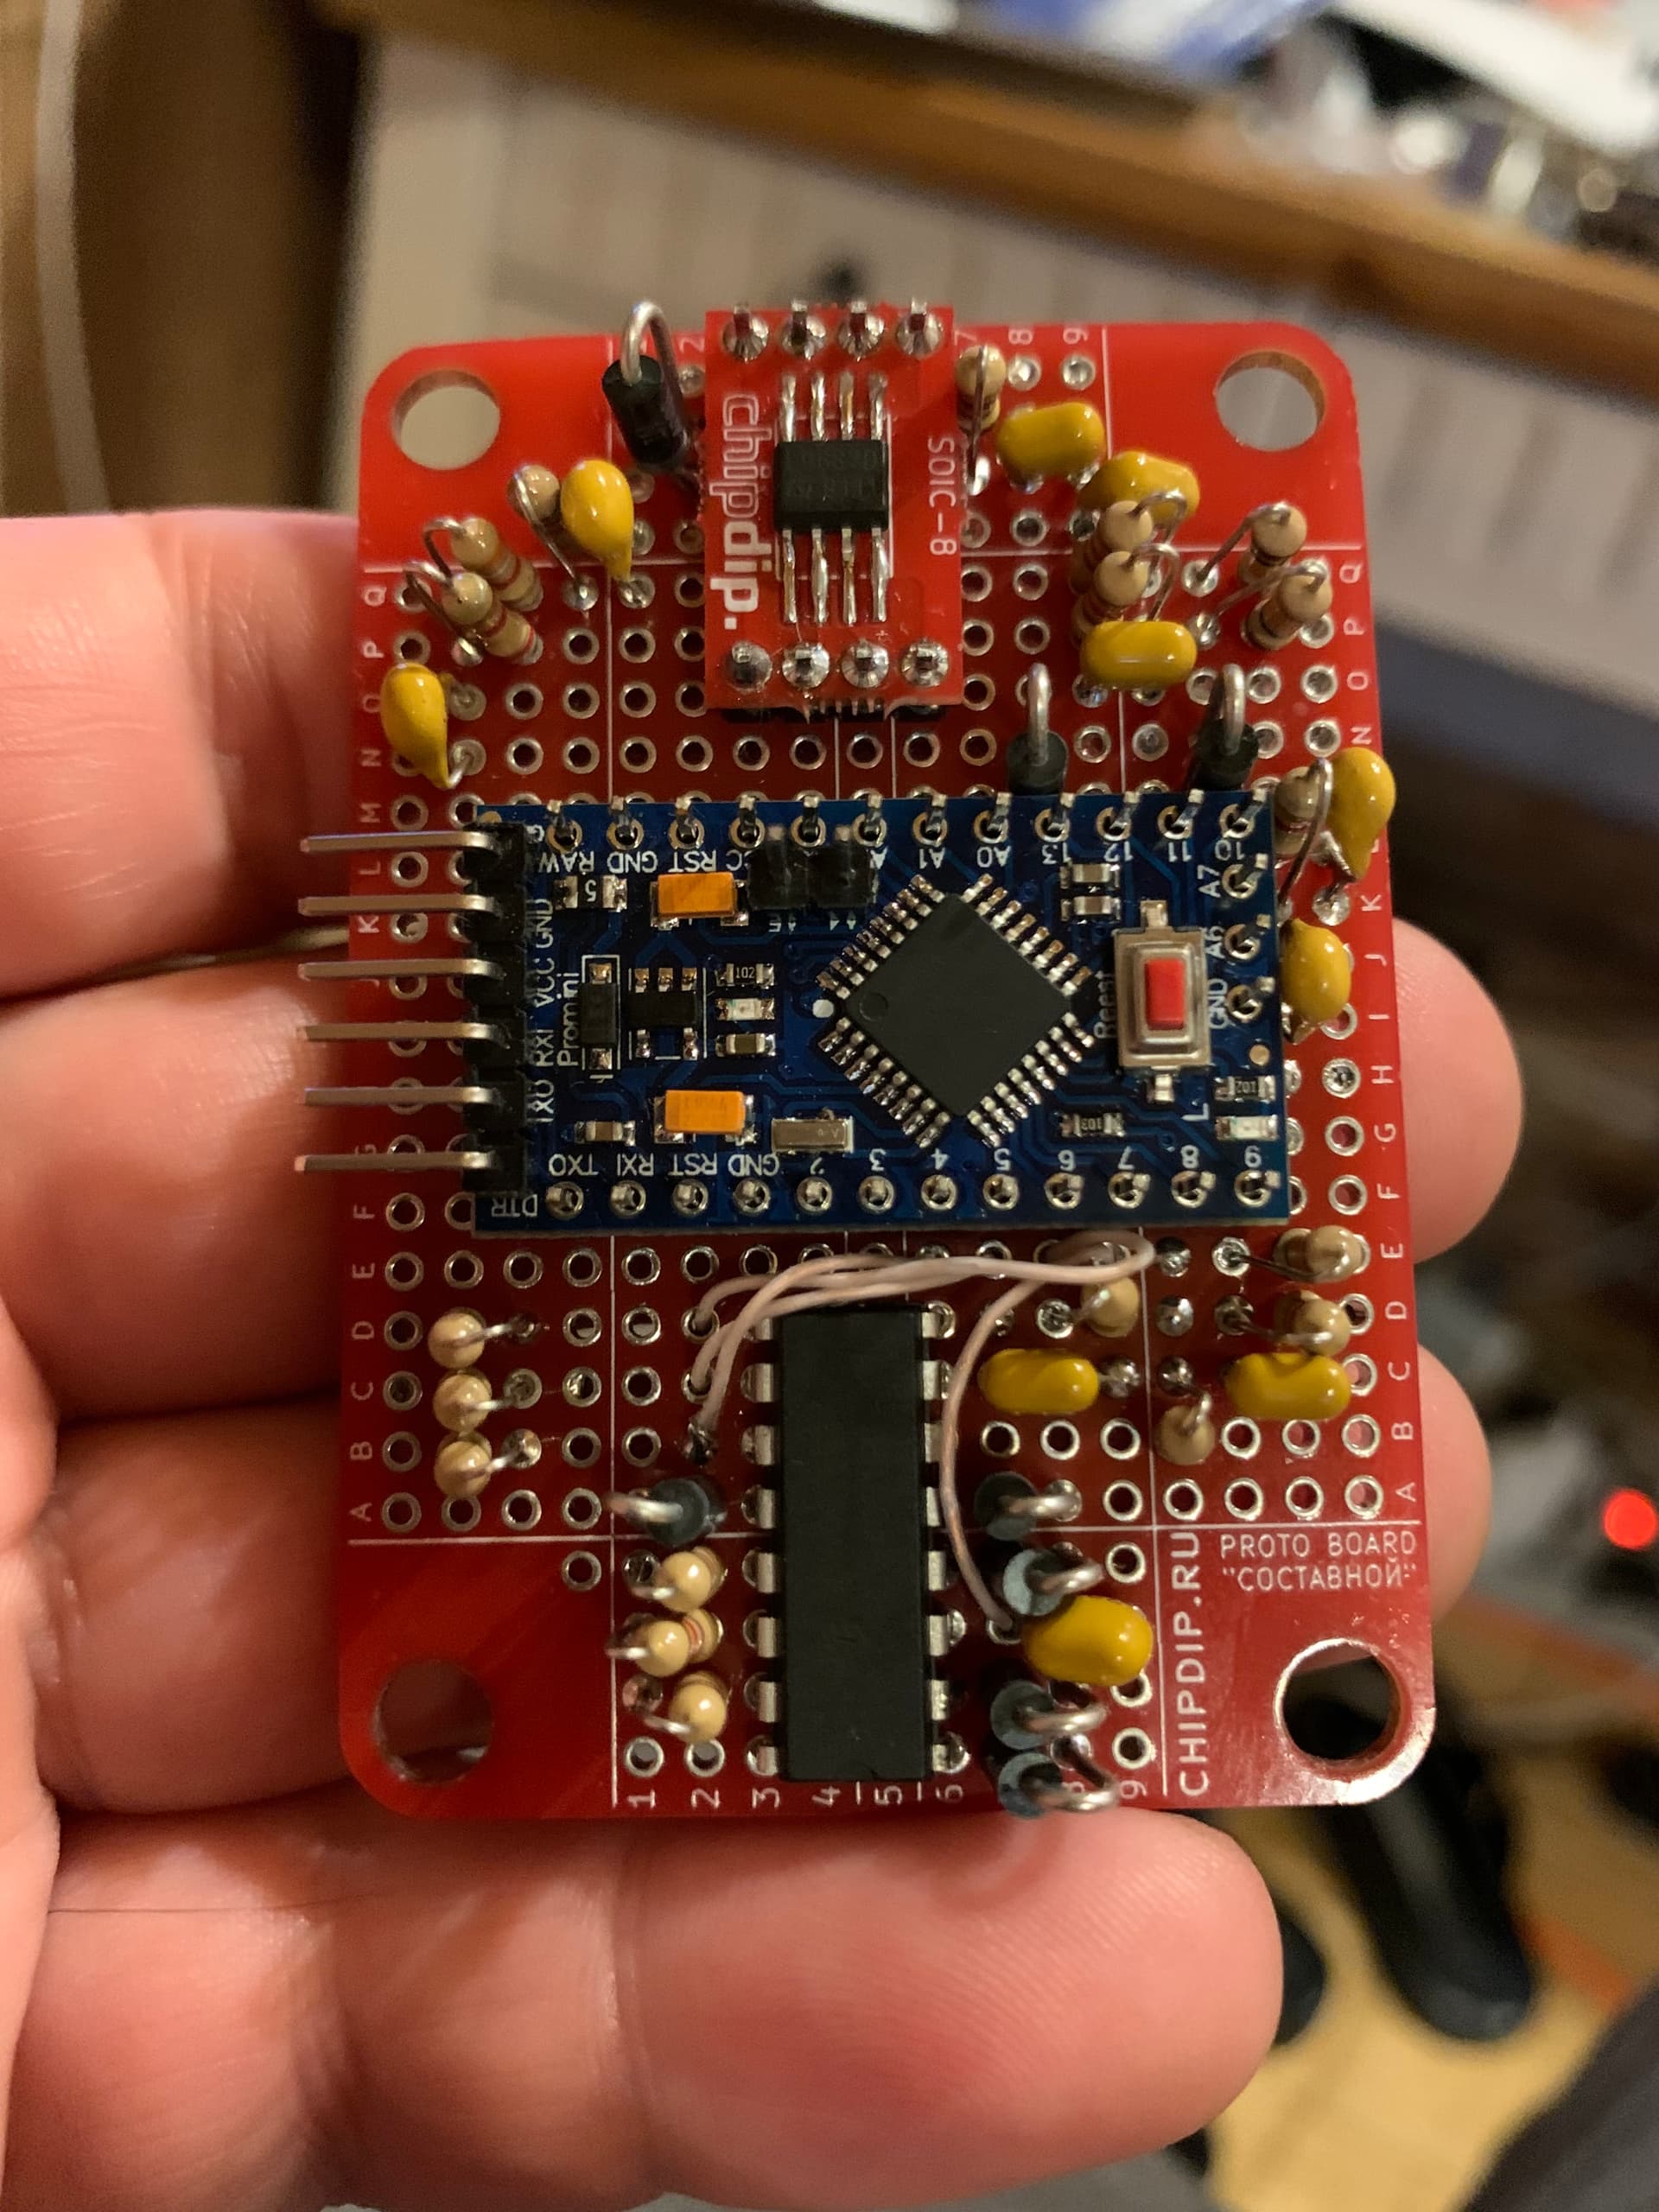
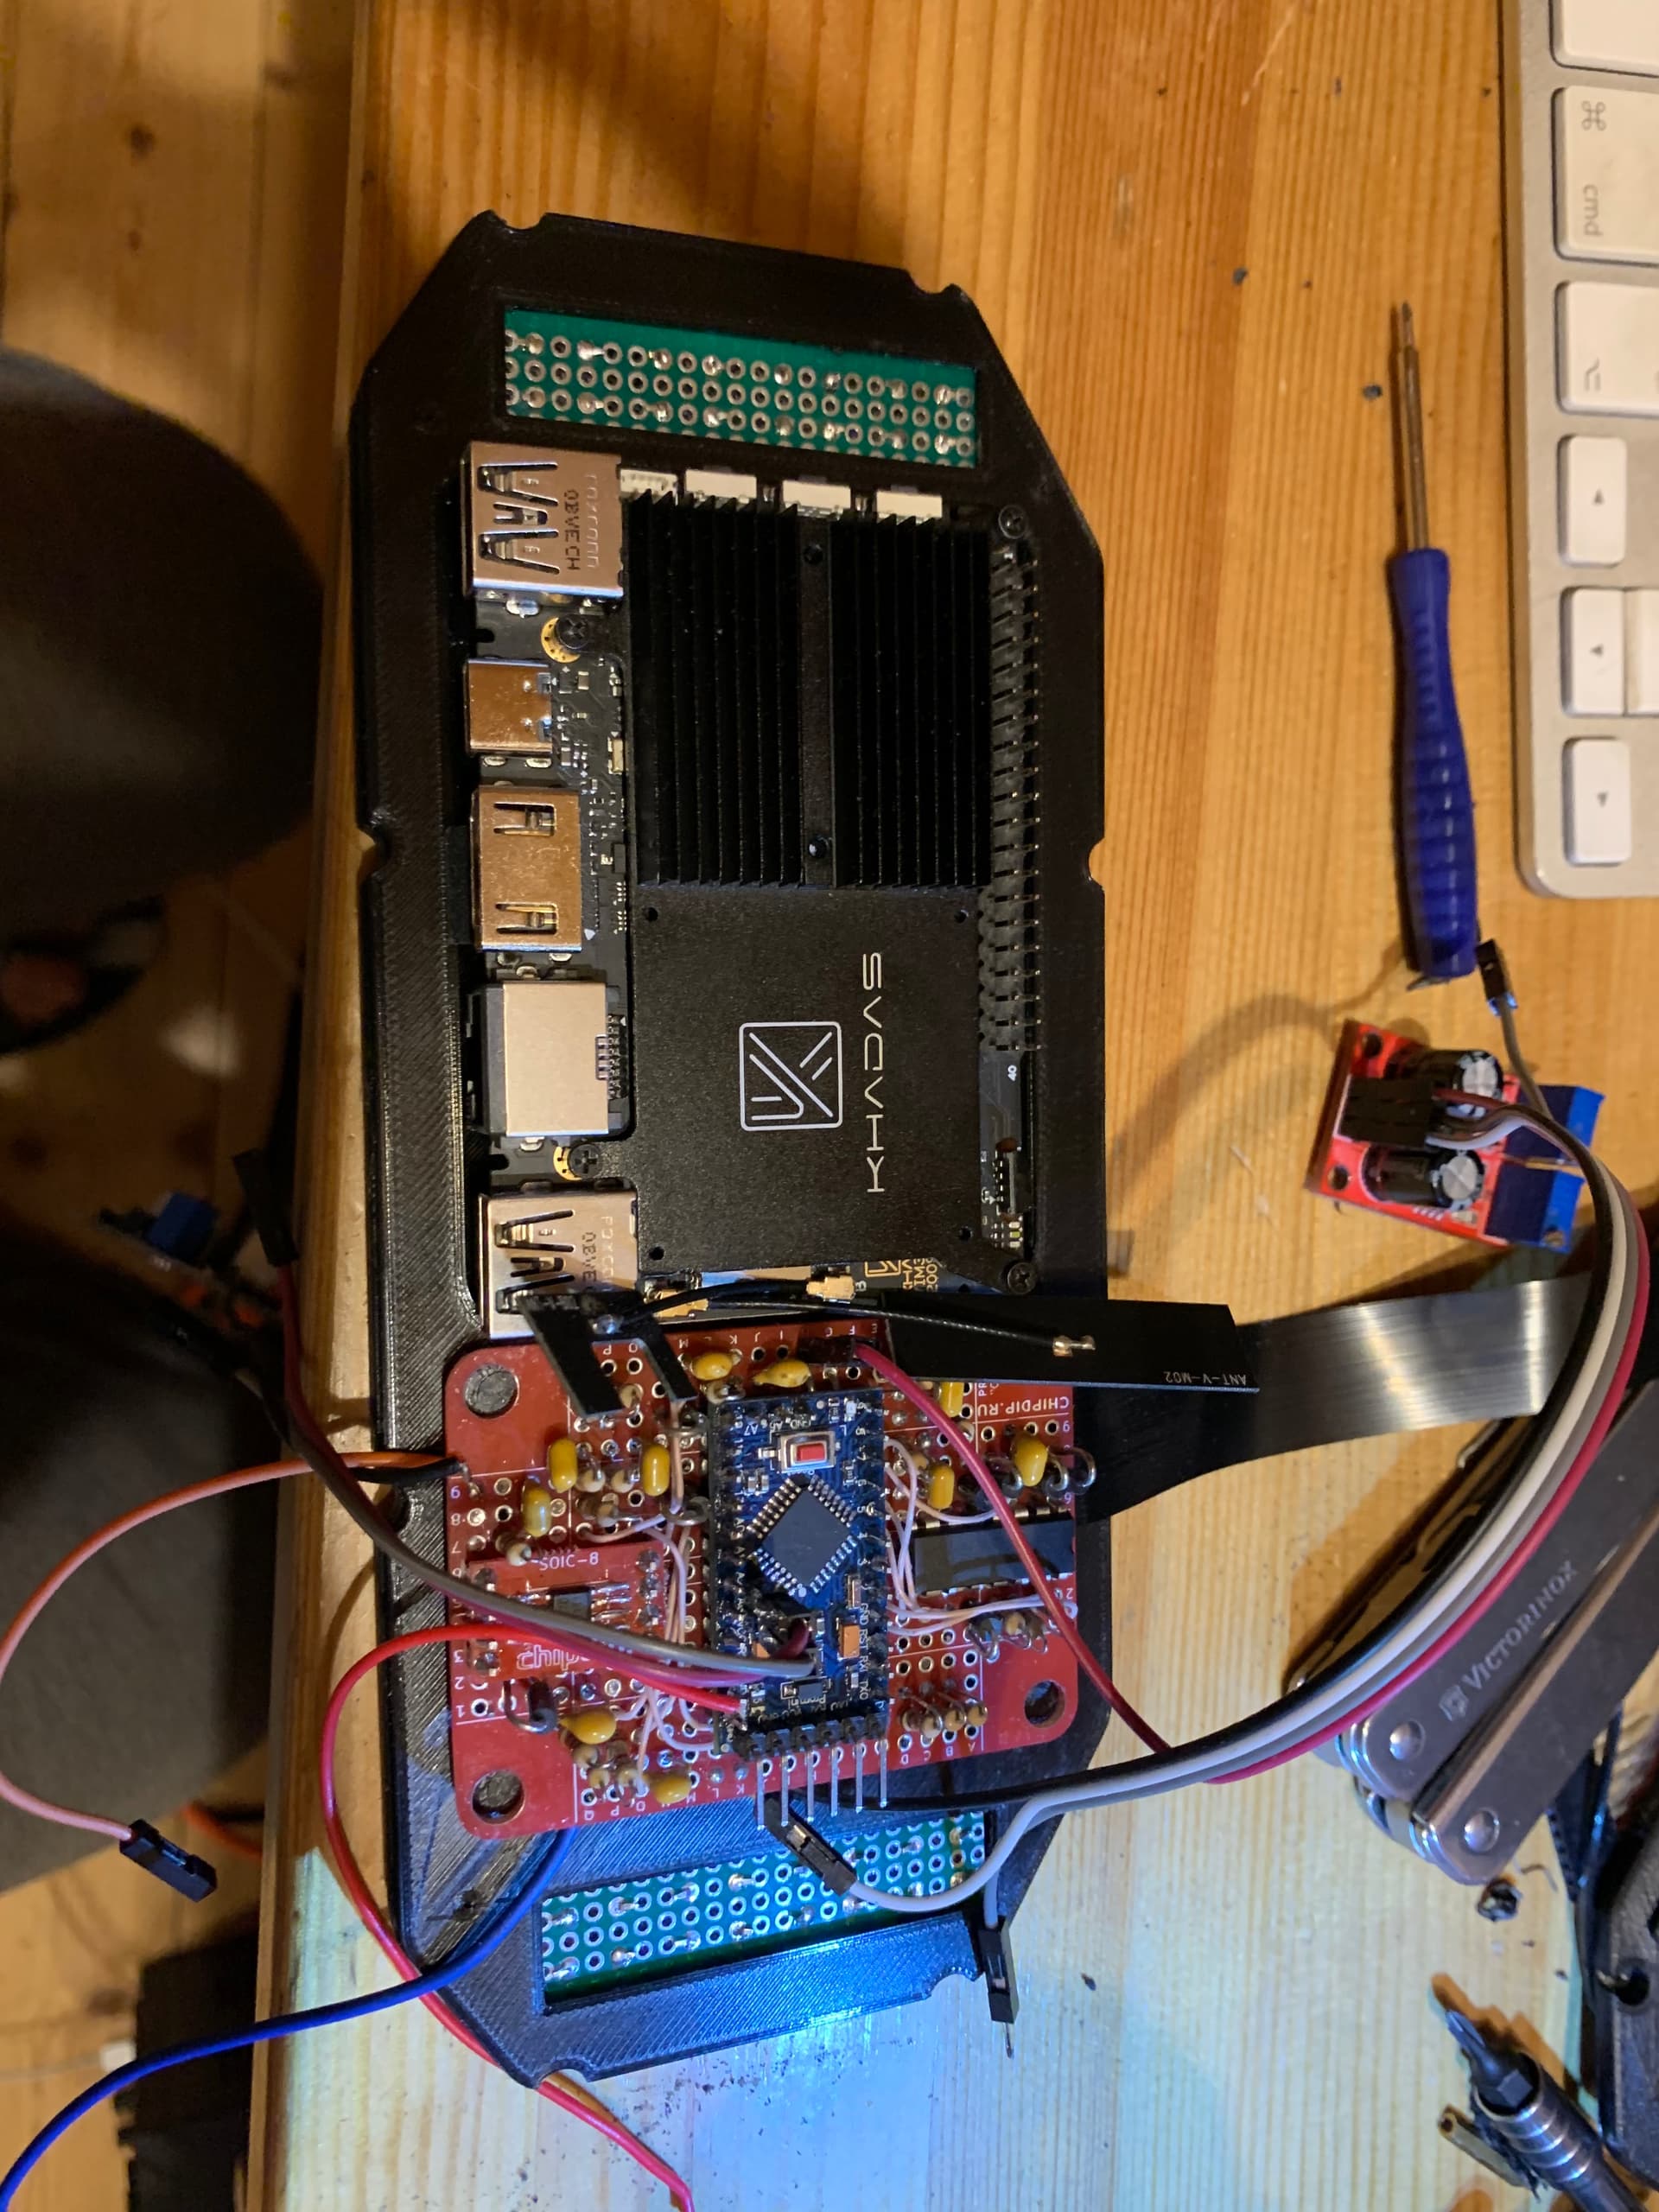
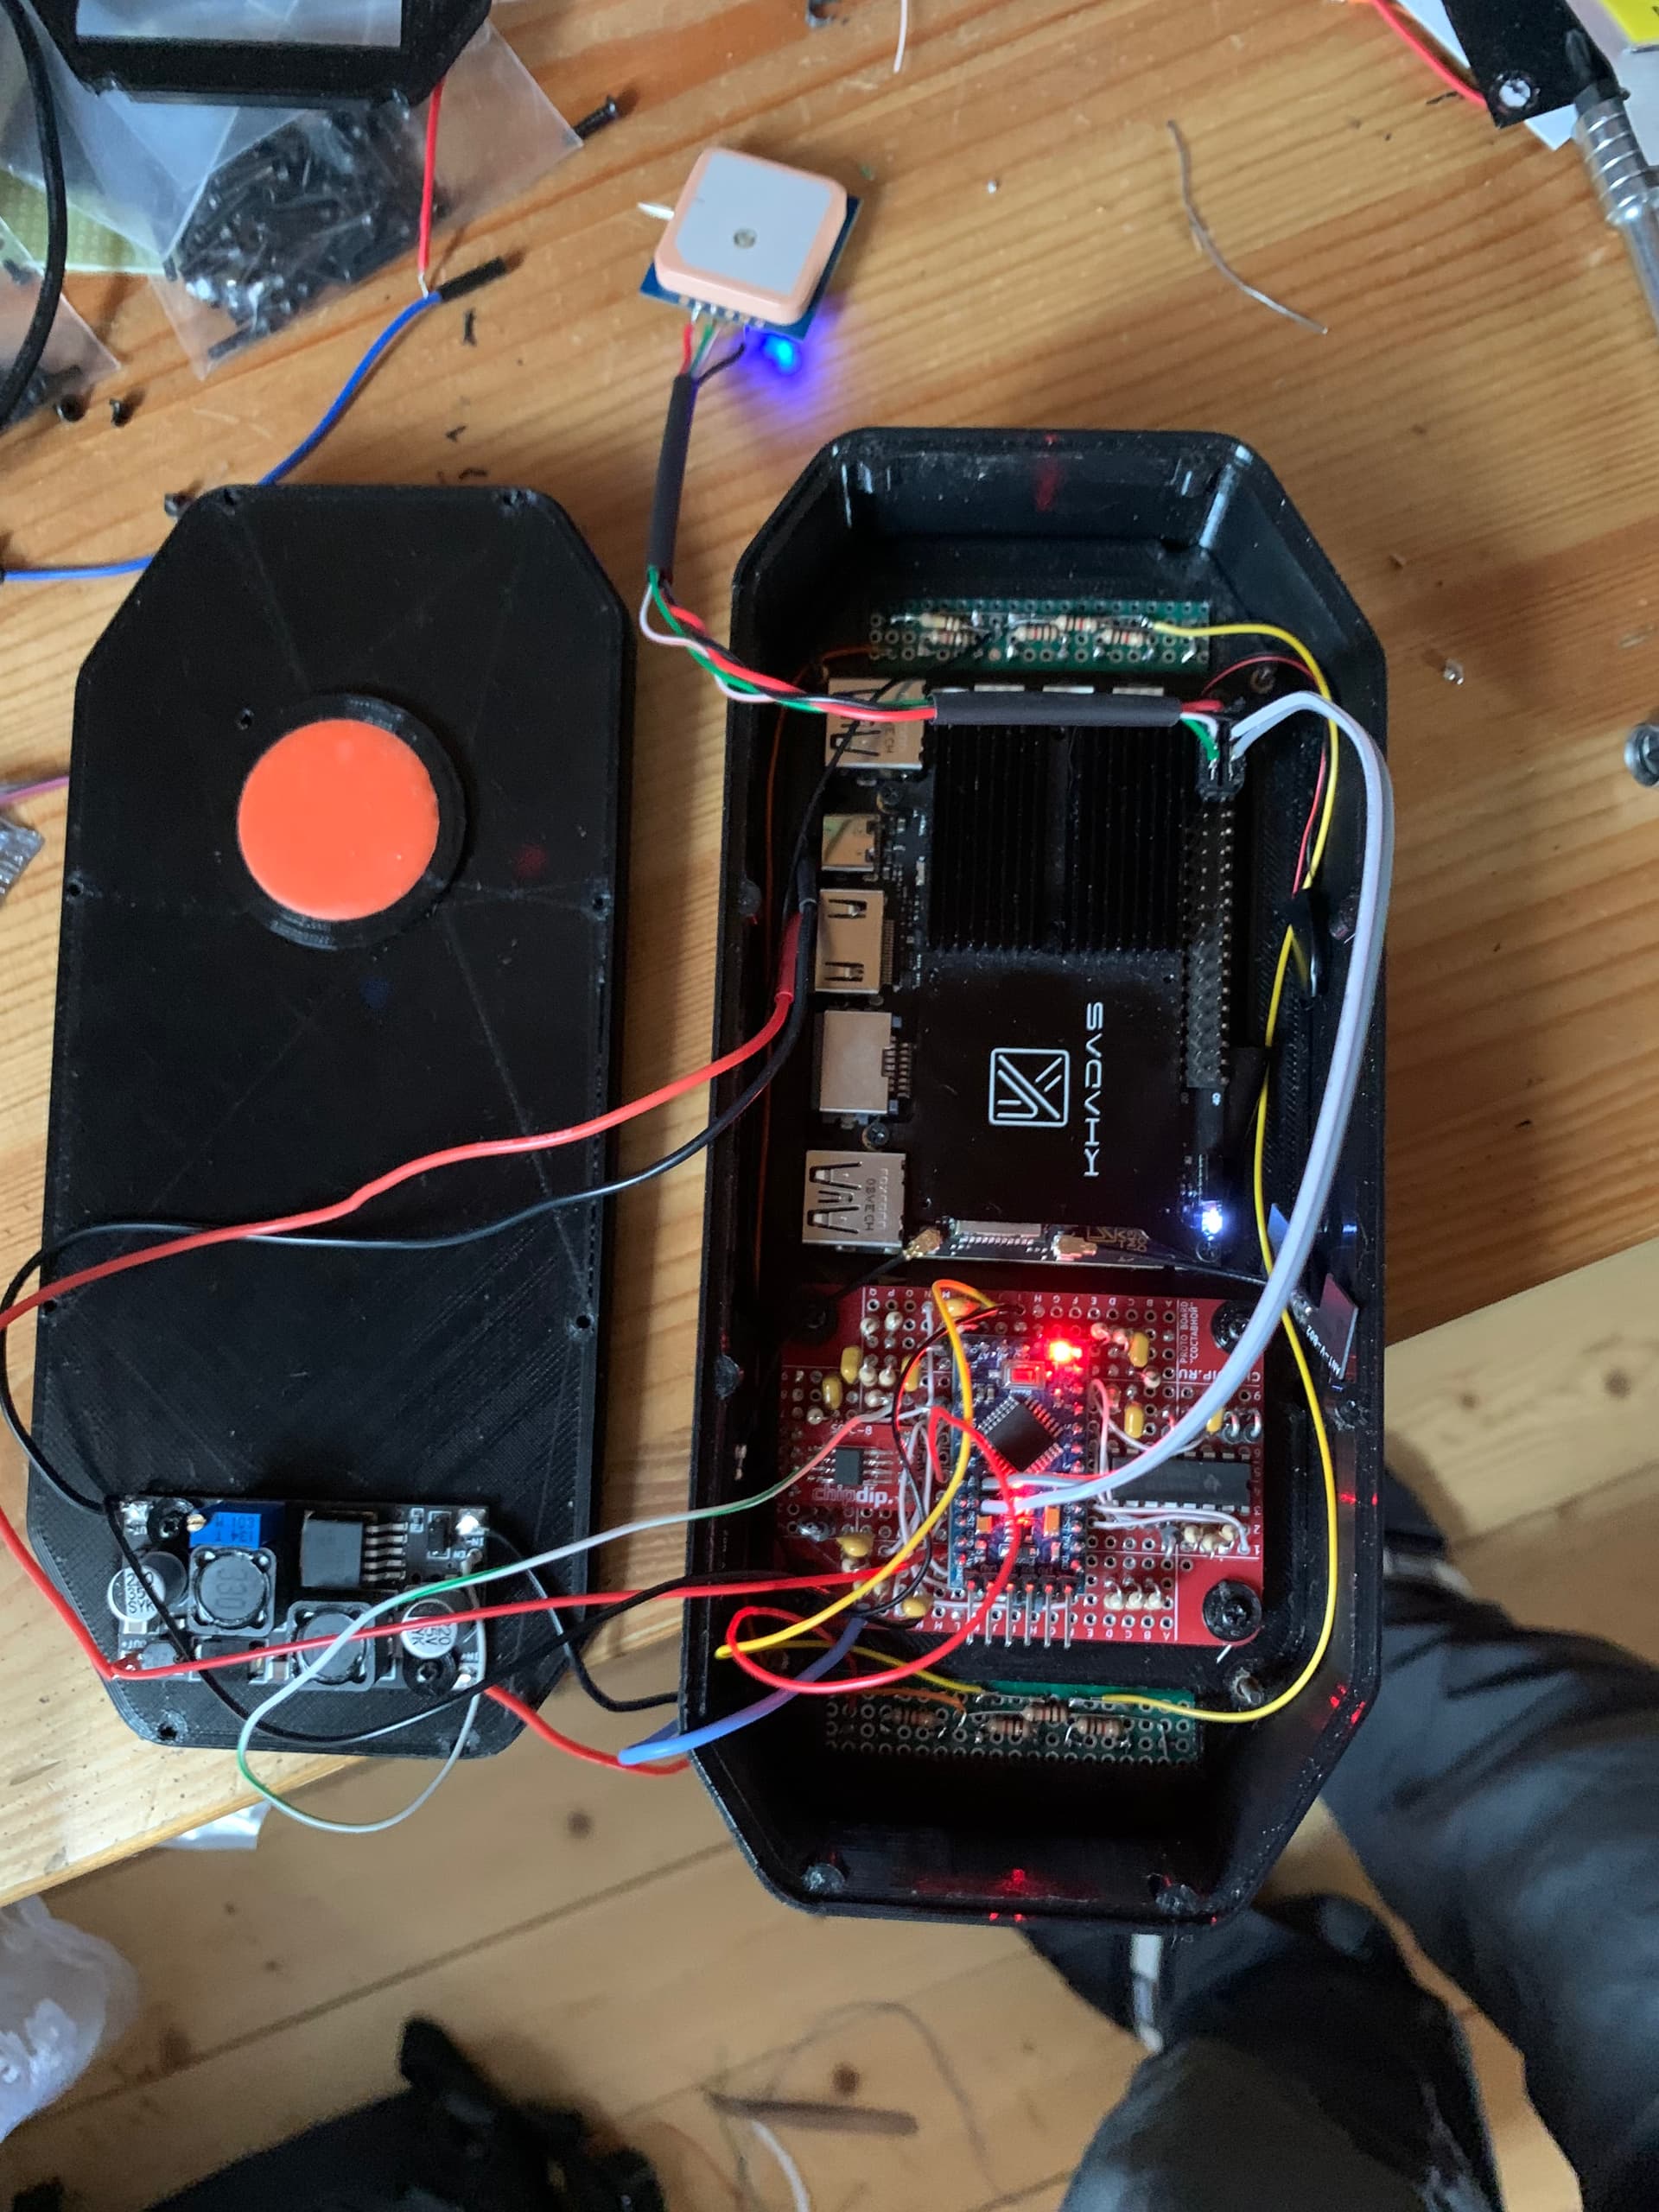
I evaluated many SOC boards for that purposes and found that Khadas VIM3L board seems to be best to fit my requirements as it is more than powerful, very slim design and etc… So I decide to give it a try

Stay tuned… more things to come

PS: This project was already completed and it took around 9 months from idea to final realization. But I will fill this topic with a story of this development journey as there were a lot if interesting findinds/successes/failures during it.

5 Likes

Well, time to update this project

Creation of new headunit was a first try to create something based on Khadas SBC. I didn’t wanted to build yet another nice headunit device - I tried to build something that goes beyond usual headhunts functionality.

I need to say - that headunit has to survive in really severe conditions - as my ATV rides are full of extreme and fun :-). So mud, water, vibrations and so on is kind of usual friends of my rides. Some videos to give you an idea how it goes on.

I’ve selected an Android platform as a base of headunit because of millions frameworks existing to suit 80% of the headunit functionality like maps (I’m using OSM droid for offline maps), multimedia and so on…

However left 20% requires 80% of efforts according to Pareto law.

So I had to write my own implementation of gauges - all variants I saw on a web were either simple, low customisable and not fast enough. It took up to month to create and make my gauges framework work in the way I wanted and achieve 60FPS for smooth animation.
First tries

Final GUI

2-nd biggest task was to developed MCU to communicate with ATV hardware like temperature sensors, gearbox statuses, lights, RPM and speed sensors and of course I wanted to have a full control over Engine Control Unit ask ECU. And biggest challenge was to fit everything into very limited space. For MCU chip I’ve selected Atmega328P chip board which is pretty small enough to fit into the place, but it was really hard not to go out of available pins on a chip - as result I’ve used them all :slight_smile:


Also it was a big task on how to establish a communication between MCU and Khadas SBC… Due to realtime requirements - I can’t use any software UARTs or whatever … because all tachometers and speed sensors are working realtime via interrupts. And Atemga328p has only 1 hardware UART port - which is already in use for communication between MCU and engine ECU…. The only option I had is to go with I2C hardware on Atmega328p. Jumping ahead - that we a right choice, because later on MCU I’ve implemented a bootloader over I2C to have an ability to update MCU firmware just directly from Khadas SBC. (As disassembling headuinit each time to update firmware on MCU is a bad idea).

But I faced with a problem with I2C bus on Android… Khadas providing it’s own Khadas API to deal with it - but it is okay to work with small amount of data, and not fast. In my case - I have almost realtime requirements for I2C communications.

So I had to write my own system service for Android I2C communication, using JNI and extra stuff. Initially I was thinking to write a linux device driver for my ECU - but when I’ve implemented a boot loader over I2C - it change an I2C slave address on a boot time - to distinguish different running modes of MCU - so I decided to let Android to have a direct access to the I2C bus.

To be continued…

3 Likes

What is made this headunit a bit unique ?

Well, it is bluetooth :-). Actually not a bluetooth by itself but some extra functionality added on top of BLE advertisements send by blueetoth module. Very cool that Khadas SBC has a really good Bluetooth chip and stack supporting that.

Usually, you’re not riding alone - most of the time you’re in a group and it is really important where your mates are and how they are doing. BLE advertisements allows to add some limited amount custom byte data and broadcast this data with an interval you can set up. So I’ve used that to send and receive an information of each headunit location, speed, name and status data - and show it on the map.

public static class IdentityAdvertisement {
    private byte status;
    private byte speed;
    private final byte[] name = new byte[7];
    private final byte[] mac = new byte[6];
    private float longitude;
    private float latitude;
    private float altitude;

That small amount of data extend a headunit functionality a lot. You can see all you’re mates on a map with their speed, heading and so on. Even an information about unit status is also visible like if engine is stopped, maybe it is a kind of emergency situation and help needed - all comes through a status byte. And as this info comes with interval around 160 milliseconds - you get information almost in a realtime. Also you can setup a follow me status - so everybody will see you and follow.

Basic distance I got with native antennas - were around 30-40 meters - which of course isn’t good - so I’ve added external antenna with +12dbi amplification… That give a good boost in a range, but sometimes even that is not enough - so additional feature of mesh bluetooth is in WIP status - where each unit can retranslate incoming signals from nearest neighbours - effectively extending a range a lot. Same things usually made in in helmet Moto communication units like SENA Moto helmets solution.

Regarding how a body with all requirements to be mud and waterproof were made. Initially I was planning to use flexible plastic for 3D printing, but it failed…


So I had to go in opposite way. I’ve developed hollow moulds for buttons and other things and made them from polyurethane with color pigment added. That worked pretty well - no water can get into the body.


As for body itself - it took a lot of try and fail approach with tons of plastics went to the trash until required result was achieved.


To be continued…

2 Likes

The next thing which took a lot of efforts - was ECU and Headunit communication via Khadas SBC - (i2c bus) - Atmega - (UART and K-line chip) - ECU…. The tricky part was how to establish this connection…. ECU Fast init if K-Line protocol ISO 14230-1 and ISO 14230-2 requires pretty good timing sequence. Before sending initialisation sequence to ECU it is require to drop K-line to logical zero for 25 ms and then set logical 1 for another 25ms to tell ECU controller that we want to communicate and then switch to 10400 baud speed and send init packet. And we have 1ms tolerance in timings… After spending some hours trying to resolve that and need to say that without oscilloscope it was mission impossible - I had a luck to made it and thanks to Khadas SBC - in their android implementation - timings were really good. So init sequence trick was the following:

1/. Select smallest baud rate and send a command to Atmega MCU to set up UART port rate - and oscilloscope was required here to find exact value of baud rate
2/. Send 0x0 byte over i2c bus to Atmega MCU and it is turn Atmega will send it to ECU
3/ Sleep 50 ms, switch baud rate to 10400 and send init packet to ECU

An oscilloscope was required to find exact required baud rate to fulfil timings, so start bit, 8 bits of zero data and a stop bit duration took exactly 25ms. In my case I’ve ended with magic number of 360 baud rate for that.

After that - a full connection was established - I was able to receive data from ECU and established a communication loop for 200ms duration getting a 100 byte packet full of ECU data with all sensors information.

So all physical sensors coming from Atmega like RPM, Temperatures, Fuel tank sensor reading and so on are extended with around 40 virtual sensors information coming from ECU itself - like throttle opening value, spark advance angle, engine errors and so on…

And to show all of that an idea of having multiple customised screens in headunit android main software was made… So it is possible to have multiple dashboard screens and customisable layouts with different sensors on it with a possibility to switch between of them by a button press.


I won’t cover in details some parts of headunit software like media player and so on, just add a few screenshots - but in general media player have all functionality needed (albums, songs, artists playlist and so on) and work over bluetooth with external bluetooth speakers.


Demo of media player

Next topic will be about calibration process…

2 Likes

After getting everything build - it came a time to install and calibrate this headunit on my ATV.
And that gave myself a lot of headache because of some errors made. As example - my RPM and speed sensors were giving some spikes during it’s work. Investigation showed that extra impulses were merged into the signals from EPS system, or front transmission motor switch - which electrically switched different transmutation modes like 2WD, 4WD and 4WD Lock….

Well, mmm, I had to dismount and mount headunit a lot of times to find a culprit with oscilloscope and made a fix - which was pretty simple enough - just RC filter not allowing anything higher than 1Khz. And that fixed RPM and Speed readings. That was a good reason to go with a prototype board instead of making PCB - cause I’m not good electronics engineer and seems felt in every pitfall, normal electronic engineer can easily avoid.

As for other sensor like a temperature and fuel tank sensor. - that was more easy to calibrate. As for engine temperature - I already have calibrated readings in ECU - so I ran engine from cold to overheat - saved all raw sensor readings … And used Lagrange interpolation spline equation to get real results. Because usually in such headhunts all sensors reading are just represented with a simple graph bars - showing information just like is it cold, normal or hot :-). In my case I’ve reached an accuracy around 1-2˚C for temperature readings.


Similar approach wad made to calibrate fuel tank readings, I just started with empty tank, and step by step filled it with a gasoline, mapping sensor reading to the percentage and actual litres. Put everything in a calibration a calibration table and added different interpolation methods. Now I have accurate knowledge of amount fuel left in ATV and know for sure what point of destination I can reach based on fuel consumption coming from ECU itself. This is really important because there are no gas station in the forest or swamp. I also show a «reach» circle on a map showing myself a circle with radius where I can go based on a fuel amount left in my tank.

I won’t mention all the other sensors - there are to many of them, including G-sensor on Khadas SBC itself, which I used to show pitch, yaw, acceleration and etc stuff. Just wanted to mention that it will be heavily involved into the emergency analysis subsystem.

So now everything build and works like a charm allowing to even update software for Khadas SBC and Atmel MCU over the air… But it is an end of the project description - but not the end of the project itself. Because what had been already built is a just a basement for further evolution.

Because a plans are really big for this headunit and Khadas SBC is really capable of a lot of things. Just to show what is behind or curtain - there are plans to implement emergency subsystem that will analyse data from G-sensor, ECU, GPS and from other teammates riding in the group - to quickly solve a situation if somebody is in trouble (crash, engine failure and so on) - because ATV riding is extreme sport :slight_smile:
Another plan is to use a video codec capabilities to send video streams of gauges and other useful information into the helmet - which I’m playing someday to equip with micro LCD projectors, just to have all necessary information project on a helmet visor. Pretty useful feature, but for now I don’t see anything cheap on a market to implement that… This is something I want a lot because a lot of time you’re not able to focus on a dashboard itself, but it is important to have such kind of info. Cause I ride not only ATV’s. On a winter times there are another extreme sports coming with snowmobile riding and I’ve a plan to use my heading there :slight_smile:


4 Likes