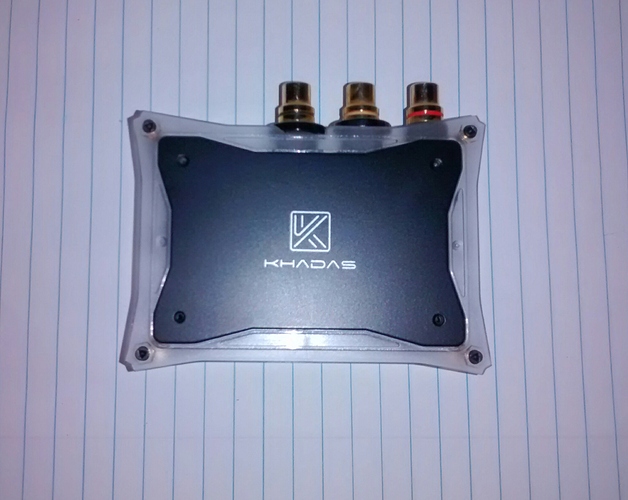
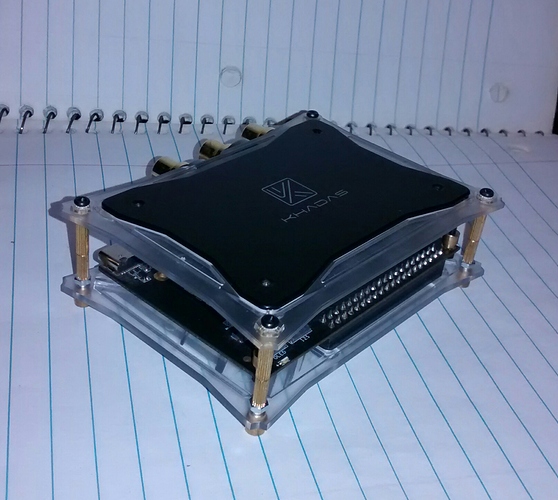
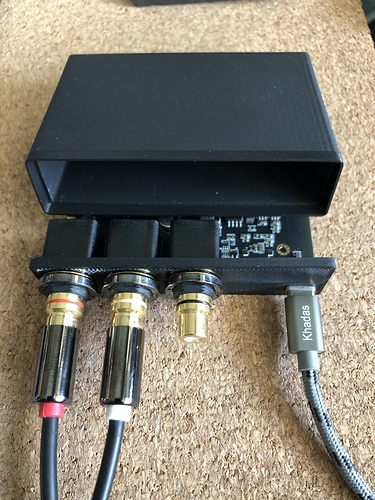
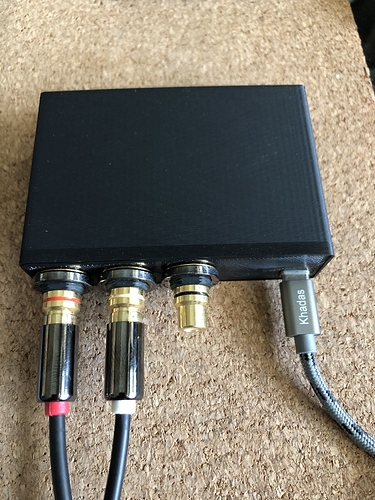
Yes, clear case, turned upside down. I did that because I like the metal plate and logo look. Also, the TB VIM version has the GPIO header mounted, I had to invert the case top(used as bottom) to allow the header clearance, and that would not be as pretty if if were on the top.
As to the nuts, bolts and threaded brass standoffs, all fasteners came from Khadas products(VIM1,VIM2, DIY case and Tone board), not sure what came with what at this point. Both the DIY case and TB come with some fasteners, check their respective product pages for details.
Fasteners are all M2-.4, aka 2mm. You may have to purchase some fasteners from the Bay or Amazoon to complete the fastener list. Suggested search term: m2 brass fasteners(or standoffs). Kits are available with a multitude of M2 fasteners for around $10 on the aforementioned sites and elsewhere.
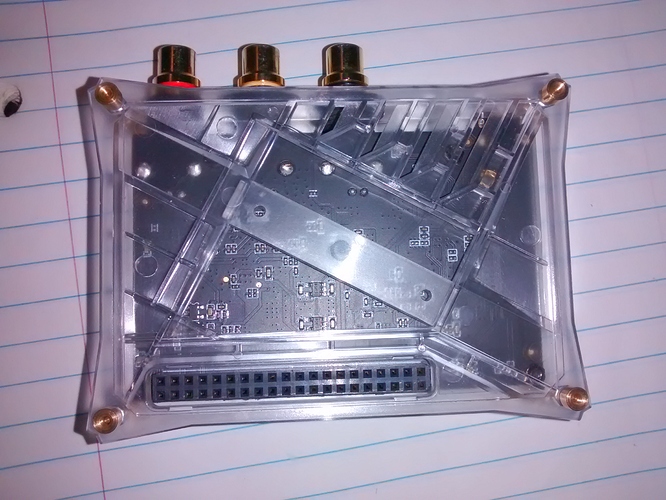
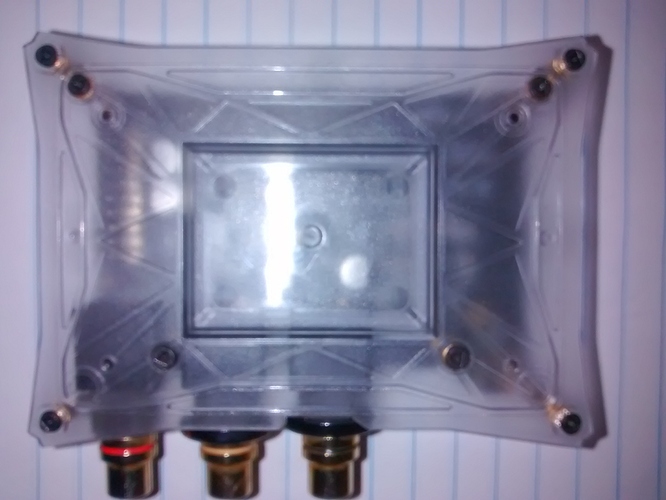
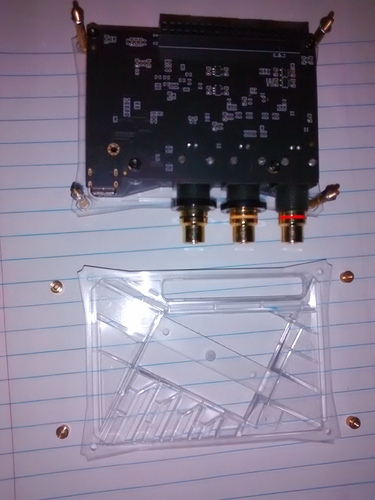
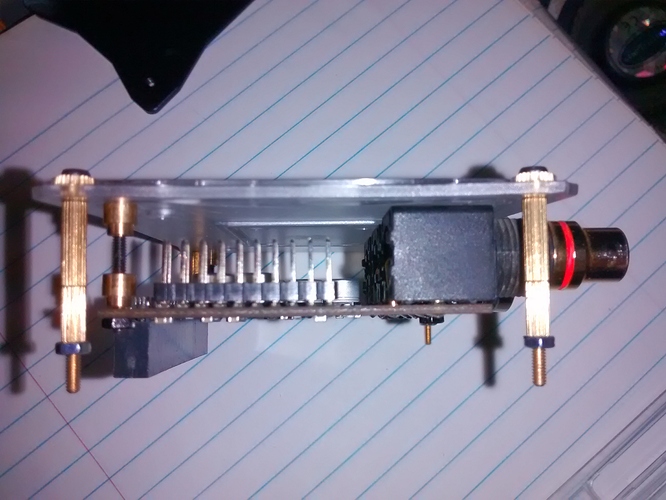
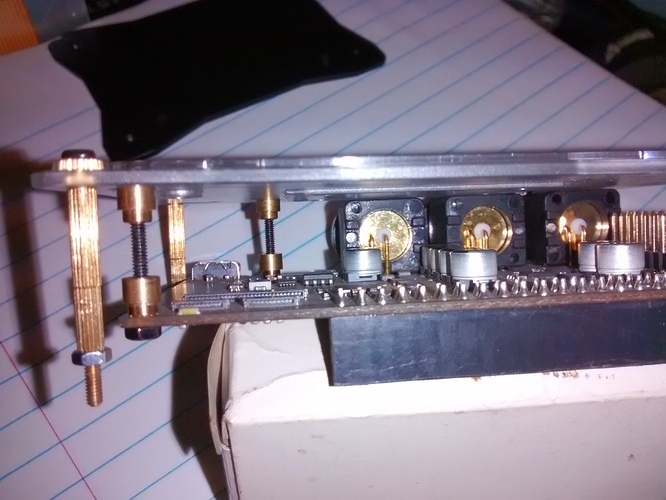
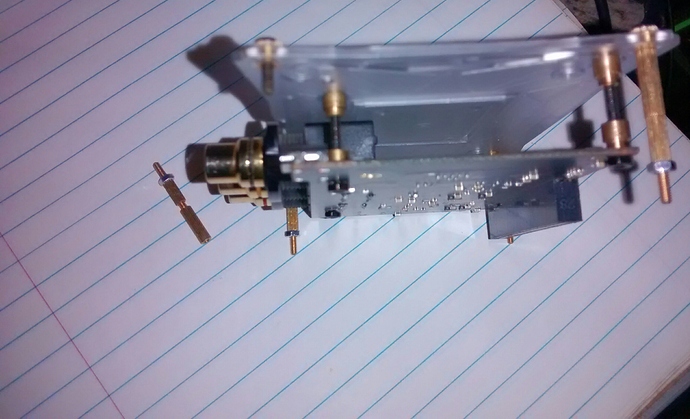
Hole spacing on the VIMs and the TB are the same, so yes, mounted the TB to the case bottom(used as top), metal plate is attached to case, metal plate and TB don’t share fasteners. Added studs for board and attached metal plate prior to mounting the TB. I had to double up the brass corner standoffs because I had none long enough. Since you might be buying those, you can pick a suitable length. Standoffs could be substituted with bolts and nuts if you preferred, but to avoid electrical shorts, make sure the fastener does not extend past the pads on the PCB’s bolt holes.
Nothing has to be cut or physically modded, however, if you want to get all three control nuts on the output connectors, some material removal may be required. The nuts are cosmetic in this instance, so I just left one off(right channel). Could also make the studs that hold the board longer, so the Control nuts would clear the case section.
It is certainly easier than it sounds here. 
If you have questions about the case after you get your TB, I will attempt to answer them.
Have fun.
Some pics to show some assembly detail…


 , was supposed to arrive today, guess it’s going back.