Preface:
There are many methods and tools for labeling datasets for in-depth network training, such as Labelme, LabelImg, Yolo_mark, Vatic, Sloth, etc. Only one of these labeling tools are introduced here: LabelImg
1. Download the LabelImgTool
We will use the binary that had been compiled for Windows, labelImg.exe. Note: if LabelImg suddenly quits after opening, go to the folder C:\Users<User_Name>, and delete the labelImgSettings.pkl file, and then reopen the tool again.
2. How to Use the LabelImg Tool
2.1 Double-click the LabelImg tool’s icon to run the tool
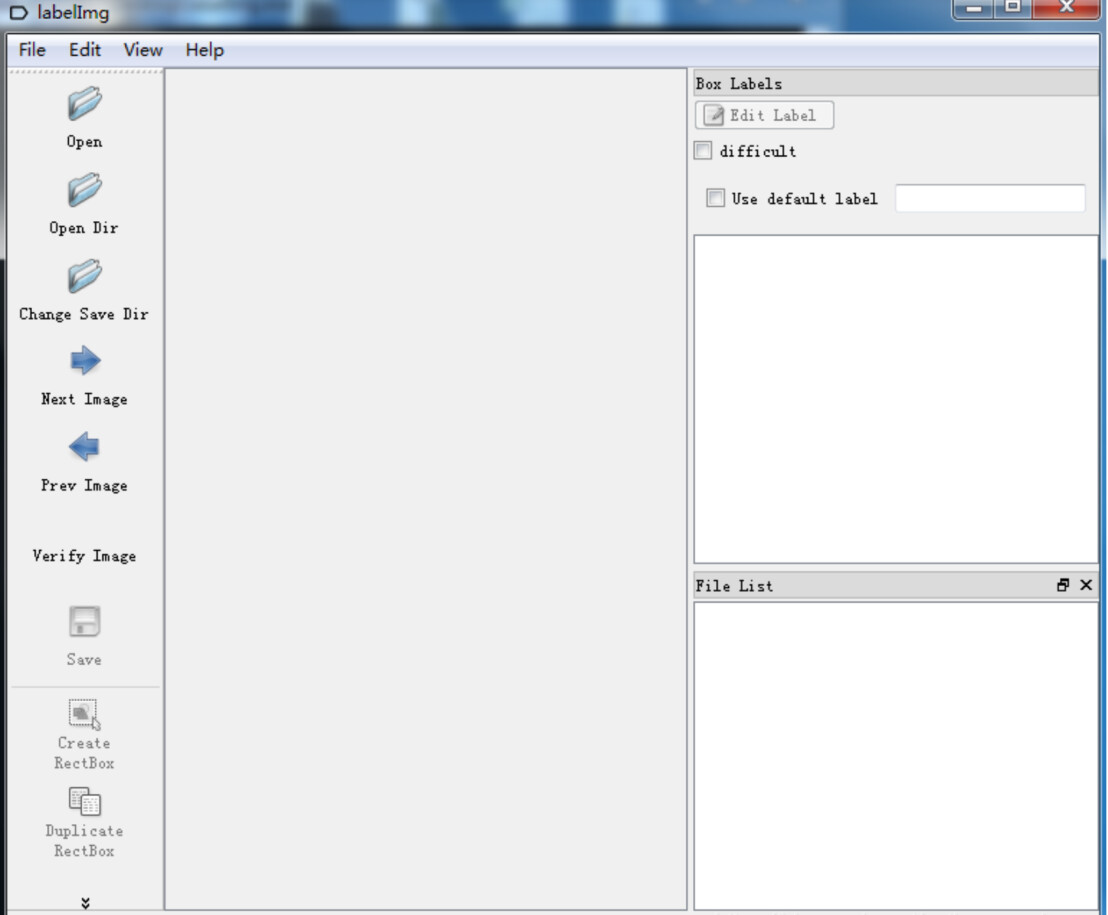
On the left side of the LabelImg window, you will see the primary functions of the program:
- “Open” is to open a single image
- “Open Dir” is to open an entire folder
- “Change Save Dir” is the path where images are saved to
- “Next Image” switches to the next image
- “Prev Image” switches to the previous image
- “Verify Image” checks the image
- “Save” saves the image
- “Create RectBox” draws a callout box
- “Duplicate RectBox” repeats the callout box
- “Delete RectBox” deletes the dimension box
- “Zoom In” is to enlarge the image
- “Zoom Out” is to zoom out of the image
- “Fit Window” fits the entire image to the window
- “Fit Width” fits the image width to the window
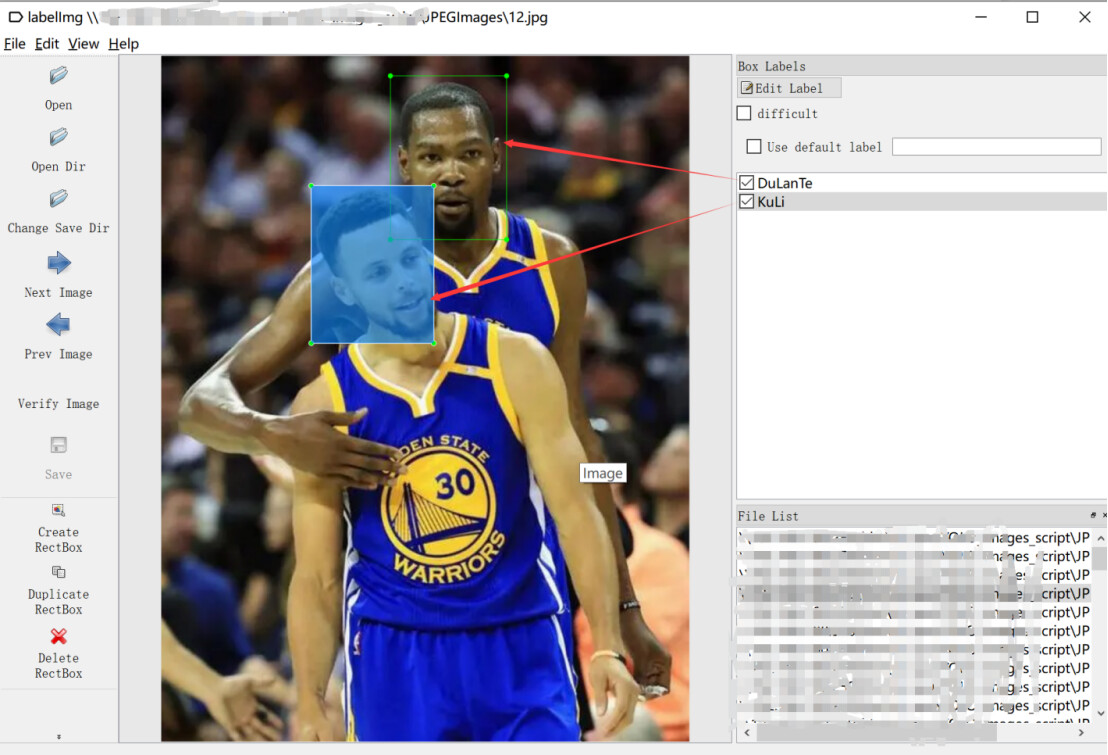
2.2 Start Annotating Your Images
Operation Sequence: “Open Dir ” > "Create RectBox " > “Enter Category Name” > “Save”
Finally an .xml file is generated in the path where the image was saved. The name of the .xml file is the same as the name of the marked photo. If you want to modify the marked image, the information in the .xml will change accordingly. The obtained .xml file is in the same format as Pascal VOC!
Of course it is not very convenient to use the operation buttons with your mouse. The following describes a shortcut-key method to save some time during labeling:
a) Click “Open Dir” to select the directory where the picture set is located
b) Press “W” on the keyboard, start drawing the label box and enter the category name
c) Press “Ctrl + S” on the keyboard to save
d) Press “D” on the keyboard to switch to the next picture
Hotkeys:
- “Ctrl + u” load all images in the directory.
- “Ctrl + r” change the default annotation directory (the address where the
.xmlfile is saved) - “Ctrl + s” save
- “Ctrl + d” copy current label and rectangle
- “space” marks the current image as verified
- “w” create a rectangular box
- “d” next picture
- “a” previous picture
- “del” deletes the selected rectangle
- “Ctrl++” zoom in
- “Ctrl–” zoom out
- “↑→↓←” keyboard arrows moves the selected rectangle