VIM3/VIM3L AOSP Android 14.0 Upside Down Cake

#Preface
As we all know, Google often uses dessert names to label Android versions, and this tradition has been going on for a decade, with each version increasing with the addition of a new letter in the alphabet. Hence, the latest Android 14, with the letter “U,” is now dubbed as Upside Down Cake.

Upside Down Cake is a type of cake baked in a skillet, where the ingredients (usually apple or pineapple slices) are placed on the bottom of the skillet. The batter is then poured on top and placed in the oven for baking.

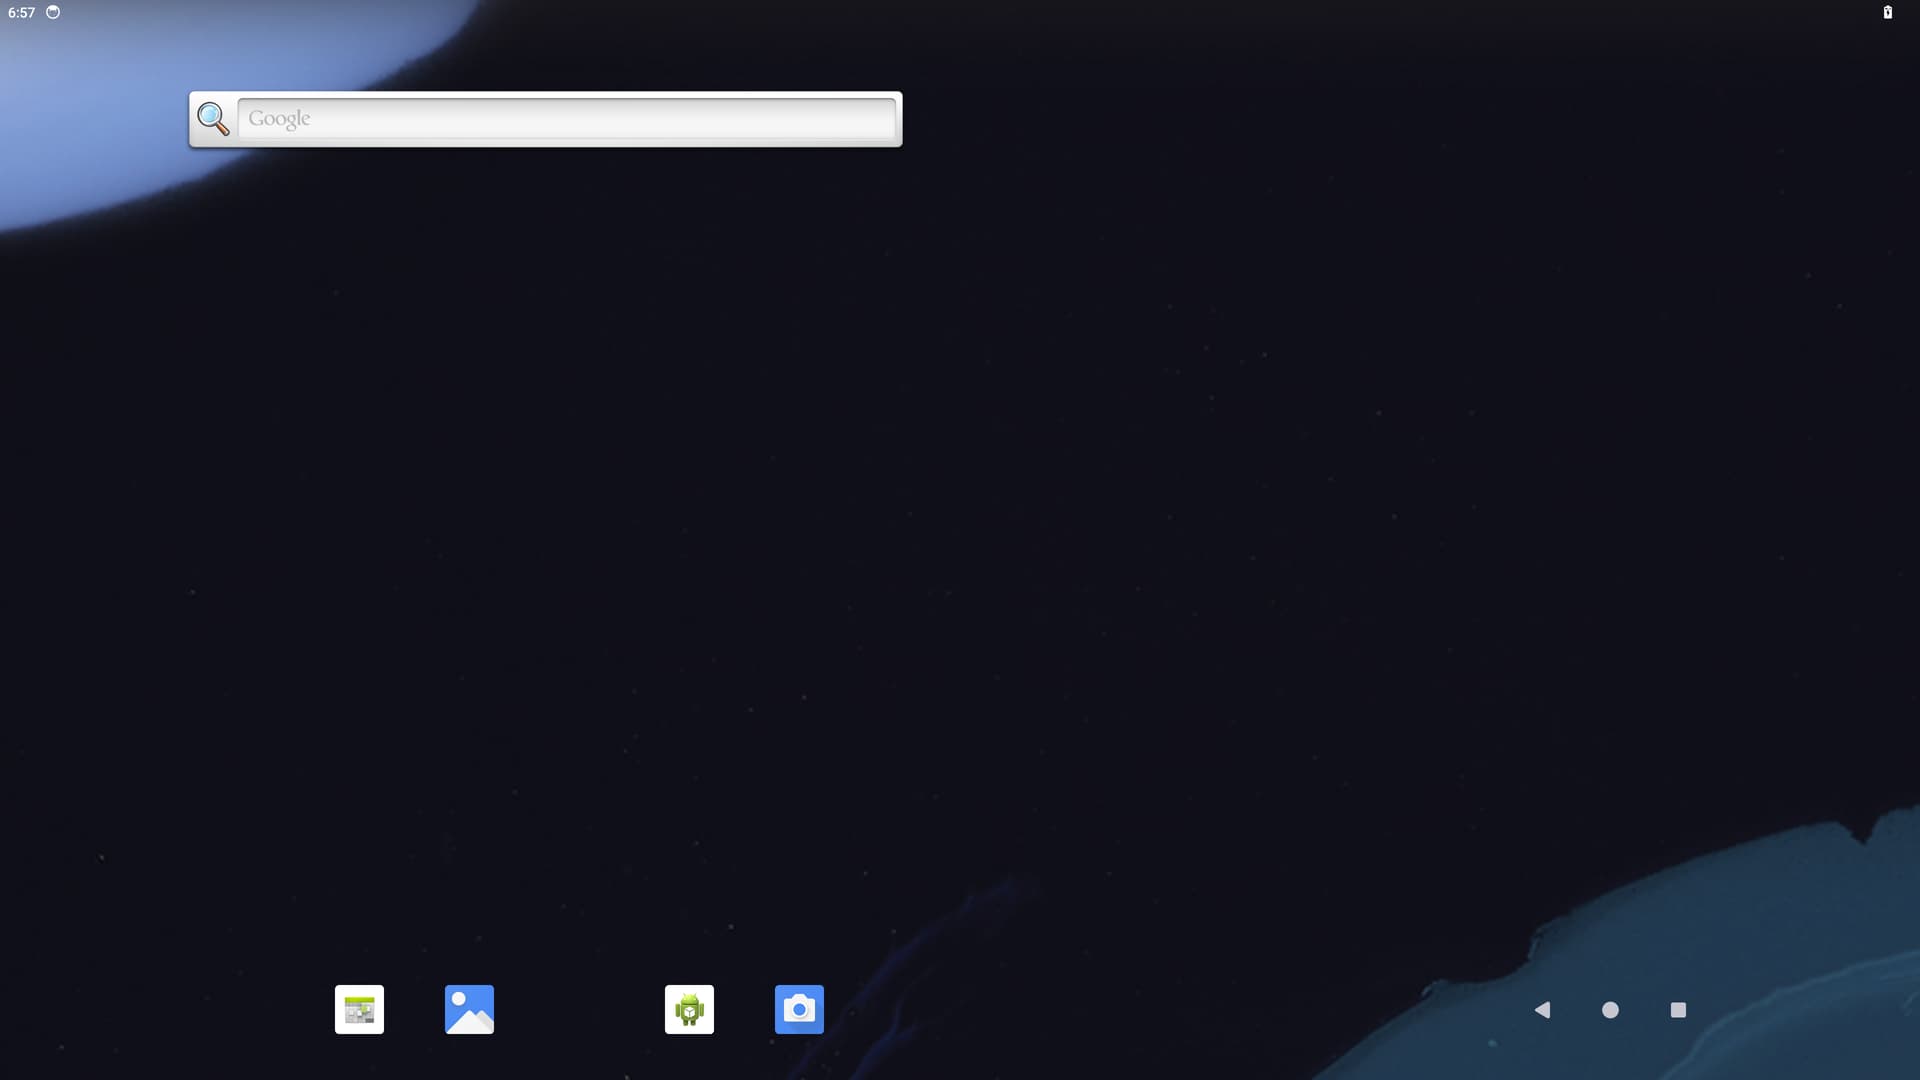
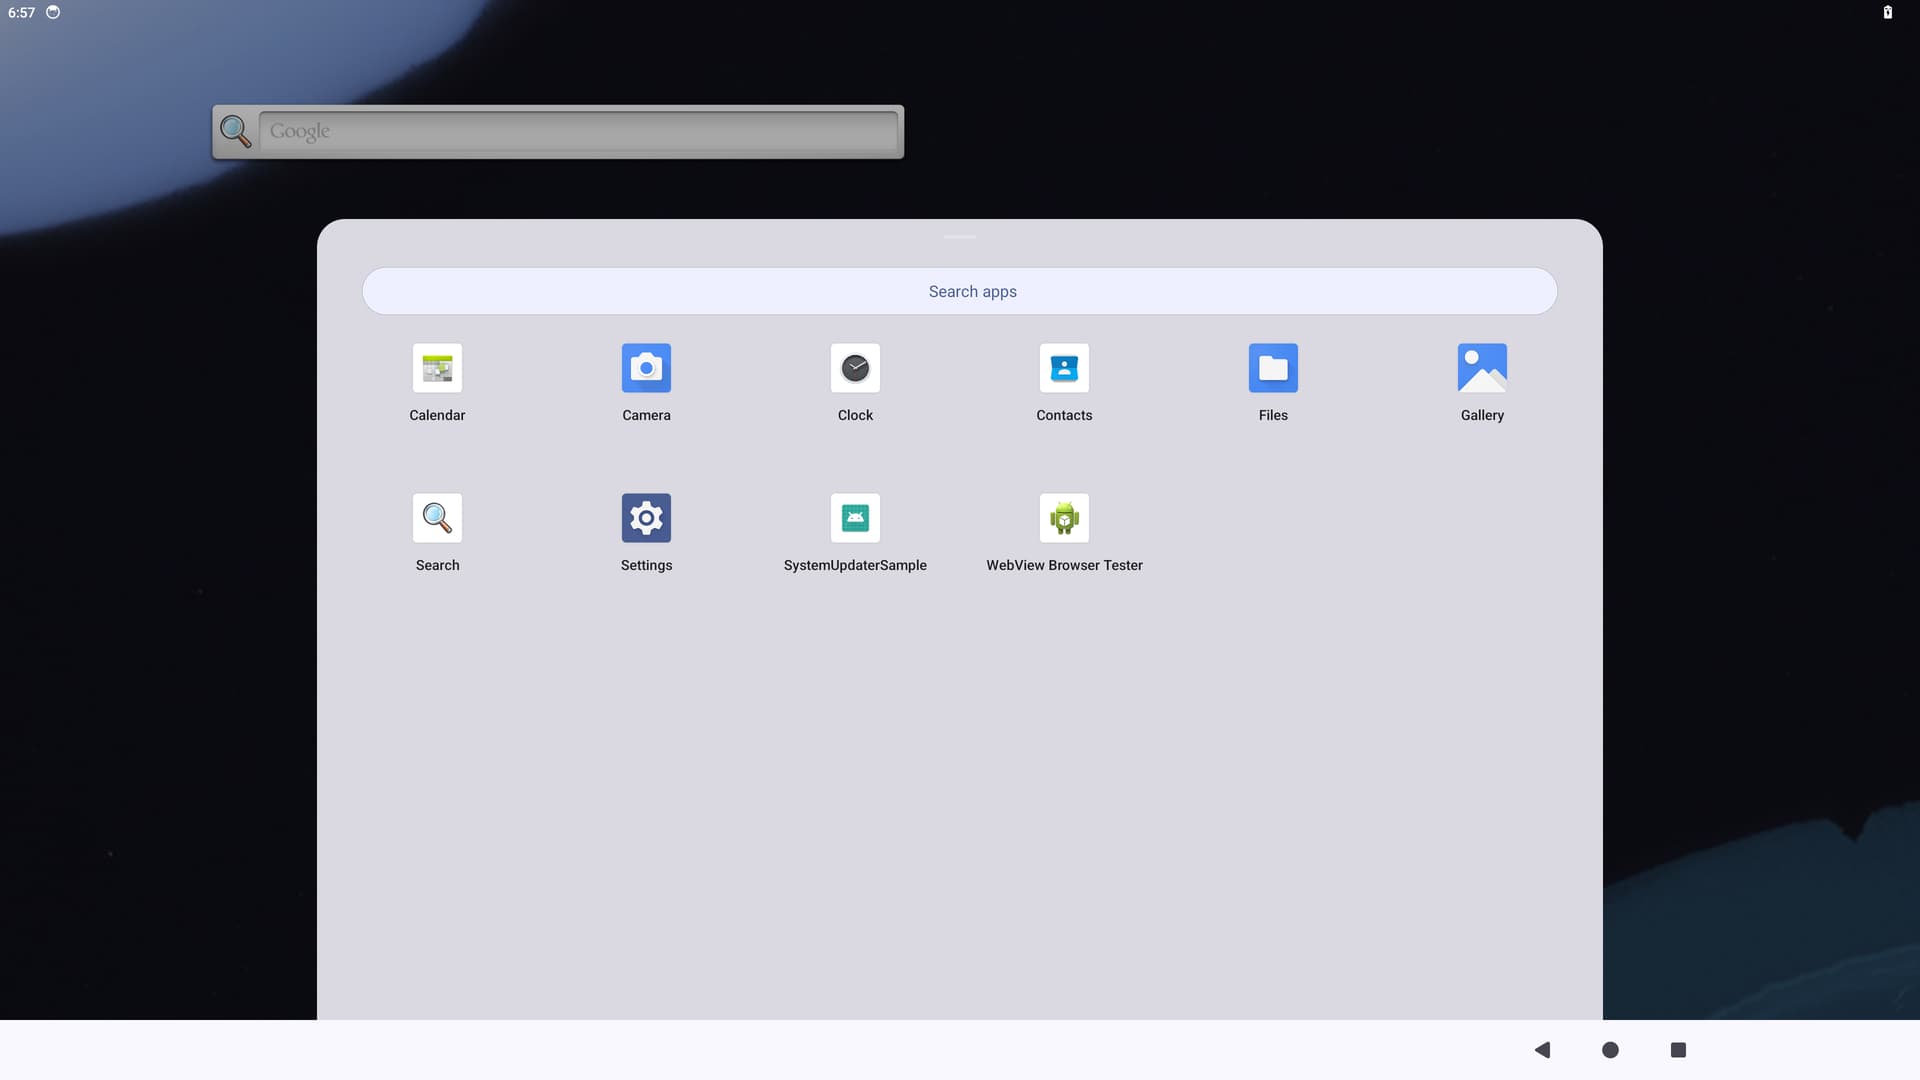
Now, we can enjoy the latest Upside Down Cake on VIM3/VIM3L.

Code Download and Compilation

Obtaining the Code

mkdir khadas-aosp-14 && cd $_
repo init -u https://gitlab.baylibre.com/baylibre/amlogic/atv/aosp/manifest.git -b yukawa-android-14
repo sync

Compiling the Code

  • VIM3
export TARGET_VIM3=true
export TARGET_USE_TABLET_LAUNCHER=true
source build/envsetup.sh && lunch yukawa-user/yukawa-userdebug
time make -j50 2>&1 | tee build_vim3_14_android.log
  • VIM3L
export TARGET_VIM3L=true
export TARGET_USE_TABLET_LAUNCHER=true
source build/envsetup.sh && lunch yukawa-user/yukawa-userdebug
time make -j50 2>&1 | tee build_vim3l_14_android.log

Supported Lunch Targets

Android Lunch Android Version
yukawa-userdebug TV Debug (VIM3)
yukawa-user TV Release (VIM3)

We also support the following build flags to enable optional features:

  • TARGET_AVB_ENABLE=true: Enable AVB
  • TARGET_KERNEL_USE=6.1|mainline: Choose the kernel version (default is 6.1)
  • TARGET_VIM3=true: Build for VIM3 board
  • TARGET_VIM3L=true: Build for VIM3L board (default target)
  • TARGET_BUILTIN_EDID=true: This option allows to preload 1920x1080 EDID structure
  • TARGET_USE_TABLET_LAUNCLHER=true : Use tablet launcher instead of Android TV launcher

Extension

Building the Android Kernel

Android is built around the Linux kernel. By default, the boot.img for Android is constructed from the binary kernel image located in the following directory:

~/src/khadas-aosp-14/device/amlogic/yukawa-kernel/6.1

Below are instructions for rebuilding and customizing the Linux kernel for Android.

Obtaining Kernel Code

Use repo to get the code:

mkdir ~/src/khadas-kernel/ && cd $_
repo init -u https://gitlab.baylibre.com/baylibre/amlogic/atv/aosp/kernel/manifest.git -b yukawa-android-14-6.1
repo sync

Building the Kernel

In this section, we assume that we already have a fully built Android source code tree located at:

~/src/khadas-aosp-14/

Building Everything from Scratch

For the 6.1 kernel, use:

cd ~/src/khadas-kernel/
export DIST_DIR=~/src/khadas-aosp-14/device/amlogic/yukawa-kernel/6.1
tools/bazel run //yukawa-device:yukawa_dist -- --dist_dir=$DIST_DIR

Rerun this command for incremental rebuilding.

Defconfig/menuconfig Changes

The usual (make menuconfig) is achieved by manually editing arch/arm64/configs/amlogic_gki.fragment.

Rebuilding All Associated Android Images

To test the changes made to the kernel, we must rebuild the relevant Android images:

boot.img: Contains the kernel binary file and the main device tree

vendor.img: Contains the kernel modules

To rebuild the Android images, perform the following:

cd ~/src/khadas-aosp-14/
source build/envsetup.sh && lunch yukawa-user/yukawa-userdebug
make bootimage vendorimage

Flash the newly generated boot.img and vendor.img into the device:

fastboot flash boot boot.img
fastboot flash vendor vendor.img

Bootloader

Obtaining Code

git clone https://gitlab.baylibre.com/baylibre/amlogic/atv/u-boot.git -b u-boot/v2024.01-rc1/integ bootloaders

Building

Install build dependencies:

sudo apt install gcc-aarch64-linux-gnu bc bison build-essential curl u-boot-tools flex git libssl-dev python3 python3-pip wget -y
pip3 install pyamlboot --user

Download the FIP package and generate the script:

cd bootloaders/
wget <package_file>
wget https://gitlab.baylibre.com/baylibre/amlogic/atv/aosp/device/amlogic/yukawa/-/raw/master/bootloader/scripts/generate-bins-new.sh

Unpack the FIP package:

tar xvf <package_file>

Generate the U-Boot image with the following command:

export CROSS_COMPILE=aarch64-linux-gnu-
make khadas-vim3_android_ab_defconfig|khadas-vim3l_android_ab_defconfig
make -j"$(nproc)"

Generate the FIP binary file:

chmod +x generate-bins-new.sh
./generate-bins-new.sh <fip-directory> u-boot.bin

Flashing Bootloader

Flash the result:

fastboot flash bootloader uboot-bins/u-boot.bin
fastboot erase bootenv
fastboot reboot bootloader

If partition table update is required after reboot:

fastboot oem format

Firmware Download

For this purpose, we will provide firmware for each version. If you wish to skip the compilation, you can click the links below to download the images directly.

Flashing Method

For optimal results, the VIM3/VIM3L should be directly connected to the host PC. Avoid using USB hubs, as they often do not provide enough power to the board. Below, I will demonstrate the flashing process using VIM3.

After downloading the firmware and extracting it, if the image file is obtained from the compiled code, it will be located in the khadas-aosp-14\out\target\product\yukawa directory. We will need the following five files: boot.img, dtbo-unsigned.img, super.img, u-boot_kvim3_ab.bin, and userdata.img.

Initial Flashing Method:

The flashing will be done using the pre-built pyamlboot tool, which requires a Ubuntu system for flashing.

  • Install pyamlboot via pip
pip3 install pyamlboot

Alternatively, refer to pyamlboot for other methods.

  • Set the board to USB upgrade mode:

1- Power up the VIM3
2- Press the F button quickly 3 times within 2 seconds, then release the button
The power LED (blue) will flash for about 3 seconds. After the power LED (blue) goes out, the board will enter upgrade mode.

  • Flash the Android bootloader
# For vim3
export BOOTLOADER_NAME=u-boot_kvim3_ab.bin
# For VIM3L
export BOOTLOADER_NAME=u-boot_kvim3l_ab.bin

boot-g12.py ${BOOTLOADER_NAME}

The bin file path is: khadas-aosp-14/device/amlogic/yukawa/bootloader/

  • Start U-Boot and run fastboot
fastboot oem format
fastboot flash bootloader ${BOOTLOADER_NAME}
fastboot erase bootenv
fastboot reboot bootloader

Note that after executing the above command, you need to press the R (Reset) button . After this, the development board should boot into the newly refreshed u-boot and enter fastboot mode.

  • Flash the Android image
fastboot devices---Check if there is a device present; if there is, continue with the flash command

If you encounter “waiting for device” and there is no device ID appearing, follow the steps below:If Waiting for Device prompts and there is no device number, please follow the following:

which fastboot ---Locate the fastboot path, mine is /usr/bin/fastboot
sudo chown root:root /usr/bin/fastboot
sudo chmod +s /usr/bin/fastboot

Flash command:

fastboot flash boot_a boot.img && fastboot flash boot_b boot.img
fastboot flash super super.img && fastboot flash userdata userdata.img
fastboot flash dtbo_a dtbo-unsigned.img && fastboot flash dtbo_b dtbo-unsigned.img
fastboot erase misc
fastboot reboot

With these steps completed, the flashing should be successful. Now, simply wait for the device to boot up.

3 Likes

Great job. Can someone share some screenshots who has installed it?

Is there a method i can install this on an sdcard or usb?


Sorry, currently we can only upgrade to Android 14.0 system through fastboot burning image

May I ask where can I found/download kernel 6.1-mainline for amlogic/vim3? and how to build/apply it?

@Chris_Kang Hello, I have added instructions for compiling the 6.1 kernel.

Great! Thank you for the updating.

and I have another one.

Does this kernel support suspend/resume as well?

Regards,

Hello, I don’t understand what you mean. Can you describe it more carefully so that I can answer your question better?

Hello, I am trying to flash the given images on a vim3 pro and I am not getting any errors, but after following all the steps the vim3 does not boot the white led flashes once and after some time it goes into fastboot. The screen stays black the whole time. @xiong.zhang do you know what could cause the problem

Hi, xiohang.zhang.

Thank you for the reply.
it is pm_suspend feature in linux kernel.
when I try it with system image downloaded from this page , it seems CPUs can not go to the sleep mode as below.

==========================================

130|console:/sys/power # cat state
freeze mem disk
console:/sys/power # echo mem > state
[ 348.629662][ T1908] PM: suspend entry (deep)
[ 348.631952][ T1908] Filesystems sync: 0.002 seconds
[ 348.645570][ T1908] Freezing user space processes
[ 348.648978][ T1908] Freezing user space processes completed (elapsed 0.003 seconds)
[ 348.652281][ T1908] OOM killer disabled.
[ 348.656128][ T1908] Freezing remaining freezable tasks
[ 348.663484][ T1908] Freezing remaining freezable tasks completed (elapsed 0.002 seconds)
[ 348.669531][ T1908] meson-gx-mmc ffe03000.sd: missing suspend/resume ops for non-removable SDIO card
[ 348.678888][ T1908] dwc2 ff400000.usb: suspending usb gadget configfs-gadget.g1
[ 348.685794][ T60] android_work: sent uevent USB_STATE=DISCONNECTED
[ 348.878414][ T1908] Disabling non-boot CPUs …
[ 348.880557][ T22] IRQ40: set affinity failed(-22).
[ 348.881654][ T1908] psci: CPU1 killed (polled 4 ms)
[ 348.890317][ T27] IRQ40: set affinity failed(-22).
[ 348.989556][ T1908] psci: CPU2 may not have shut down cleanly (AFFINITY_INFO reports 0)
[ 348.996830][ T1908] CPU2 may not have shut down cleanly: -110
[ 349.005455][ T32] IRQ40: set affinity failed(-22).
[ 349.005624][ T1908] psci: CPU3 killed (polled 0 ms)
[ 349.015349][ T37] IRQ40: set affinity failed(-22).
[ 349.016420][ T1908] psci: CPU4 killed (polled 0 ms)
[ 349.024103][ T42] IRQ40: set affinity failed(-22).
[ 349.025198][ T1908] psci: CPU5 killed (polled 0 ms)
[ 349.035533][ T1908] Enabling non-boot CPUs …
[ 349.036466][ T0] Detected VIPT I-cache on CPU1
[ 349.036555][ T0] CPU1: Booted secondary processor 0x0000000001 [0x410fd034]
[ 349.037577][ T1908] CPU1 is up
[ 349.051007][ T1908] psci: failed to boot CPU2 (-22)
[ 349.055768][ T1908] CPU2: failed to boot: -22
[ 349.060664][ T1908] Error taking CPU2 up: -22
[ 349.064753][ T0] Detected VIPT I-cache on CPU3
[ 349.064822][ T0] arch_timer: CPU3: Trapping CNTVCT access
[ 349.064840][ T0] CPU3: Booted secondary processor 0x0000000101 [0x410fd092]
[ 349.065954][ T1908] CPU3 is up
[ 349.085103][ T0] Detected VIPT I-cache on CPU4
[ 349.085152][ T0] arch_timer: CPU4: Trapping CNTVCT access
[ 349.085165][ T0] CPU4: Booted secondary processor 0x0000000102 [0x410fd092]
[ 349.086383][ T1908] CPU4 is up
[ 349.105525][ T0] Detected VIPT I-cache on CPU5
[ 349.105572][ T0] arch_timer: CPU5: Trapping CNTVCT access
[ 349.105584][ T0] CPU5: Booted secondary processor 0x0000000103 [0x410fd092]
[ 349.106962][ T1908] CPU5 is up

==========================================
Regards,
Chris.

Hello, have you downloaded the image we provided? Can you post the step-by-step information of your burning process? There is a step in the middle where you need to press the R button on the motherboard. Do you know how to do this? In fastboot Are there any errors during the burning process? Can you provide the following?

In Linux 4, the standby mode can be used to save power when a computer is not in use. The standby mode is activated by running the following commands:

echo standby >/sys/power/state // This command sets the standby mode toggled on or off.
echo mem > /sys/power/state // This command sets the mem block to be suspended.
echo disk > /sys/power/state // This command sets the disk block to be suspended.
echo on > /sys/power/state // This command exits the suspension state.
echo +10 > /sys/class/rtc/rtc0/wakealarm // This command sets the wake-up alarm time to 10 seconds.
The different standby modes are as follows:

On (ON) S0 - Working: The computer is in normal operation mode.
Standby (standby) S1 - CPU and RAM are powered but not executed: The CPU and RAM are powered but not in use.
Suspend to RAM(mem) S3 - RAM is powered and the running content is saved to RAM: The RAM is powered and the running content is saved to RAM.
Suspend to Disk,Hibernation(disk) S4 - All content is saved to Disk and power down: All content is saved to the disk and the computer enters hibernation mode.

In Linux 4, the standby mode can be used to save power when a computer is not in use. The standby mode is activated by running the following commands:

  1. echo standby >/sys/power/state // This command sets the standby mode toggled on or off.
  2. echo mem > /sys/power/state // This command sets the mem block to be suspended.
  3. echo disk > /sys/power/state // This command sets the disk block to be suspended.
  4. echo on > /sys/power/state // This command exits the suspension state.
  5. echo +10 > /sys/class/rtc/rtc0/wakealarm // This command sets the wake-up alarm time to 10 seconds.

The different standby modes are as follows:

  • On (ON) S0 - Working: The computer is in normal operation mode.
  • Standby (standby) S1 - CPU and RAM are powered but not executed: The CPU and RAM are powered but not in use.
  • Suspend to RAM(mem) S3 - RAM is powered and the running content is saved to RAM: The RAM is powered and the running content is saved to RAM.
  • Suspend to Disk,Hibernation(disk) S4 - All content is saved to Disk and power down: All content is saved to the disk and the computer enters hibernation mode.

For embedded devices, they predominantly use S3, which temporarily stores data in memory to achieve quick restoration, just like a phone battery pressing and quickly turning on.

In Linux, by cat /sys/power/state you can know the energy-saving modes supported by the current device. Generally, the options are as follows:
standby: the S1 state, the CPU is in a shallow sleep mode, mainly targeting CPU power consumption;
mem: the S3 state, Suspend to RAM;
disk: the S4 state, Suspend to Disk;

1 Like
# boot-g12.py u-boot_kvim3_ab.bin
Firmware Version :
ROM: 3.2 Stage: 0.0
Need Password: 0 Password OK: 1
Writing u-boot_kvim3_ab.bin at 0xfffa0000...
[DONE]
Running at 0xfffa0000...
[DONE]
AMLC dataSize=16384, offset=65536, seq=0...
[DONE]
AMLC dataSize=49152, offset=393216, seq=1...
[DONE]
AMLC dataSize=16384, offset=229376, seq=2...
[DONE]
AMLC dataSize=49152, offset=245760, seq=3...
[DONE]
AMLC dataSize=49152, offset=294912, seq=4...
[DONE]
AMLC dataSize=16384, offset=65536, seq=5...
[DONE]
AMLC dataSize=1197936, offset=81920, seq=6...
[DONE]
[BL2 END]
# fastboot oem format
                                                   OKAY [  0.276s]
Finished. Total time: 0.276s
# fastboot flash bootloader u-boot_kvim3_ab.bin
Sending 'bootloader' (1249 KB)                     OKAY [  0.158s]
Writing 'bootloader'                               OKAY [  0.075s]
Finished. Total time: 0.267s
# fastboot erase bootenv
Erasing 'bootenv'                                  OKAY [  0.016s]
Finished. Total time: 0.056s
# fastboot reboot bootloader
Rebooting into bootloader                          OKAY [  0.005s]
Finished. Total time: 0.055s
# fastboot devices
C863147066F3    fastboot
# fastboot flash boot_a boot.img && fastboot flash boot_b boot.img
Sending 'boot_a' (33524 KB)                        OKAY [  3.931s]
Writing 'boot_a'                                   OKAY [  1.051s]
Finished. Total time: 5.102s
Sending 'boot_b' (33524 KB)                        OKAY [  3.825s]
Writing 'boot_b'                                   OKAY [  0.995s]
Finished. Total time: 4.872s
# fastboot flash super super.img && fastboot flash userdata userdata.img
Sending sparse 'super' 1/14 (109920 KB)            OKAY [ 12.808s]
Writing 'super'                                    OKAY [  3.605s]
Sending sparse 'super' 2/14 (114684 KB)            OKAY [ 13.903s]
Writing 'super'                                    OKAY [  3.838s]
Sending sparse 'super' 3/14 (108788 KB)            OKAY [ 14.044s]
Writing 'super'                                    OKAY [  3.741s]
Sending sparse 'super' 4/14 (114684 KB)            OKAY [ 14.130s]
Writing 'super'                                    OKAY [  3.707s]
Sending sparse 'super' 5/14 (114684 KB)            OKAY [ 14.018s]
Writing 'super'                                    OKAY [  3.900s]
Sending sparse 'super' 6/14 (114684 KB)            OKAY [ 13.890s]
Writing 'super'                                    OKAY [  3.773s]
Sending sparse 'super' 7/14 (109120 KB)            OKAY [ 12.949s]
Writing 'super'                                    OKAY [  3.547s]
Sending sparse 'super' 8/14 (114684 KB)            OKAY [ 14.038s]
Writing 'super'                                    OKAY [  3.866s]
Sending sparse 'super' 9/14 (111944 KB)            OKAY [ 13.878s]
Writing 'super'                                    OKAY [  3.820s]
Sending sparse 'super' 10/14 (100868 KB)           OKAY [ 11.703s]
Writing 'super'                                    OKAY [  3.471s]
Sending sparse 'super' 11/14 (114684 KB)           OKAY [ 14.107s]
Writing 'super'                                    OKAY [  3.870s]
Sending sparse 'super' 12/14 (104530 KB)           OKAY [ 13.135s]
Writing 'super'                                    OKAY [  5.282s]
Sending sparse 'super' 13/14 (114685 KB)           OKAY [ 14.232s]
Writing 'super'                                    OKAY [  4.299s]
Sending sparse 'super' 14/14 (72980 KB)            OKAY [  8.833s]
Writing 'super'                                    OKAY [  2.527s]
Finished. Total time: 239.011s
Sending 'userdata' (128 KB)                        OKAY [  0.017s]
Writing 'userdata'                                 OKAY [  0.095s]
Finished. Total time: 0.139s
# fastboot flash dtbo_a dtbo-unsigned.img && fastboot flash dtbo_b dtbo-unsigned.img
Sending 'dtbo_a' (4 KB)                            OKAY [  0.006s]
Writing 'dtbo_a'                                   OKAY [  0.006s]
Finished. Total time: 0.031s
Sending 'dtbo_b' (4 KB)                            OKAY [  0.006s]
Writing 'dtbo_b'                                   OKAY [  0.007s]
Finished. Total time: 0.032s
# fastboot erase misc
Erasing 'misc'                                     OKAY [  0.012s]
Finished. Total time: 0.031s
# fastboot reboot
Rebooting                                          OKAY [  0.002s]
Finished. Total time: 0.052s

After that the device is boot looping until going into fastboot after some time

@3id_L

Hello, does this step work? In addition, what firmware did you use to burn? I used Android 9.0 firmware to burn.

Yes the reset step worked.
The firmware I am trying to burn is the Android 14 firmware from the first post or what do you mean exactly

It means that before you record and record Android 14.0, what is the firmware of your machine? After jumping to FastBoot, I have been on the FastBoot interface. You provide me with the LOG of the lower serial port to see it. If you have a wait time, it may take a little time to enter the system.

I had the provided Android 11 beta on the vim3 but I tried it before with Android 9.
When I finished with the steps I waited and the screen stays black, when I repeat the fastboot reboot command I get the same.

But the other firmwares (Android 9/11) work but I used the BurningTool to flash them.

Don’t know if it helps but the Revision of the Vim3 Pro is V12

@xiong.zhang which Linux distro do you use, I would then try again with the same one

I use Ubuntu 22.04. In addition, this boot time will be relatively long. You try to wait for 5 minutes to enter the system