The good news here is that VIM3 already supports running models directly on the NPU via OpenCV.
Let’s take a quick look at how this can be achieved ![]()
Just support VIM3 !!!
Preparatory work
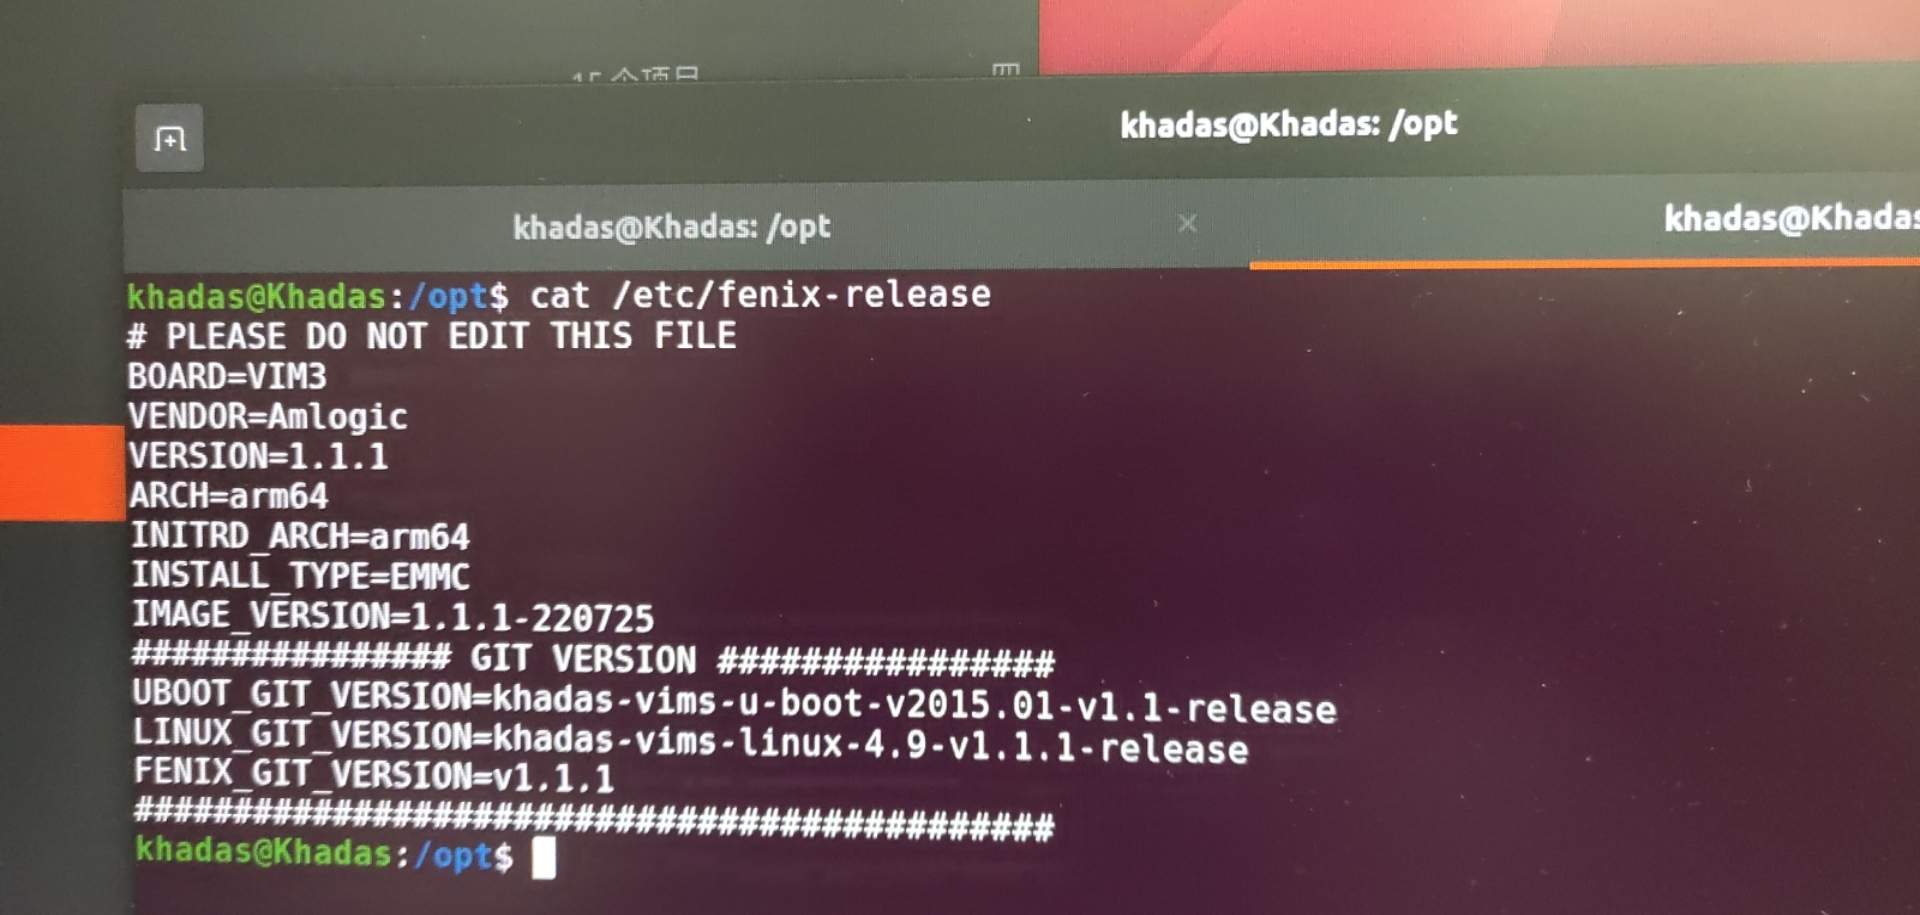
1. Please make sure your system version number is greater than 200530.
$ cat /etc/fenix-release | grep IMAGE_VERSION
IMAGE_VERSION=1.0.11-220526
2. Follow this page to upgrade your system.
https://docs.khadas.com/linux/vim3/UpgradeSystem.html
3. Check package version.
$ dpkg -l | grep aml-npu
ii  aml-npu                               6.4.8.7.1.1.1-1                                              arm64        Amlogic NPU libraries.
Only 6.4.8.7.1.1.1-1 is supported, 6.4.8.7.1.1.1 is not supported
4. Install dependencies
$ sudo apt install python3 python3-dev python3-numpy cmake
$ sudo apt-get install libgtk2.0-dev
Compile OpenCV
1. Clone
$ mkdir ~/opencv_npu && cd ~/opencv_npu
$ git clone https://github.com/opencv/opencv
2. Build
$ ls
opencv
$ pwd
/home/khadas/opencv_npu
$ cmake -B opencv-build \
     -D CMAKE_BUILD_TYPE=RELEASE \
     -D CMAKE_INSTALL_PREFIX=opencv-install \
     -D BUILD_opencv_python3=ON \
     -D BUILD_opencv_gapi=OFF \ -D VIVANTE_SDK_DIR=/usr \
     -D WITH_TIMVX=ON opencv
$ cmake --build opencv-build --target install -j 8
Run Demo
1. Clone test demo
$ export VIVANTE_SDK_DIR=/usr
$ cd /home/khadas/opencv_npu
$ git clone https://github.com/khadas/OpenCV_NPU_Demo.git
2. Compile and run C/C++ demo
$ cd ~/opencv_npu/OpenCV_NPU_Demo/cpp_demo
$ mkdir build && cd build
$ cmake .. -DCMAKE_PREFIX_PATH=~/opencv_npu/opencv-install
$ make
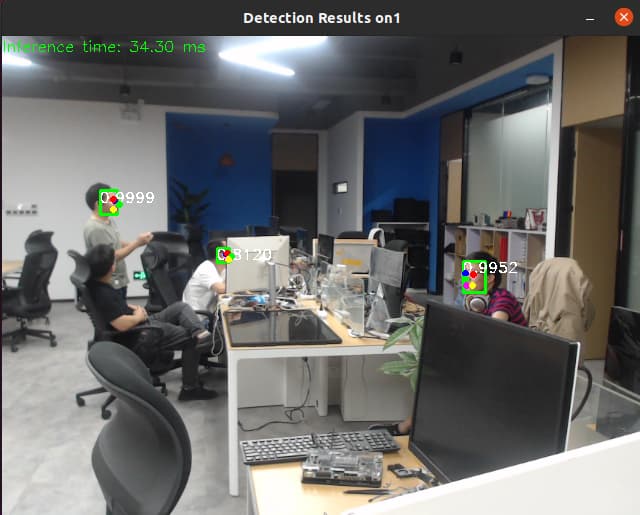
Plugin a USB camera,
$ cd ~/opencv_npu/OpenCV_NPU_Demo/cpp_demo/build
$ ./detect-camera 1 ../../model/yunet_int8.onnx # My cam is /dev/video1, so there is 1
You can chooise different demo:
$ ./detect-camera --help  #Camera detect demo
Usage: ./detect-camera <camera index>
$ ./detect-image --help  #Image detect demo
Usage: ./detect-image <image_file_name> <net_file_name> [<visualization_flag> default false]
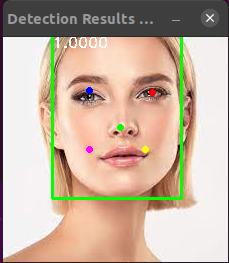
3. Run python demo
$ export PYTHONPATH=/home/khadas/opencv_npu/opencv-build/python_loader:$PYTHONPATH
$ cd ~/opencv_npu/OpenCV_NPU_Demo/python_demo
$ python python/detect.py --image=../image/face.gpeg --model=../model/yunet_int8.onnx
About Swap Space
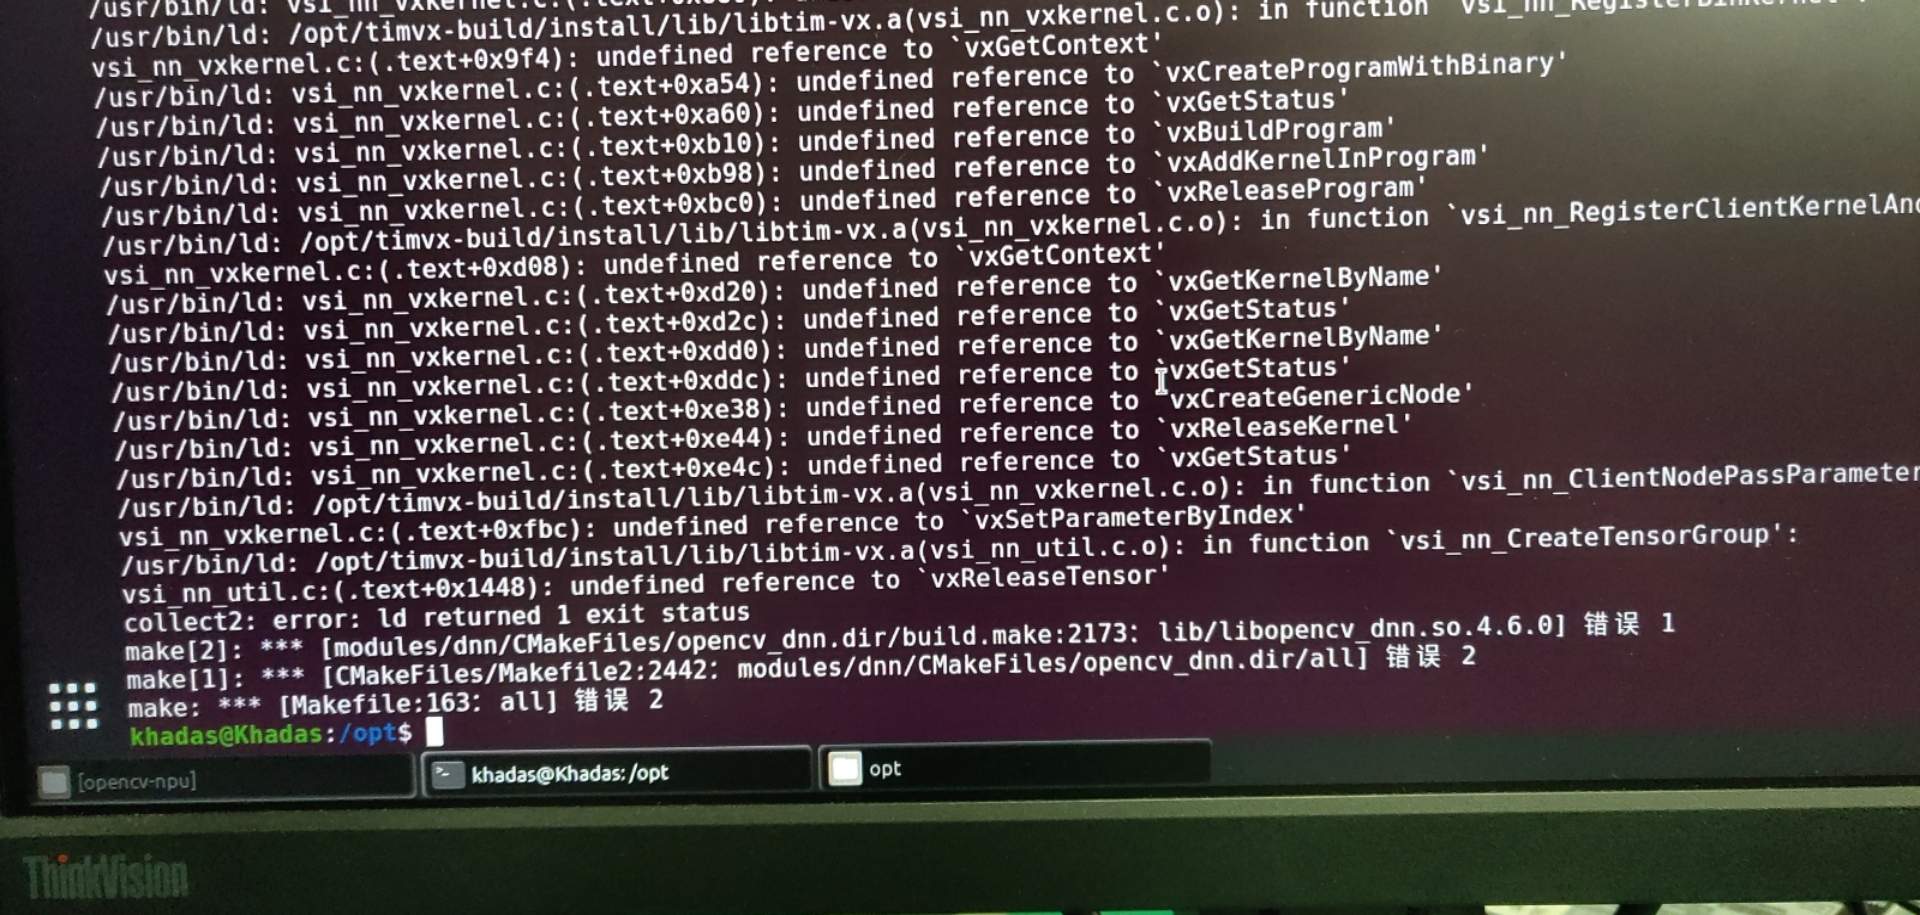
If you run out of memory when compiling Opencv, you can refer to my steps to increase swap space for compilation.
$ sudo dd if=/dev/zero of=/swapfile bs=1024 count=4097152
$ sudo chmod 600 /swapfile
$ sudo mkswap /swapfile
$ sudo swapon /swapfile
About the model
- If you want to run the model completely on the NPU, you need to design the int8 model, just like the model in the instance.
- You can also directly run the model without redesign. This will be a hybrid operation, partly running on the CPU, partly running on the NPU.
- You can find some quantize demo in https://github.com/opencv/opencv_zoo.