NG1368
April 7, 2020, 5:45am
1
Hi Khadas Community,
errors: 1. Open file nn_data/yolov3_88.nb failed.
please tell me how do I solve these errors.
Frank
April 7, 2020, 8:15am
2
@NG1368 Hello,2_export_case_code.sh , you will get a nb file which name yolov3.nb .nn_datacp /path/to/yolov3.nb /path/to/nn_data/yolv3_88.nblibnn_yolov3.so .Can you follow this to try again ?
NG1368
April 7, 2020, 11:08am
3
thanks for reply,1th error solved with cp /path/to/yolov3.nb /path/to/nn_data/yolv3_88.nb.
Frank
April 8, 2020, 1:08am
4
@NG1368 Please follow this docs .
There is a way to write and compile in the document Build the source code
guofq
November 22, 2021, 6:36am
5
@Frank Hello,我遇到了类似的问题,转换后的yolov3.nb拷贝到nn_data下执行报错,我同时将自动生成的vnn_pre_process.h,vnn_post_process.h以及vnn_yolov3.h和1个 vnn_yolov3.c 文件拷贝到了aml_npu_app 对应的目录进行了rebuild,生成的libnn_yolov3.so推理报同样的错误,如下:
guofq
November 22, 2021, 6:41am
6
PS:我替换.so或者.nb后都是先sudo ./UNINSTALL,再执行sudo ./INSTALL 后测试的;
guofq
November 22, 2021, 8:22am
8
我的 yolov3.weights 模型是官网coco模型,大概236M左右;
yolov3_0_import_model.sh
#!/bin/bash

NAME=yolov3
ACUITY_PATH=../bin/

#bash pytorch_0_import_model.sh && bash pytorch_1_quantize_model.sh && bash pytorch_2_export_case_code.sh

convert_caffe=${ACUITY_PATH}convertcaffe
convert_tf=${ACUITY_PATH}convertensorflow
convert_tflite=${ACUITY_PATH}convertflit
convert_darknet=${ACUITY_PATH}convertdarknet
convert_onnx=${ACUITY_PATH}convertonnx
convert_keras=${ACUITY_PATH}convertkeras
convert_pytorch=${ACUITY_PATH}convertpytorch

#$convert_pytorch --pytorch-model ./model/helmet_best.pt \
##        --net-output ${NAME}.json \
##        --data-output ${NAME}.data \
#	--input-size-list '1,480,854'
省略.....

$convert_darknet \
    --net-input ./model/yolov3.cfg \
	--weight-input ./model/yolov3.weights \
    --net-output ${NAME}.json \
    --data-output ${NAME}.data

省略....


yolov3_1_quantize_model.sh
#!/bin/bash

NAME=yolov3
ACUITY_PATH=../bin/

tensorzone=${ACUITY_PATH}tensorzonex

#dynamic_fixed_point-i8 asymmetric_affine-u8 dynamic_fixed_point-i16(s905d3 not support point-i16)
$tensorzone \
    --action quantization \
    --dtype float32 \
    --source text \
    --source-file data/validation_darknet.txt \
    --channel-mean-value '0 0 0 256' \
    --reorder-channel '2 1 0' \
    --model-input ${NAME}.json \
    --model-data ${NAME}.data \
    --model-quantize ${NAME}.quantize \
    --quantized-dtype dynamic_fixed_point-i8 \
    --quantized-rebuild \
#    --batch-size 2 \
#    --epochs 5

#Note: default batch-size(100),epochs(1) ,the numbers of pictures in data/validation_tf.txt must equal to batch-size*epochs,if you set the epochs >1


yolov3_2_export_case_code.sh
#!/bin/bash

NAME=yolov3
ACUITY_PATH=../bin/

export_ovxlib=${ACUITY_PATH}ovxgenerator

$export_ovxlib \
    --model-input ${NAME}.json \
    --data-input ${NAME}.data \
    --reorder-channel '2 1 0' \
    --channel-mean-value '0 0 0 256' \
    --export-dtype quantized \
    --model-quantize ${NAME}.quantize \
    --optimize VIPNANOQI_PID0X88  \
    --viv-sdk ${ACUITY_PATH}vcmdtools \
    --pack-nbg-unify  \

rm  *.h *.c .project .cproject *.vcxproj *.lib BUILD *.linux *.data *.quantize *.json

mv ../*_nbg_unify nbg_unify_${NAME}

cd nbg_unify_${NAME}

mv network_binary.nb ${NAME}.nb
guofq
November 22, 2021, 8:45am
10
现在就是完全按照这个文档走的,没人任何一点点差别,也没有明显的提示说某一步出错,转换正常,编译正常,只是最后在板测推理时报如下错误(PS:只替换 libnn_yolo_v3.so 不替换yolov3_88.nb 能够正常推理-即使用VIM3系统自带的yolov3_88.nb可正常推理,如果 libnn_yolo_v3.so 和 yolov3_88.nb 都替换了会报如下错误,如果只替换 yolov3_88.nb也会报如下错误):
khadas@Khadas:~/workspace/aml_npu_demo_binaries/detect_demo_picture$ ./detect_demo_x11 -m 2 -p 1080p.bmp
W Detect_api:[det_set_log_level:19]Set log level=1
W Detect_api:[det_set_log_level:21]output_format not support Imperfect, default to DET_LOG_TERMINAL
det_set_log_config Debug
#productname=VIPNano-QI, pid=0x88
I [vsi_nn_CreateGraph:478]OVXLIB_VERSION==1.1.27
D [setup_node:441]Setup node id[0] uid[0] op[NBG]
D [print_tensor:146]in(0) : id[   0] vtl[0] const[0] shape[ 416, 416, 3, 1   ] fmt[i8 ] qnt[DFP fl=  7]
D [print_tensor:146]out(0): id[   1] vtl[0] const[0] shape[ 13, 13, 255, 1   ] fmt[i8 ] qnt[DFP fl=  2]
D [print_tensor:146]out(1): id[   2] vtl[0] const[0] shape[ 26, 26, 255, 1   ] fmt[i8 ] qnt[DFP fl=  2]
D [print_tensor:146]out(2): id[   3] vtl[0] const[0] shape[ 52, 52, 255, 1   ] fmt[i8 ] qnt[DFP fl=  2]
D [optimize_node:385]Backward optimize neural network
D [optimize_node:392]Forward optimize neural network
I [compute_node:327]Create vx node
D [compute_node:350]Instance node[0] "NBG" ...
generate command buffer, total device count=1, core count per-device: 1,
current device id=0, AXI SRAM base address=0xff000000
vxoBinaryGraph_CheckInputOutputParametes[3349]: tensor shape doesn't matched. index = 0, NBG shape: 608 608 3 1 , run time shape: 416 416 3 1
nn patch input failed, please check your input format, input 0
fail to initial memory in generate states buffer
fail in import kernel from file initializer
Failed to initialize Kernel "yolov3_88" of Node 0x55a5babeb0 (status = -1)E [model_create:64]CHECK STATUS(-1:A generic error code, used when no other describes the error.)
E Detect_api:[det_set_model:225]Model_create fail, file_path=nn_data, dev_type=1
det_set_model fail. ret=-4
khadas@Khadas:~/workspace/aml_npu_demo_binaries/detect_demo_picture$
Frank
November 22, 2021, 8:55am
11
@guofq 你的SDK是什么版本的?是最新的版本转换的么
guofq
November 22, 2021, 9:14am
12
@Frank 感谢你的耐心回复,aml_npu_sdk 我是一周前从Github上拉取的,6.4.4.3版本:GitHub - khadas/aml_npu_sdk
Frank
November 22, 2021, 9:27am
13
@guofq 可以麻烦你将你的weights文件和cfg文件打包发给我么,我这边测试看看
guofq
November 22, 2021, 9:37am
14
@Frank
链接:https://pan.baidu.com/s/1Ju8uRs1rCchBVVln3Hsu0w
提取码:57p8
如果你这边能转换并推理成功,希望能提供下转换后的模型和code给我这边测试一下,谢谢。
Frank
November 22, 2021, 9:46am
15
@guofq 我这边下载测试看看。测试完会反馈在这里
Frank
November 22, 2021, 10:43am
16
@guofq cfg文件不大对,请使用我的cfg文件测试
guofq
November 22, 2021, 11:59am
17
@Frank 非常感谢你的耐心指导,你发的这个cfg我验证是可以正常识别的。因为是官方下载的cfg文件,所以我没有做任何改动才导致这个问题一直困扰了我一周多,再次感谢。
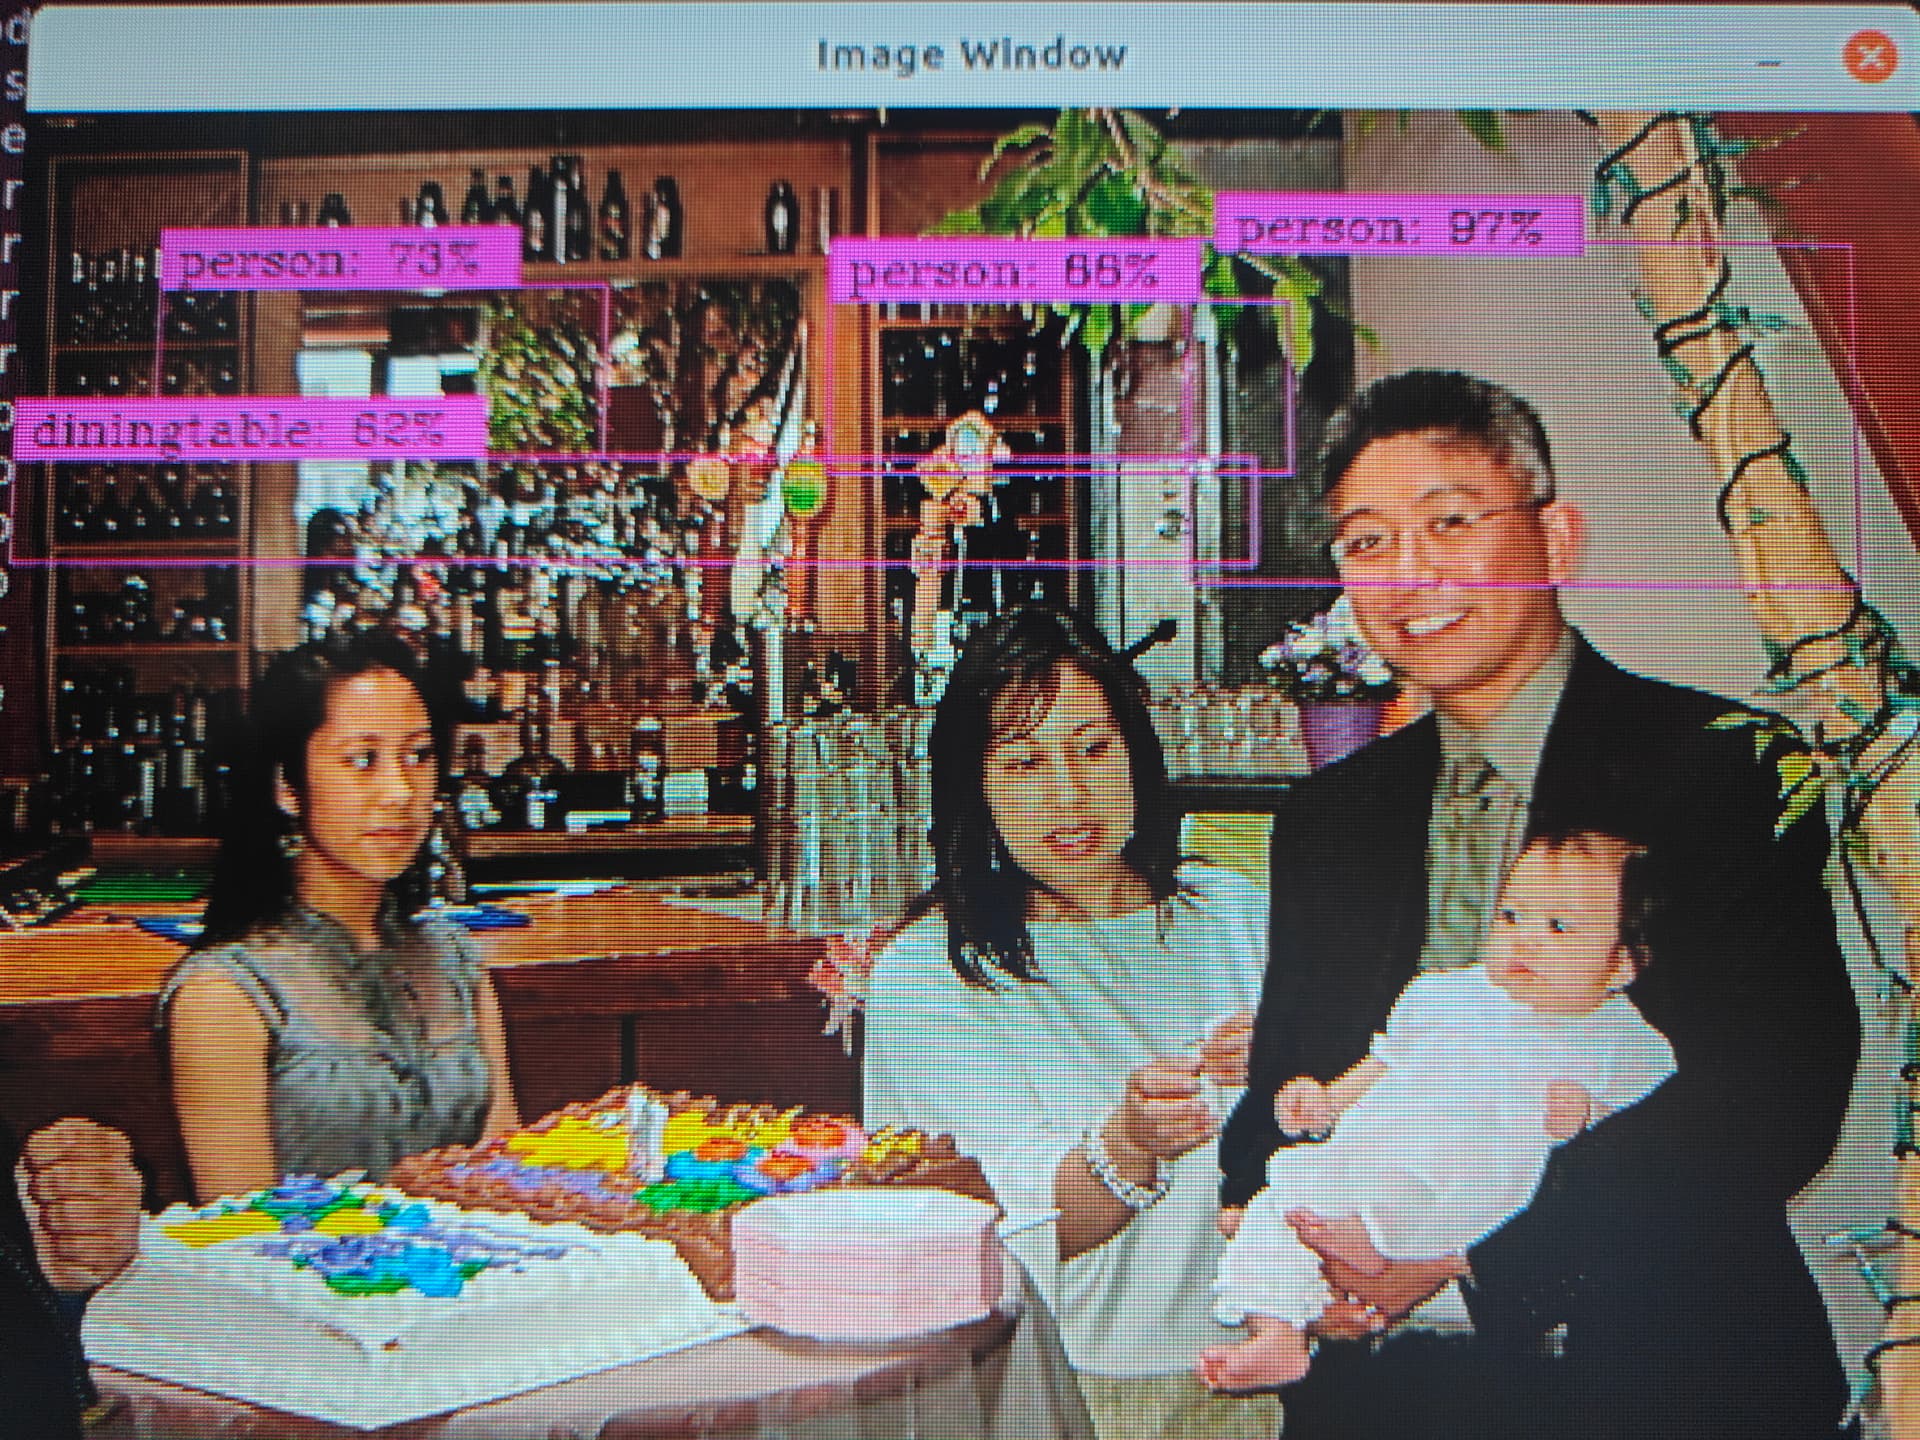
图一:识别结果的框图总是偏上了一些,不清楚改哪里;
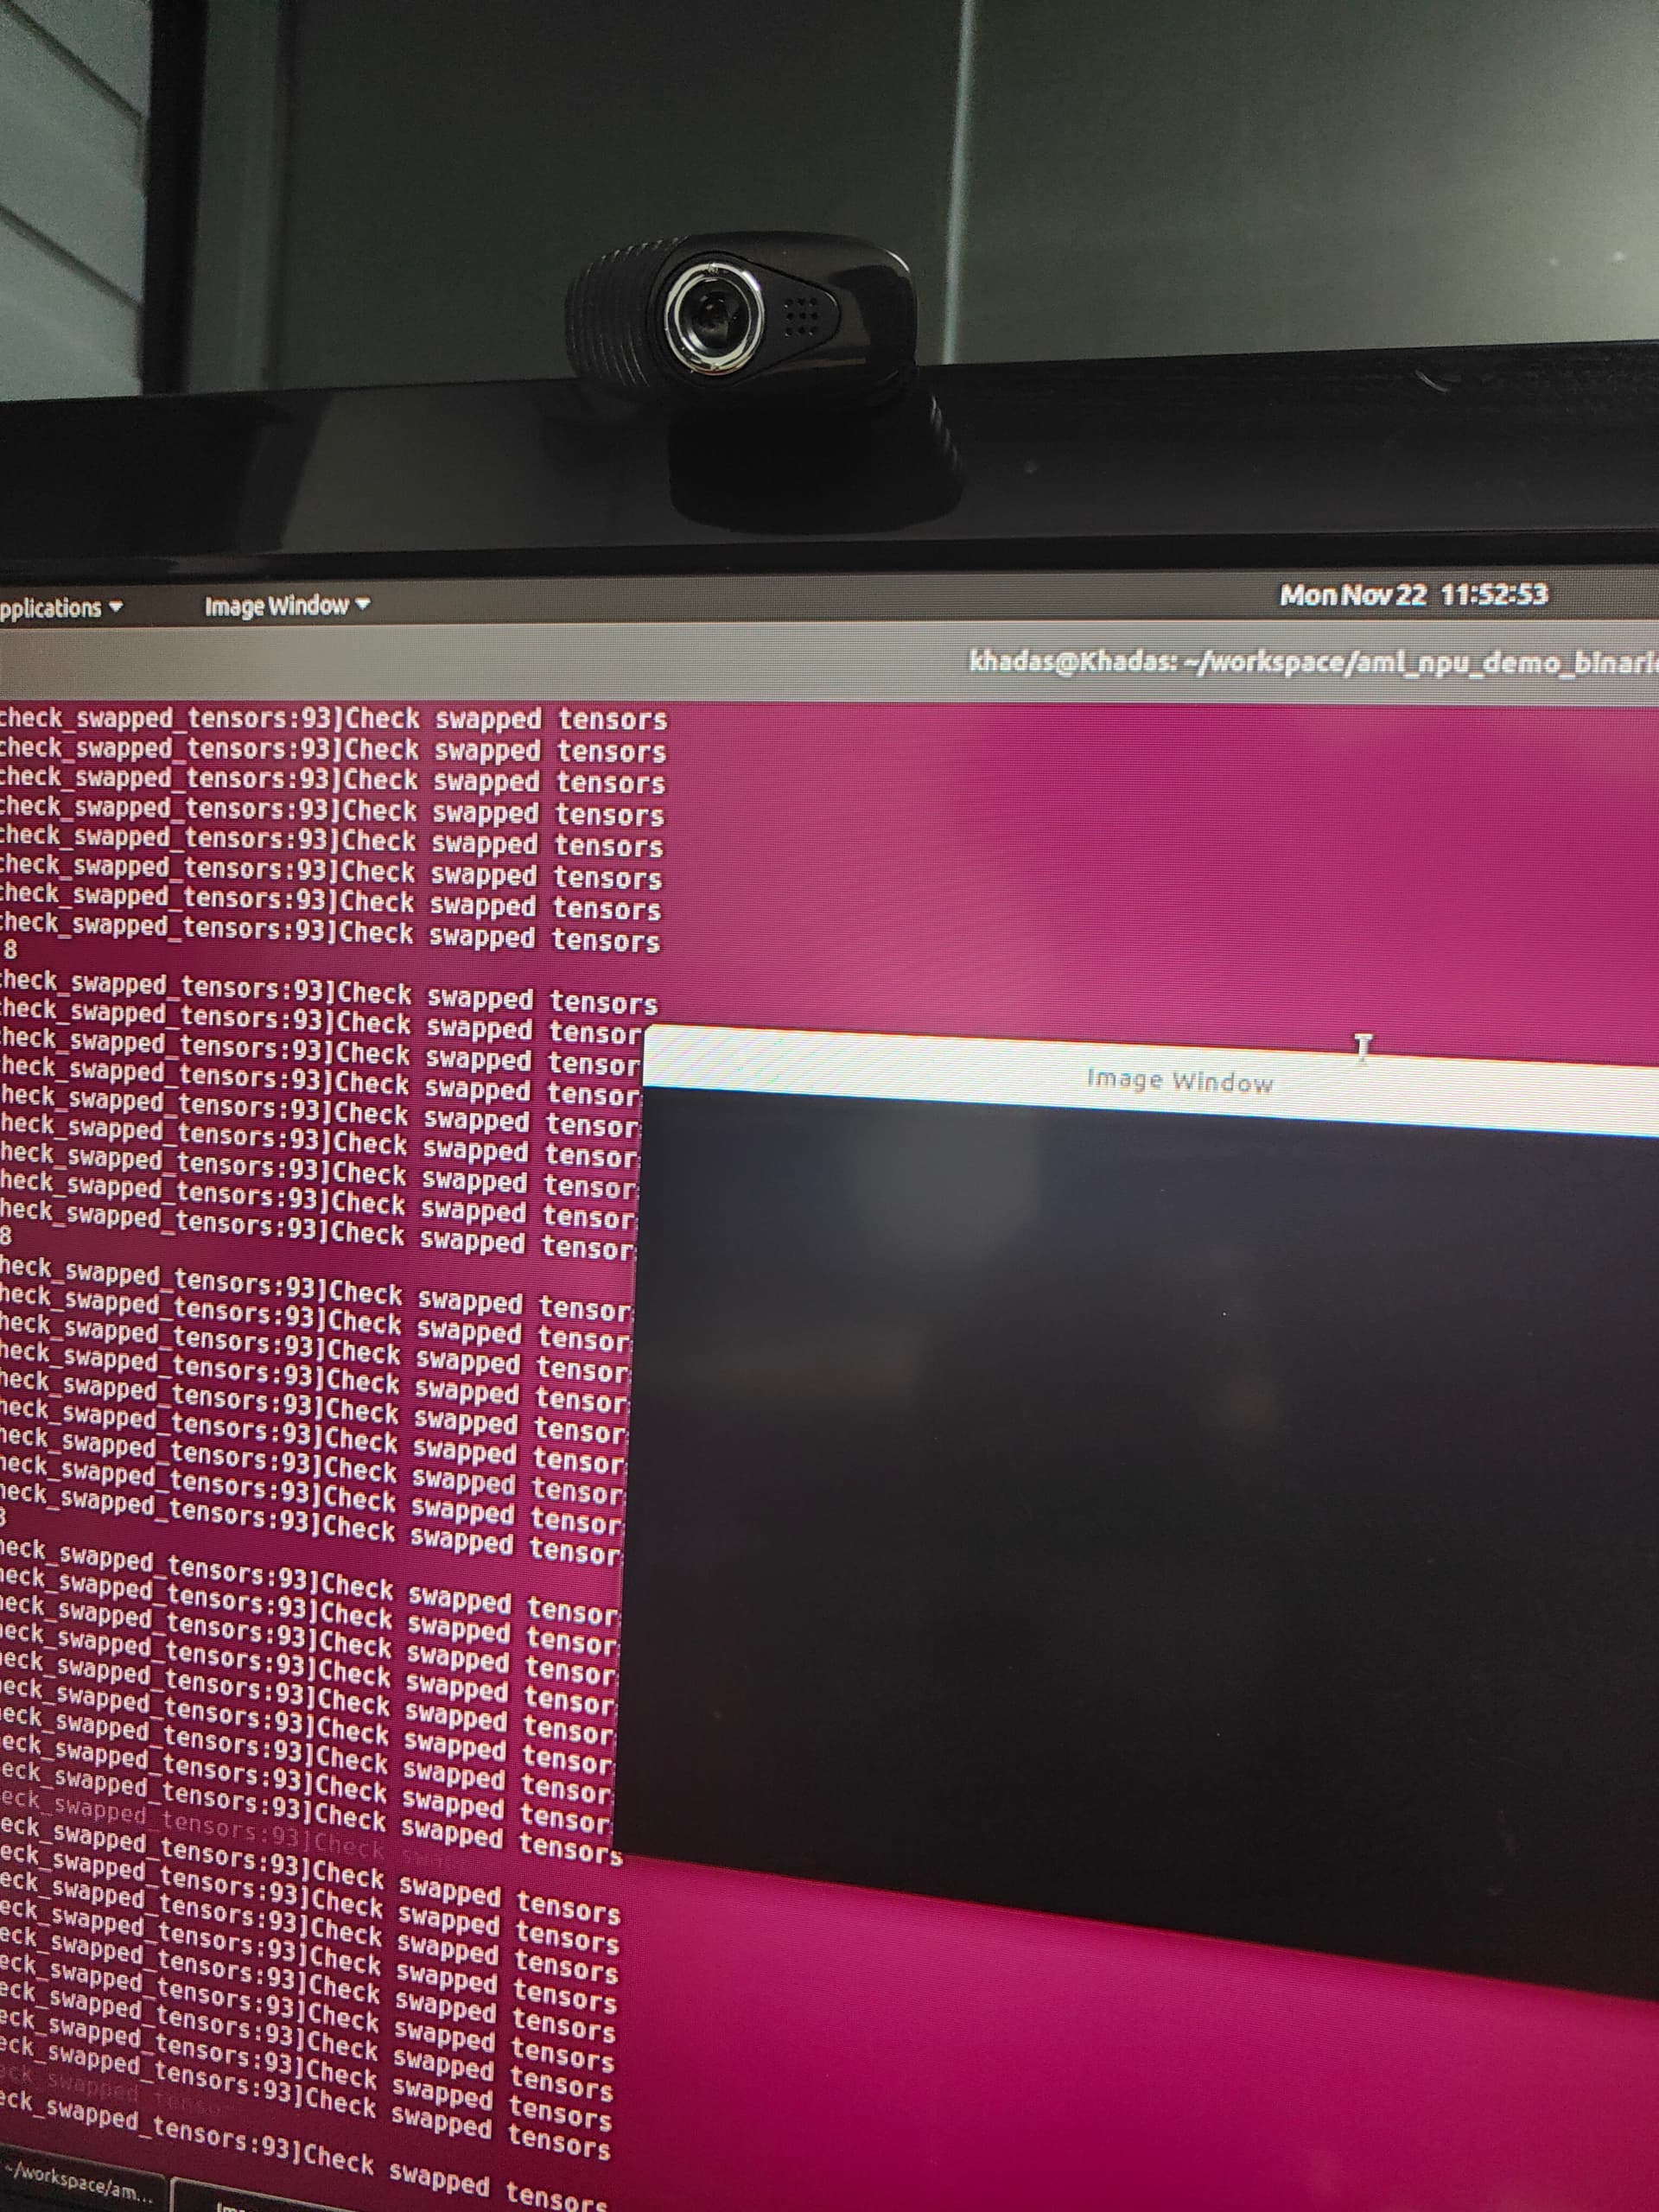
2.图二:detect_demo 中 ./detect_demo_x11_usb -m 2,图像总是黑屏的,我可确定usb 摄像头是正常工作的,sudo apt install libopencv-dev python3-opencv 已正常安装。执行其他 -m type 也是一样的黑屏,其中 -m 0 是花屏。
Frank
November 23, 2021, 1:16am
18
建议你使用我的github的darknet仓库。这个仓库是我在用的,在vim3上面可能正常。
guofq:
识别结果的框图总是偏上了一些,不清楚改哪里;
图形框偏移一般都是原图比例缩放出问题了。
我感觉是摄像头问题,你用ubuntu的摄像头软件可以正常打开你的摄像头么
guofq
November 23, 2021, 1:56am
19
@Frank
 建议你使用我的github的darknet仓库。这个仓库是我在用的,在vim3上面可能正常。
麻烦这里贴下你的darknet仓库链接,谢谢。
@Frank
我感觉是摄像头问题,你用ubuntu的摄像头软件可以正常打开你的摄像头么
你的感觉可能是对的,我使用Cheese(图一)无法打开,但使用GuvcView(图二)可以正常打开,估计是usb camera摄像头兼容性问题,我再购买一个其他品牌的测试,结果会反馈到这里。再次感谢你的帮助。
Frank
November 23, 2021, 2:10am
20
guofq:
麻烦这里贴下你的darknet仓库链接,谢谢。
我们使用的是罗技的usb1080p摄像头,提供给你参考下