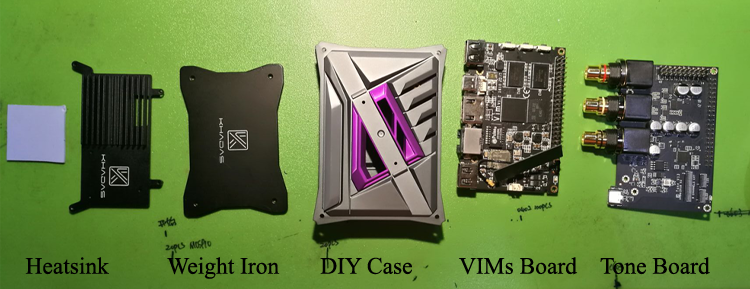
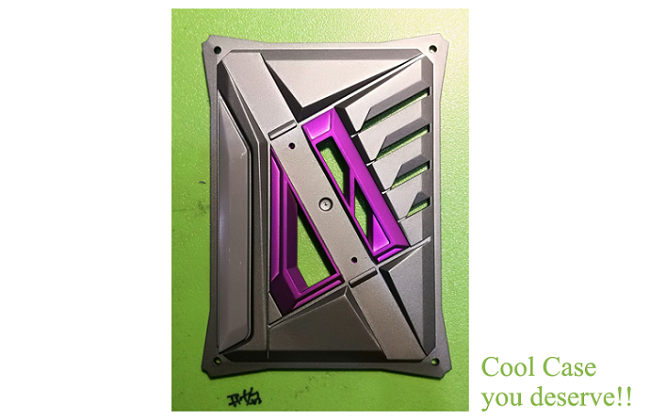
Today I was arranging one sample to my client, he asked me better to make along with the heatsink together with Khadas VIM1 Basic and Tone Board. He told me he has a kid at home, better to have a cover for Tone board if it can be. Let me think…
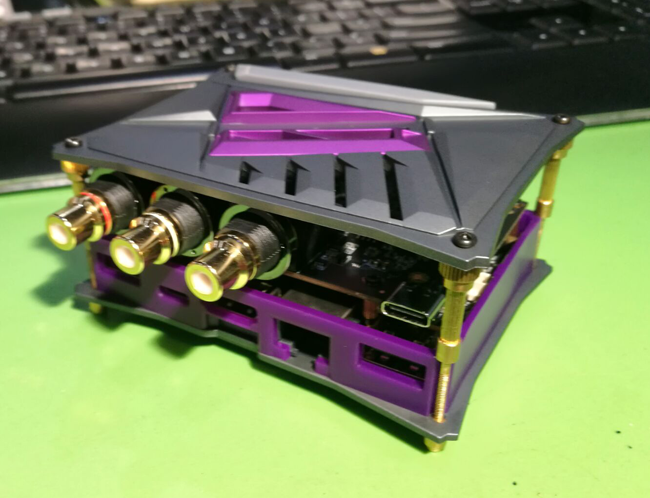
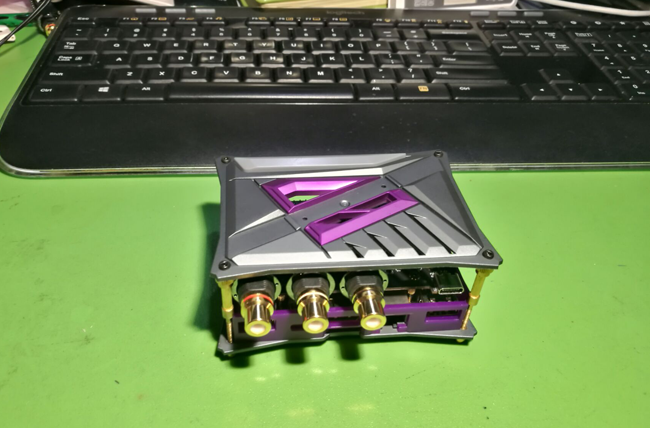
Finally do some testing and adjusting, some amazing happened! What a good looking assembling!

on Youtube
Material:


Steps:
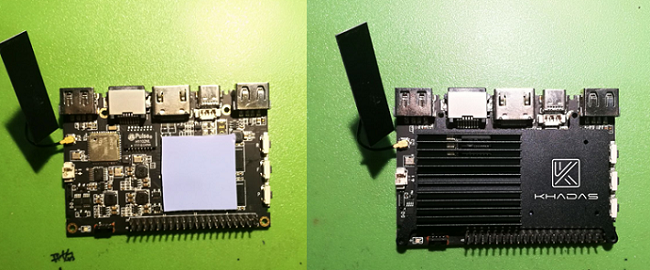
- Make Heatsink on VIM board firstly.
Cover the Square silicone sheet on the CPU+eMMC+DDR, the down line of silicone sheet shall be not below the edge of eMMC. Then make the heatsink bring into the hole of VIM boards. Then put the combination aside.
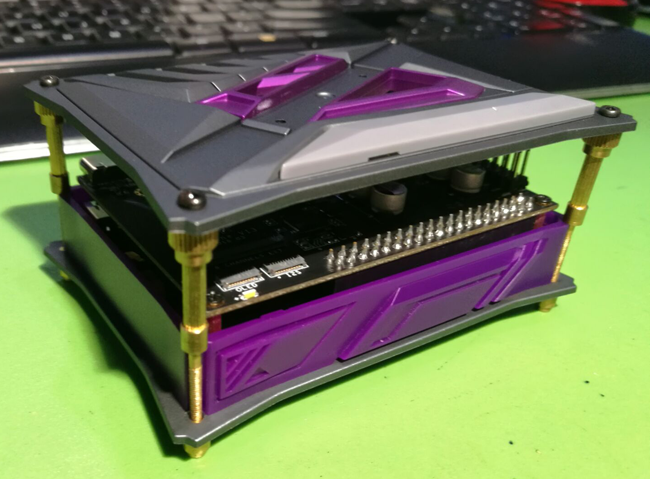
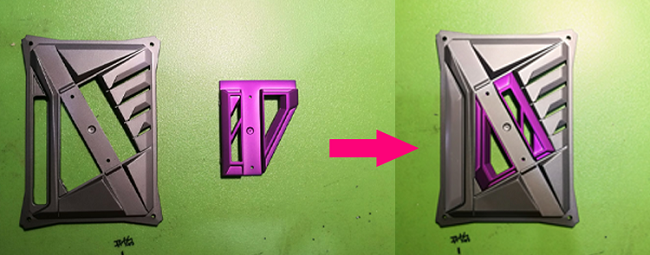
- Make the Upper Frame with the Garnish and GPIOs Cover, Put this combination on aside.
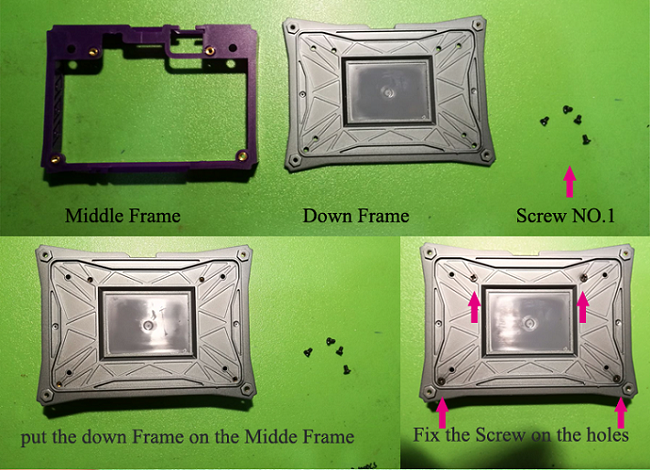
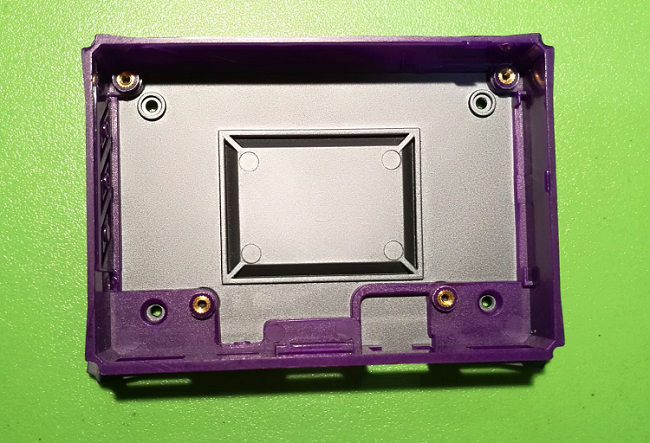
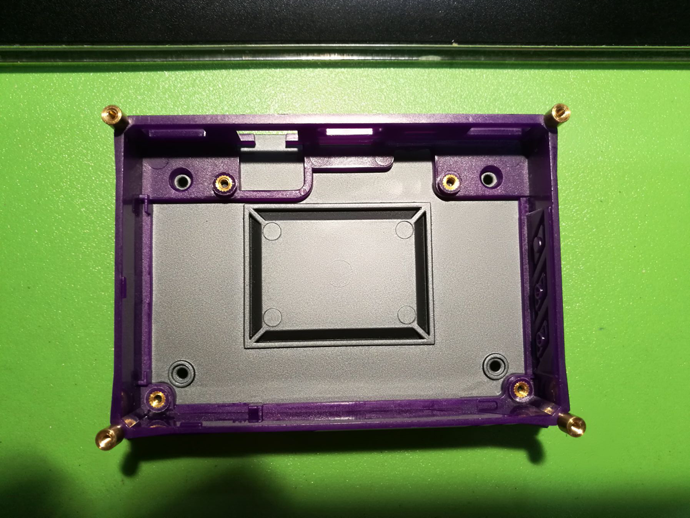
- Fix the Middle Frame with the Down Frame. Use the Screw NO.1 = 4 PCS
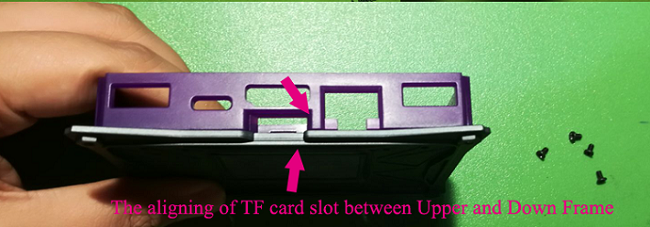
Notice the aligning of TF card between Upper Frame and Middle Frame to get the right directions.
Thumb the screw NO.1 to the appointed holds.
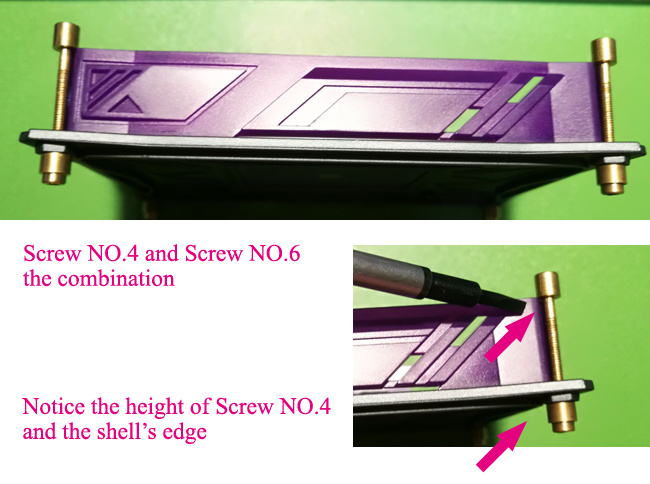
- Foot of the case: Thumb Screw NO. 4 = 4PCS and Screw NO.6 = 4 PCS.
Screw NO.6 as the foot of the device.
But notice the height between Screw NO. 4 and Middle Frame’s edge. do not tighten it. As at the last step will tighten all.
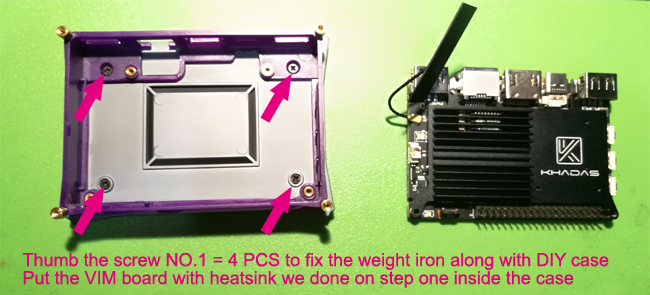
- Fix the Weight Iron with the case.
This step please notice the direction of TF card slot and the logo Khadas of weight iron.
Then use the screw NO.1 = 4 pcs ( Total 8 PCS ) to fix the weight iron along with Khadas DIY Case.
put the VIM board with heatsink inside the case.

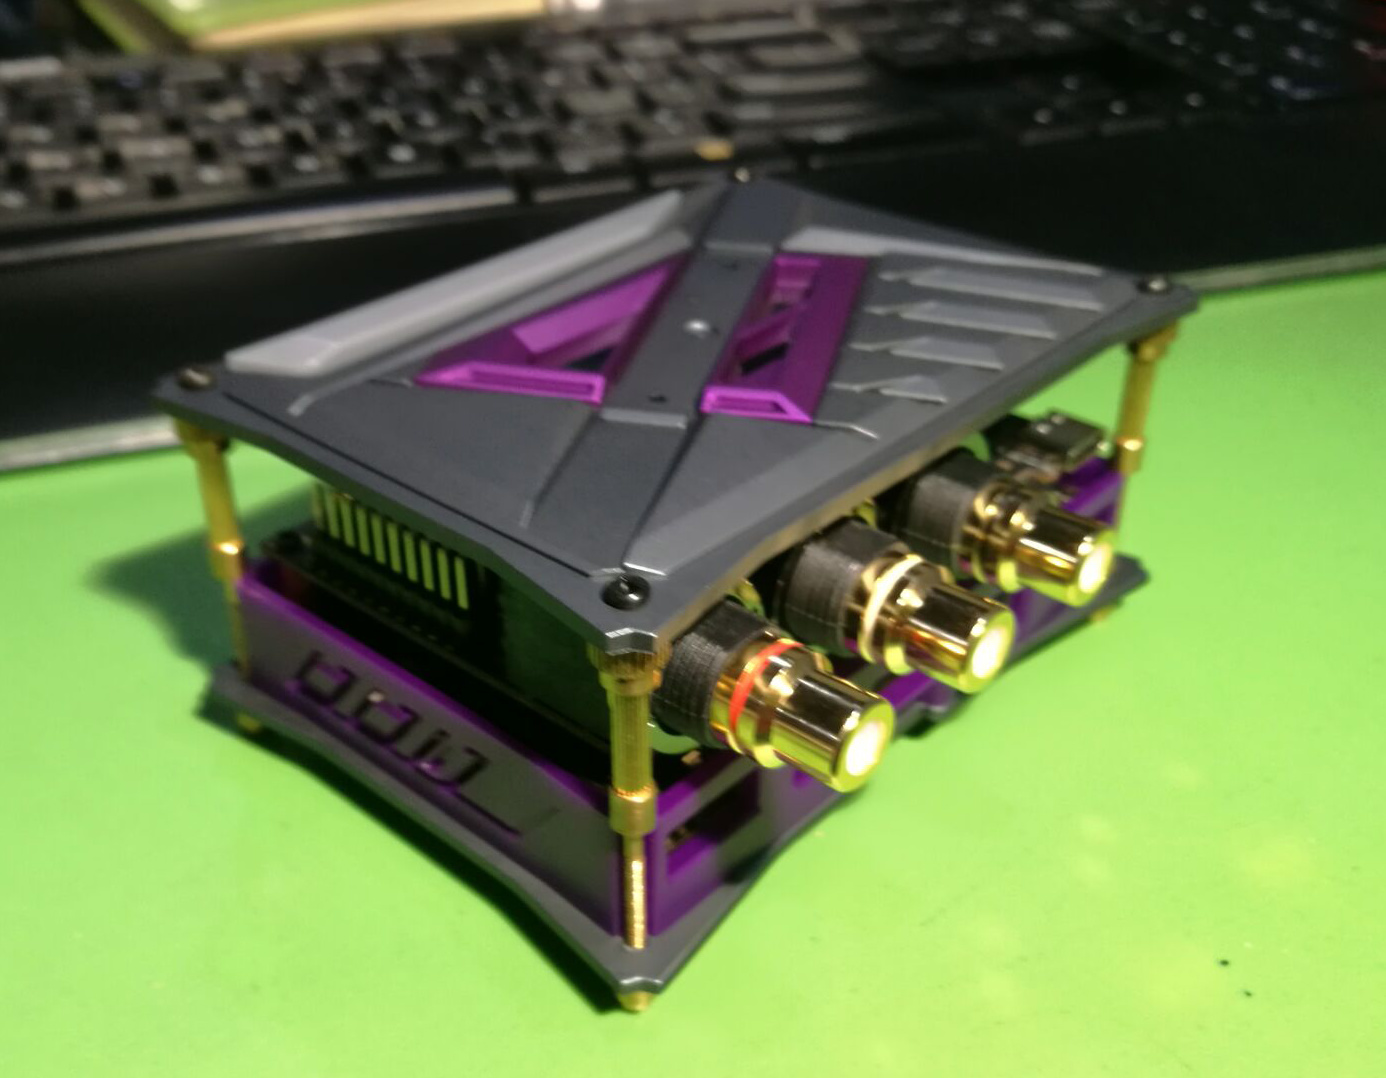
- put the VIMs board with heatsink into the case, and then put the antenna at the place of case.

- Fix the screw NO.7 with the Screw NO. 4 we did on Step 4.

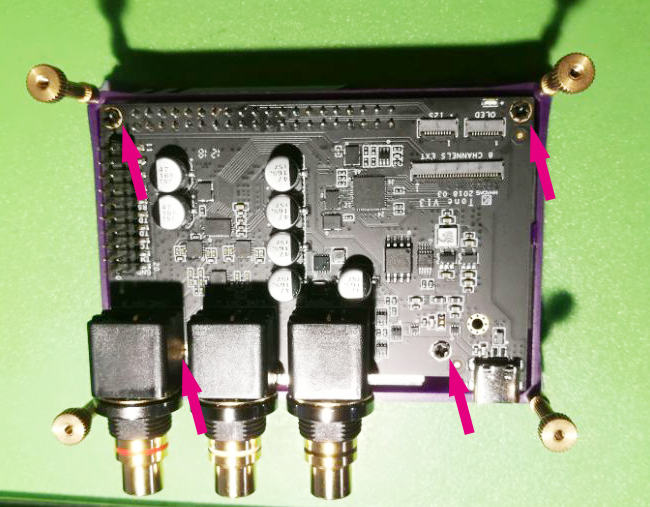
- Put Khadas Tone Board fix to the VIMs GPIO headers. And then thumb the screw NO. 6 on the Screw NO.7
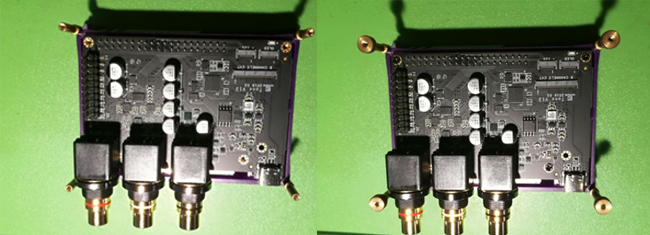
- Thumb the screw NO. 8 to the holes on Khadas Tone board.
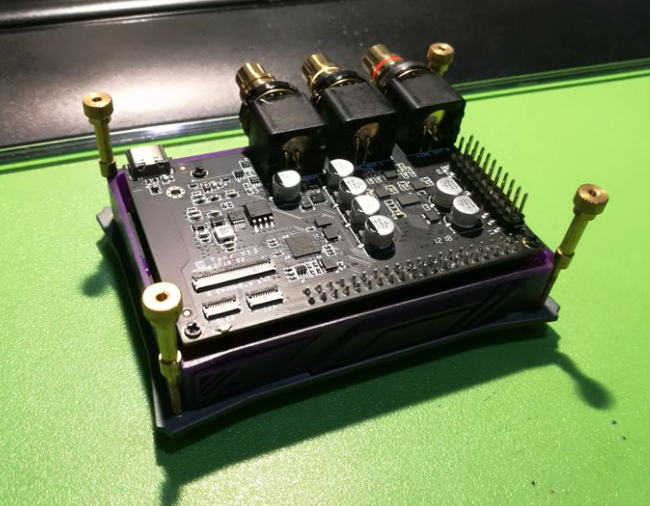
Then put the Upper Frame we done on step 2, use the screw NO.3 to final thumb with the case.
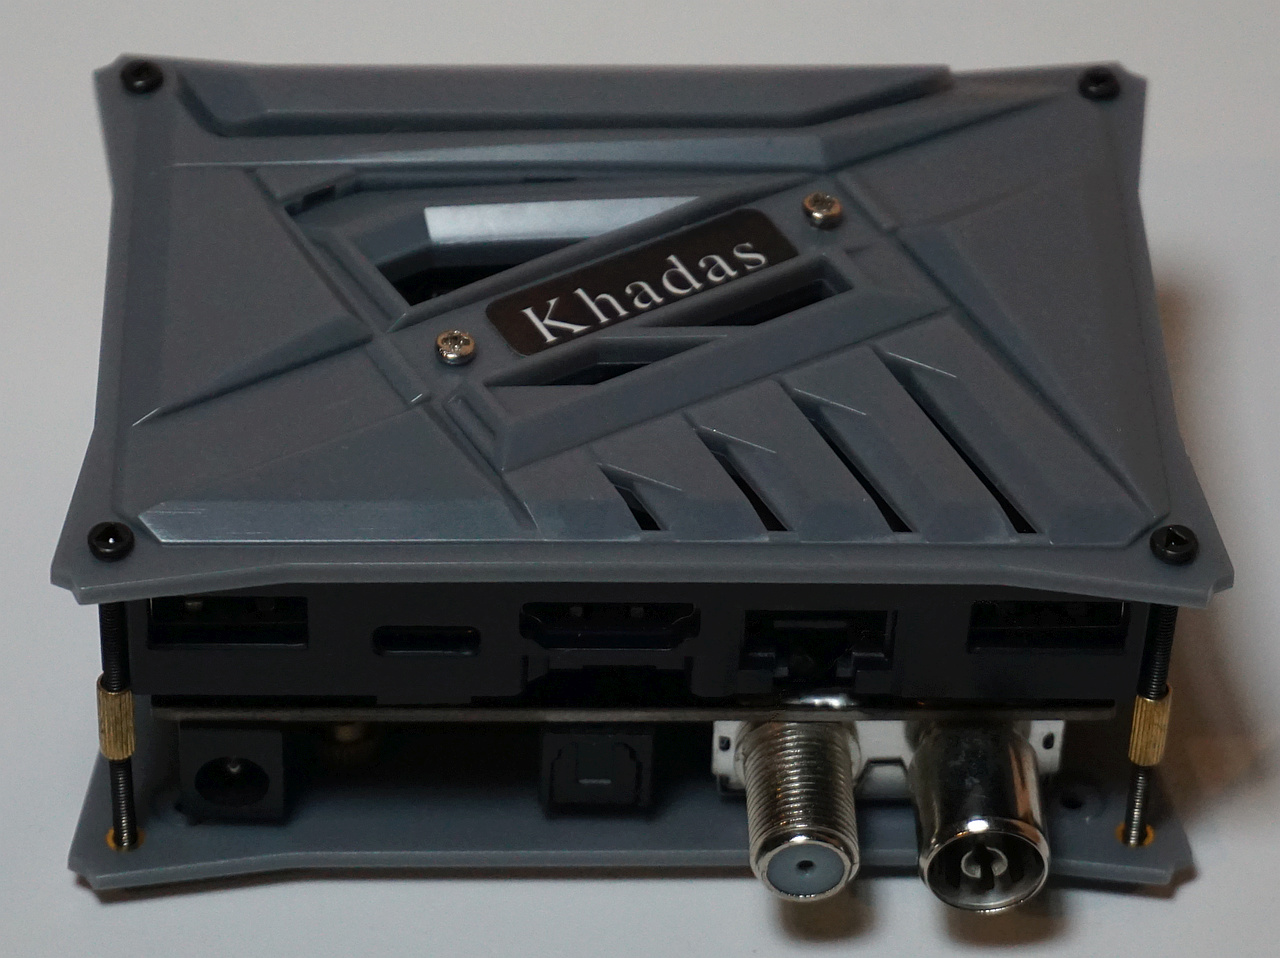
Finsh the DIY of Khadas Tone Board long with the Khadas VIM boards.
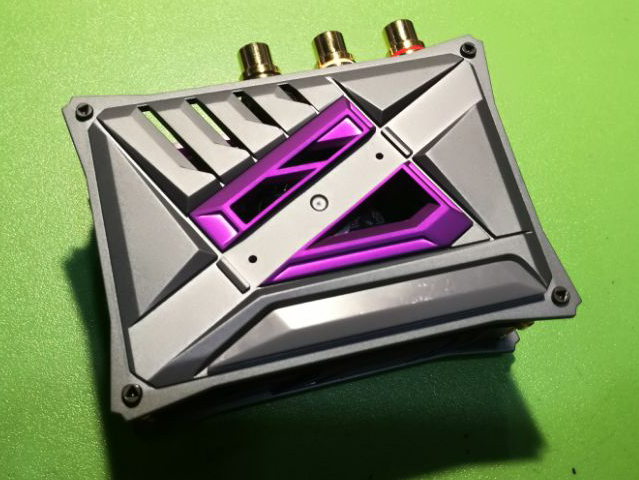
More other pitures for refer!