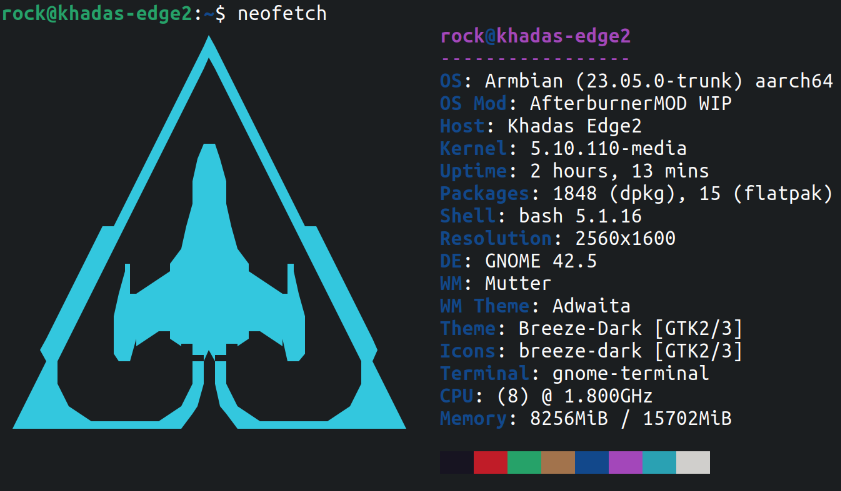
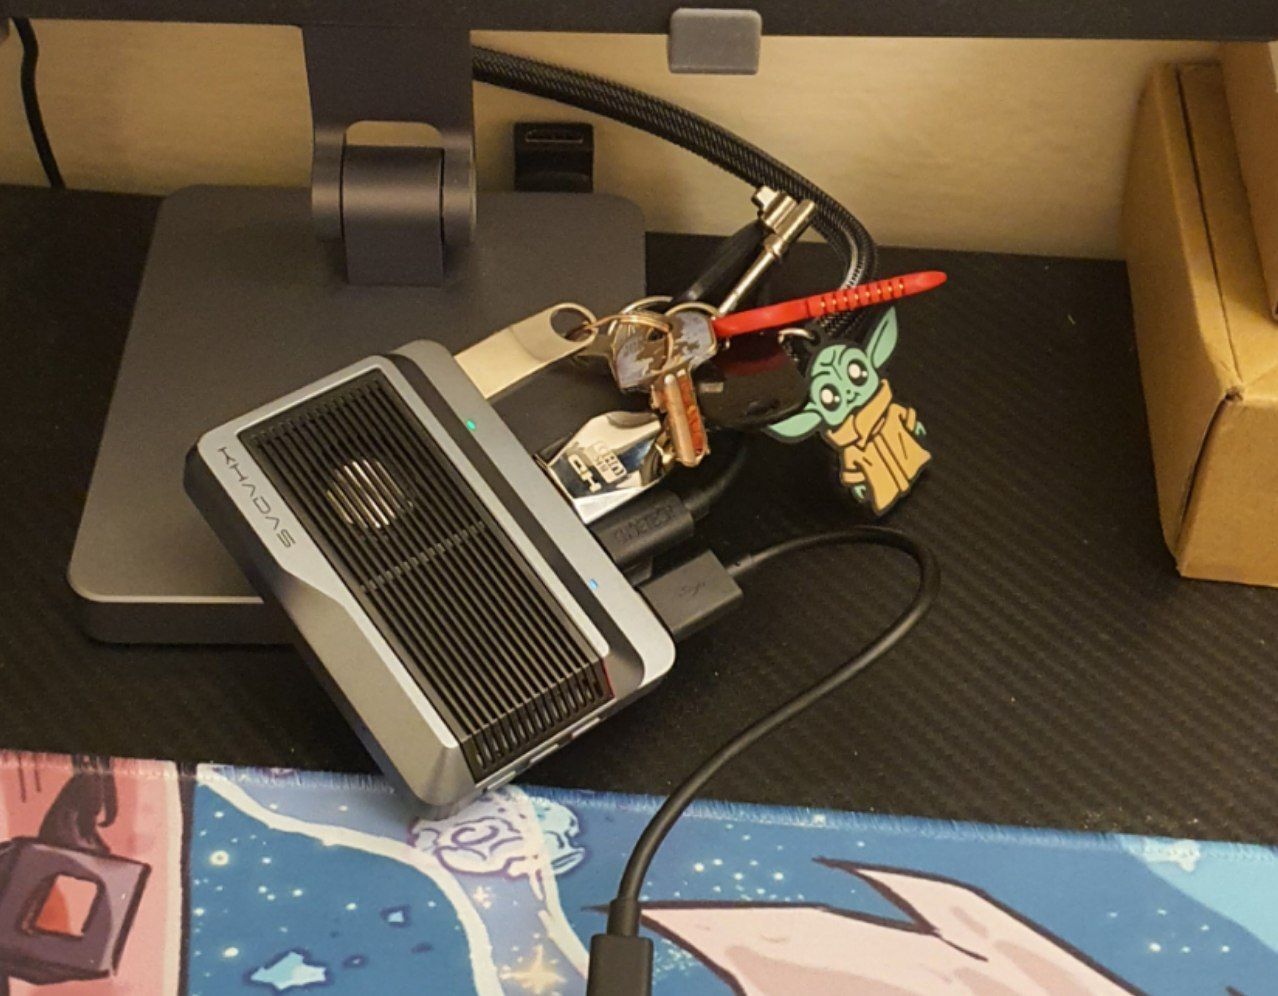
Best Options - For a ‘Gaming’ Rockchip Single Board

This is my experience more for a more gaming experience and as I love the web apps this is the system I can recommend yous. Here’s to take the best Khadas resources:
Use ooWoW and Install:
Project Afterburner - ARMory Gaming = Khadas Edge2 - by @monka
Debian Image Builder by @c0rnelius and @tenkawa
Ubuntu Rockhip by @Spooky = Not yet available for Edge2
Notes:
-
if downloading with wget use condition –no-check-certificate to avoid the download to fail or use an app like jdownloader or motrix.
-
After starting the system you most likely have to open your disk storage and perform a disk resize
-
Some systems start in x11 so you will notice that the system fails to deliver its brilliant performance at launch so make sure you switch gnome to wayland.
🖱️Flash images using RockChip Dev Tools🖱️
Pre-Requirements for flashing images via RK Dev tools:
To flash this image you will need or either the .img.xz on a flash pendrive booting the board into oowow locating the file and selecting “write this image to emmc” in the oowow option or you can download the latest RkdevTools for Windows:
1 - You need this RKDevTool 2.96 it’s driver it’s emmc config file and its spi loader file
3 - In ‘Download Image’ tab - right click Load config to emmc, select the rk3588_spl_loader_v1.08.111.bin on the first option select exfat_usb_image.img.xz on the second option, select ‘Write by Address’ then press RUN and wait until its completed. #yes it takes time# and obviously step 2 needs to be in place.
For this guide I took the liberty of using nala as a main option for this board:
Do your operations with nala instead of apt:
(It’s faster - It’s modern - It’s graphically easier - Has better debug)
sudo apt update && sudo apt install nala -y && sudo nala upgrade -y
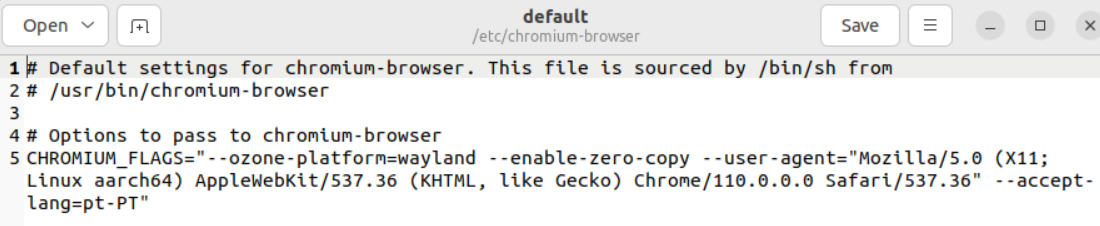
Chrome optimizations flags
sudo gedit /etc/chromium-browser/default
malirun chromium-browser (terminal boster for an extra kick - optional)
#Set Chromium ozone to Wayland only if you intend to use Gnome Wayland
--ozone-platform=wayland
--enable-zero-copy
#Set user agents specifically so it works on Netflix with widevine
--user-agent="Mozilla/5.0 (X11; Linux aarch64) AppleWebKit/537.36 (KHTML, like Gecko) Chrome/110.0.0.0 Safari/537.36" --accept-lang=en-US
#Fixes Chromium browser pixelation bug on wayland
--use-gl=angle
Max out the Edge 2 performance (Optional) - That’s if you want some real performance at the cost of being hot and power-hungry.
echo performance | sudo tee /sys/bus/cpu/devices/cpu[046]/cpufreq/scaling_governor /sys/class/devfreq/dmc/governor /sys/class/devfreq/fb000000.gpu/governor
Once you’re done with your benchmarks, you may want to go back:
echo ondemand | sudo tee /sys/bus/cpu/devices/cpu[046]/cpufreq/scaling_governor
echo dmc_ondemand | sudo tee /sys/class/devfreq/dmc/governor
echo simple_ondemand | sudo tee /sys/class/devfreq/fb000000.gpu/governor
Or if you want a shortcut for performance / ondemand and powersave do nano .bash_aliases and add these instructions - save it Ctrl X, Yes, restart and after just type the governor you desire Terminal: performance to trigger it.
alias performance="echo performance | sudo tee /sys/bus/cpu/devices/cpu[046]/cpufreq/scaling_governor /sys/class/devfreq/dmc/governor /sys/class/devfreq/fb000000.gpu/governor"
alias ondemand="echo ondemand | sudo tee /sys/bus/cpu/devices/cpu[046]/cpufreq/scaling_governor && echo dmc_ondemand | sudo tee /sys/class/devfreq/dmc/governor && echo simple_ondemand | sudo tee /sys/class/devfreq/fb000000.gpu/governor"
alias powersave="echo powersave | sudo tee /sys/bus/cpu/devices/cpu[046]/cpufreq/scaling_governor /sys/class/devfreq/dmc/governor /sys/class/devfreq/fb000000.gpu/governor"
OBS for Streaming / Recording
sudo nala install obs-studio obs-gstreamer obs-plugins xdg-desktop-portal pipewire qtwayland5 librga2 gstreamer1.0-plugins-bad gstreamer1.0-rockchip1 -y
#RESTART here and then run OBS with:
MESA_GL_VERSION_OVERRIDE=3.3 MESA_GLSL_VERSION_OVERRIDE=330 obs
Try some benchmarks - on Ubuntu Wayland to guarantee you are all set.
PAN_MESA_DEBUG=gofaster glmark2
Expected results: 1st Line - 1669fps - Score: 1249fps - you are good.

PAN_MESA_DEBUG=gofaster glmark2-es2-wayland
Expected results: 1st Line - 3527fps - Score: 4067fps - you are sorted.

LD_LIBRARY_PATH=/usr/lib/aarch64-linux-gnu/mali glmark2-es2-wayland
Expected results: 1st Line - 4229fps - Score: 3933fps - what a legend.
Try chromium with malirun chromium-browser on terminal for some extra performance (malirun works with other apps too).
Play Geforce Now via Chromium Browser well optimised on this little Khadas Edge 2!
Play Boosteroid too!
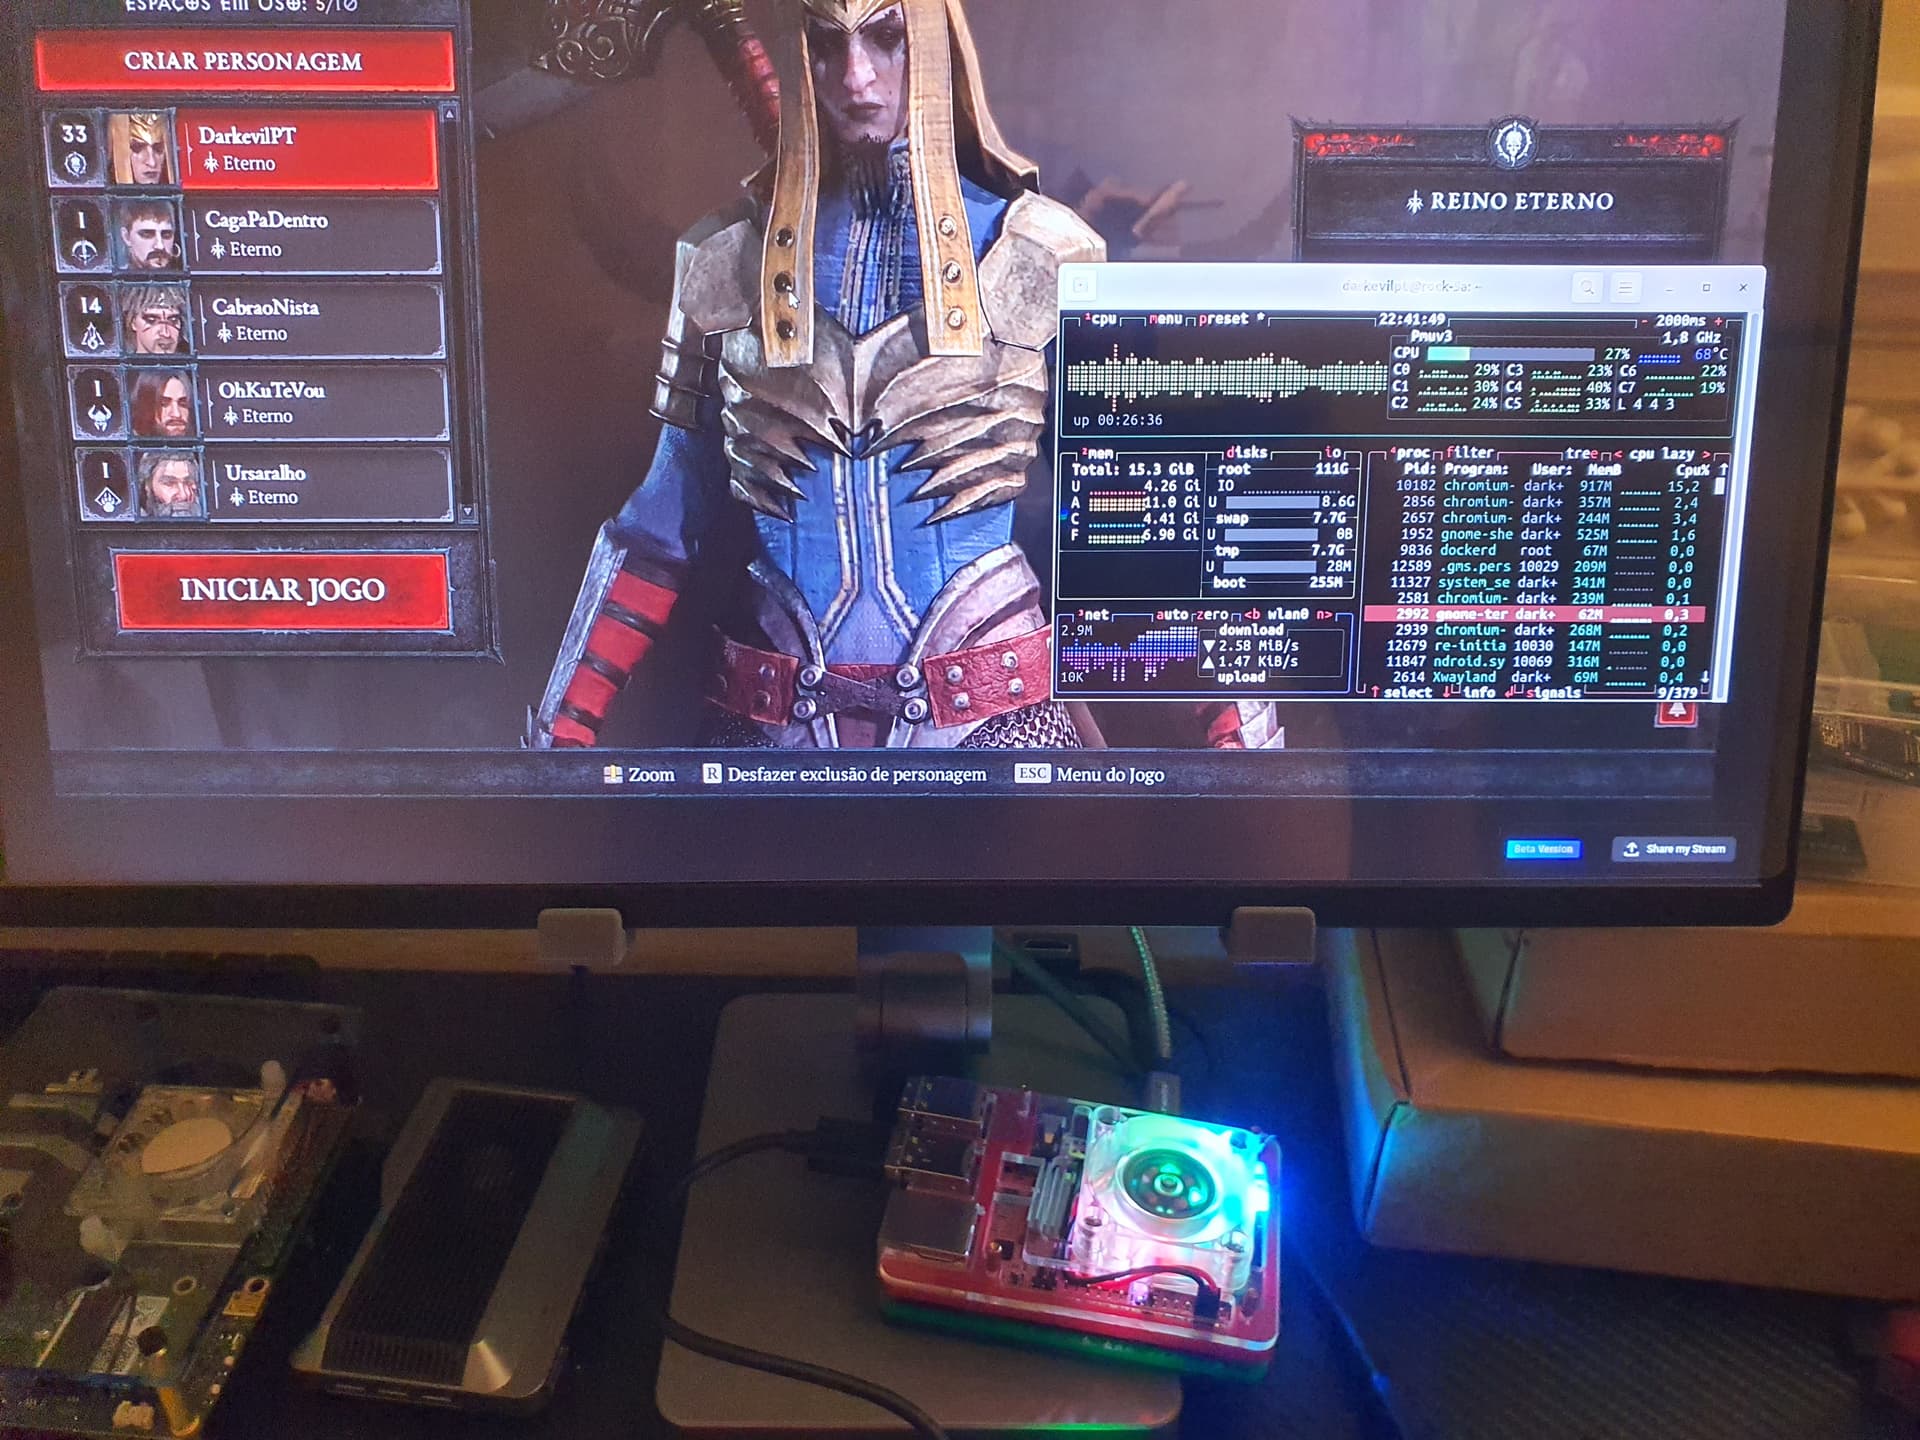
Diablo 4 on Boosteroid via Khadas Edge 2 ? Hell Yeah Boy!
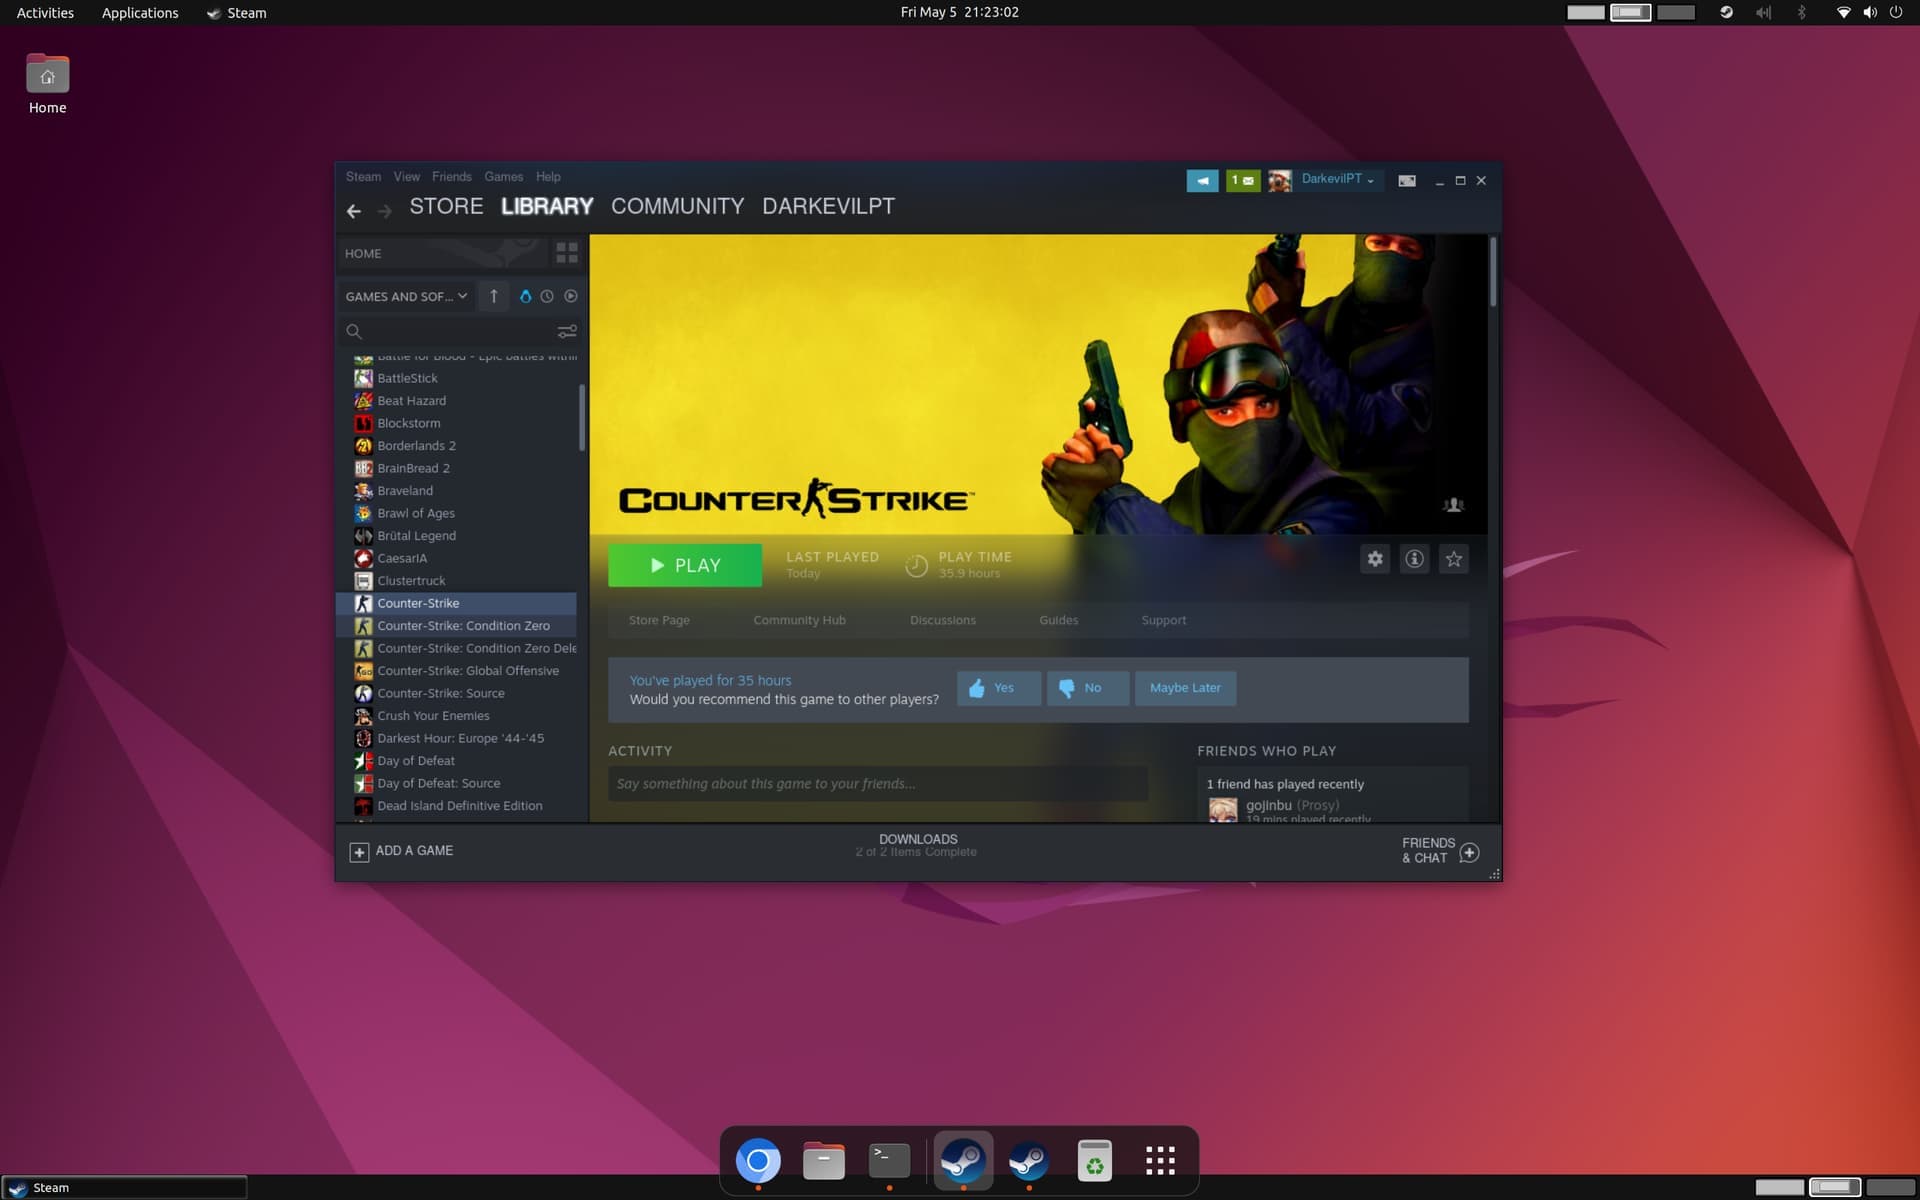
Steam Installation Tutorial
Install Malior-Droid for the Android fun with Scrypy Container
sudo nala install docker docker.io adb -y
sudo mkdir /dev/binderfs
sudo mount -t binder binder /dev/binderfs
wget -O - https://github.com/ChisBread/malior/raw/main/install.sh > /tmp/malior-install.sh && bash /tmp/malior-install.sh  && rm /tmp/malior-install.sh
#it takes long to fetch for the doBox file be patient
malior update
malior install malior-droid
malior-droid update
Install scrpy version 2.0 that is needed for audio forwarding from the android docker container
sudo nala install ffmpeg libsdl2-2.0-0 adb wget gcc git pkg-config meson ninja-build libsdl2-dev libavcodec-dev libavdevice-dev libavformat-dev libavutil-dev libswresample-dev libusb-1.0-0 libusb-1.0-0-dev -y
--
git clone https://github.com/Genymobile/scrcpy
cd scrcpy
./install_release.sh
Start the Android Emulator on Terminal:
#malior-droid start / stop / restart
malior-droid start
adb connect localhost:5555
scrcpy -s localhost:5555
malior-droid resize 720x1280

#malior-droid resize 1920x1080
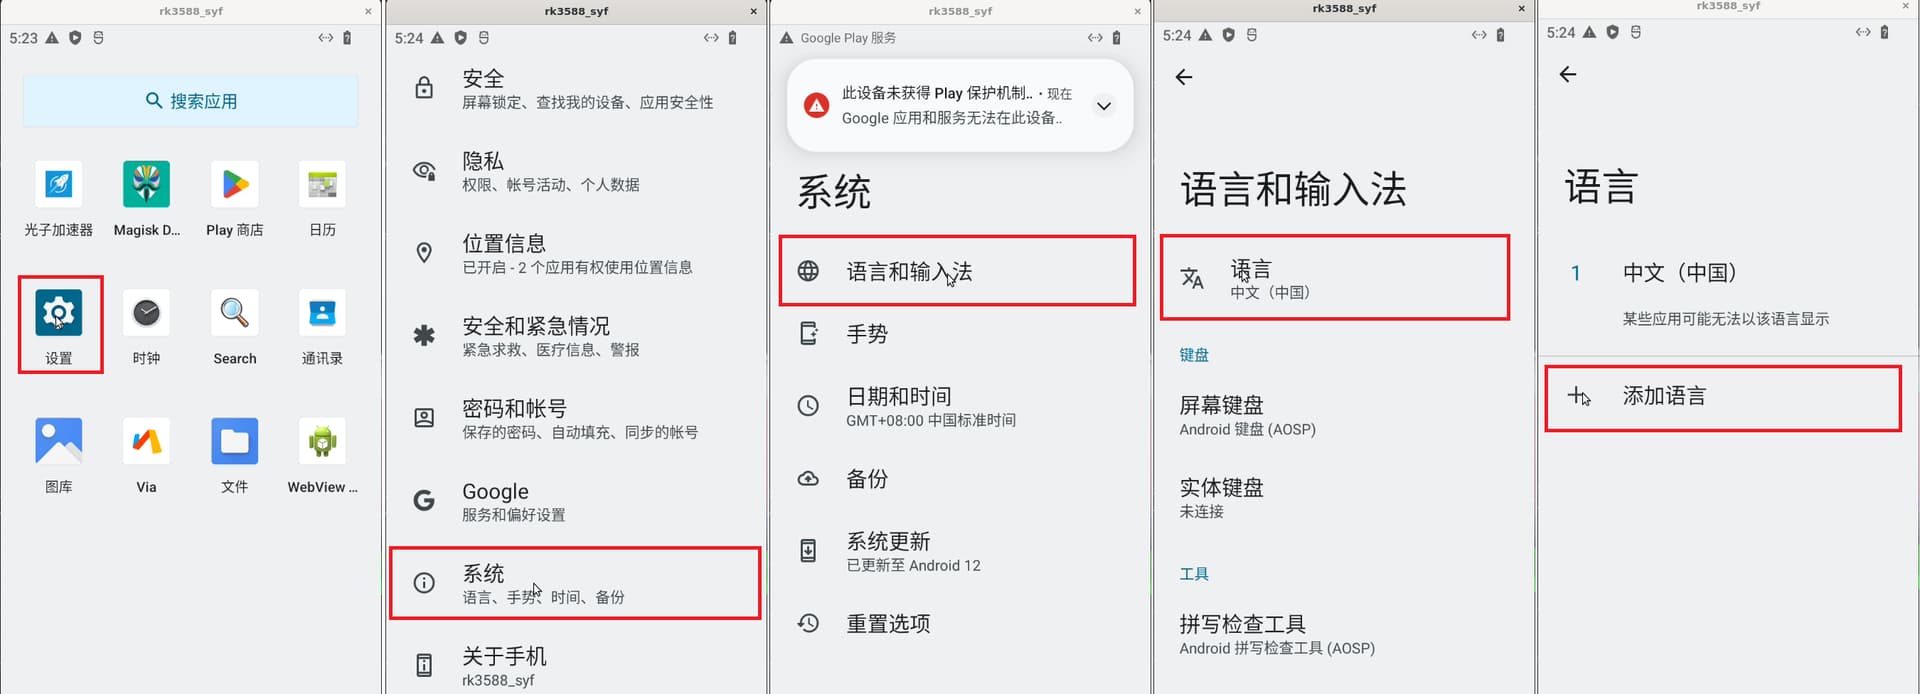
Change it to english this way. Just drag and drop your .apk file into the android window it will auto install it.
App to map the gamepad controller sudo apt install antimicro
To become certified with access to the play store you have to:
1 - Install a device ID apk to get this Device ID and register it on your google account.
2 - Register it here: https://www.google.com/android/uncertified/
3 - Give it a day till google approval happens. (Hours minutes or maybe 1 day not in our control).
Credits to @bread for this.
Sources: GitHub - ChisBread/malior: malior is the game container of arm
@NicoD Has also a gaming script that works for all rockchip single boards:
    _   __ _               ____     ______                   _
   / | / /(_)_____ ____   / __ \   / ____/____ _ ____ ___   (_)____   ____ _
  /  |/ // // ___// __ \ / / / /  / / __ / __ `// __ `__ \ / // __ \ / __ `/
 / /|  // // /__ / /_/ // /_/ /  / /_/ // /_/ // / / / / // // / / // /_/ /
/_/ |_//_/ \___/ \____//_____/   \____/ \__,_//_/ /_/ /_//_//_/ /_/ \__, /
    __     _                        _____              _         __/____/
   / /    (_)____   __  __ _  __   / ___/ _____ _____ (_)____   / /_
  / /    / // __ \ / / / /| |/_/   \__ \ / ___// ___// // __ \ / __/
 / /___ / // / / // /_/ /_>  <    ___/ // /__ / /   / // /_/ // /_
/_____//_//_/ /_/ \__,_//_/|_|   /____/ \___//_/   /_// .___/ \__/
                                                     /_/

git clone https://github.com/NicoD-SBC/armbian-gaming.git
cd armbian-gaming
/bin/bash ./armbian-gaming.sh
#Install box64/box86 and steam and malior-droid.
More useful stuff on Linux:
#--OBS--
sudo nala install obs-studio obs-gstreamer obs-plugins xdg-desktop-portal pipewire qtwayland5 librga2 gstreamer1.0-plugins-bad gstreamer1.0-rockchip1 -y
#RESTART here and then run OBS with:
MESA_GL_VERSION_OVERRIDE=3.3 MESA_GLSL_VERSION_OVERRIDE=330 obs
#--this is the way it works on armbian not sure if needs changed for FydeOS

#for a better desktop experience dont use nala on ubuntu-desktop
sudo apt install ubuntu-desktop

sudo nala install htop -y
sudo nala install neofetch -y
sudo nala install bpytop -y
sudo nala install snapd -y
sudo nala install emojione -y
sudo nala install kodi -y
sudo nala install inkscape -y
sudo nala install flatpak gnome-software-plugin-flatpak squashfs-tools && sudo flatpak remote-add --if-not-exists flathub https://flathub.org/repo/flathub.flatpakrepo
sudo nala install gnome-software gnome-packagekit -y

# or all at once and correctly
sudo nala update && sudo nala install htop bpytop neofetch snapd flatpak xcb obs-studio obs-gstreamer obs-plugins xdg-desktop-portal pipewire qtwayland5 librga2 gstreamer1.0-plugins-bad gstreamer1.0-rockchip1 gnome-software-plugin-flatpak squashfs-tools gnome-software gnome-packagekit kodi inkscape -y && sudo flatpak remote-add --if-not-exists flathub https://flathub.org/repo/flathub.flatpakrepo && sudo nala upgrade -y && sudo nala autoremove
sudo reboot
exit
Im not an linux expert… compiling kernels makes me a lot of confusion so I have a lot to learn yet… but I like to share my experience hoping it helps you the same way it helped me.
This post is made possible thanks to a few members who helped me a lot on Discord so I want to thank them and off course many others did help too (but I can’t find all their names here). Discord for a more direct approach: Khadas Discord
Credits goes to all who this possible and also a group of talented users: @GinKage @igorp @amazingfate @NicoD
Im open to suggestions and improvements and more additional stuff we can add to this system and improve our experience.