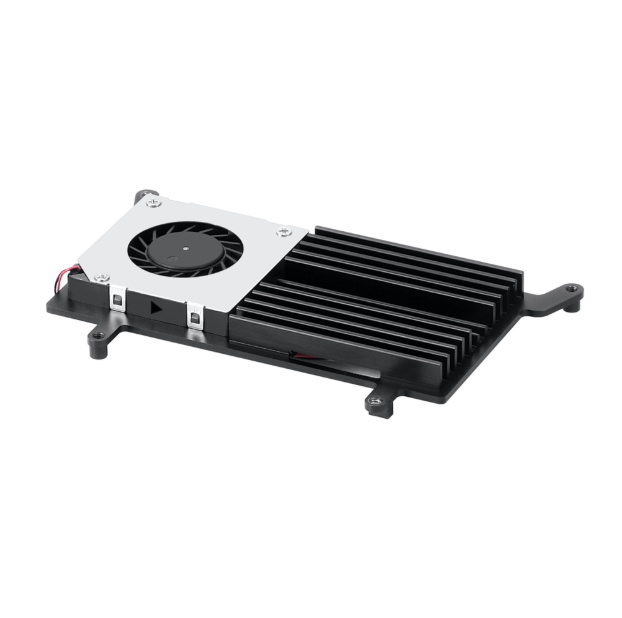
New Fan and Heatsink found at Geekbuying
Click >> Heat sink and bits,
Click >> Fan and some bits
Look Good 
New Fan and Heatsink found at Geekbuying
Click >> Heat sink and bits,
Click >> Fan and some bits
Look Good
quicker than me…
et la diy case,toujours pas
Hi, and what about DIY case? In future, will it be possible to order everything in one package for better price? Or it will be sold separatelly? I´m not sure, if I have to wait also for case and make one order or buy it sepatelly…
Am I right, that it won´t fit into original acrylic case?
And last thing - will it be compatible to use together VIM 2 Max + heatsink + cooling fan + Tone board + DIY case?
Hello, thank you very much for your suggestion.
here is the link for Khadas Cooling fan + Heatsink Set.
Blockquote
In future, will it be possible to order everything in one package for better price?
==> Yes, that is a very good suggestion. We will have both separated SKU and all set SKU to meet different requirement of users.
Blockquote
And last thing - will it be compatible to use together VIM 2 Max + heatsink + cooling fan + Tone board + DIY case?
==> I think VIMs Series we will keep one SKU, and heatsinks/cooling fan/tone board such these accessories will keep another SKUs.
but VIMs+DIY Case shall be have a new SKU.
Thank you. We are appreciated for your attention and suggestion.
Any info regarding DIY case?
Hello, our DIY cases are at the manufacturing process, will be release in two weeks.
thank you for your notice!
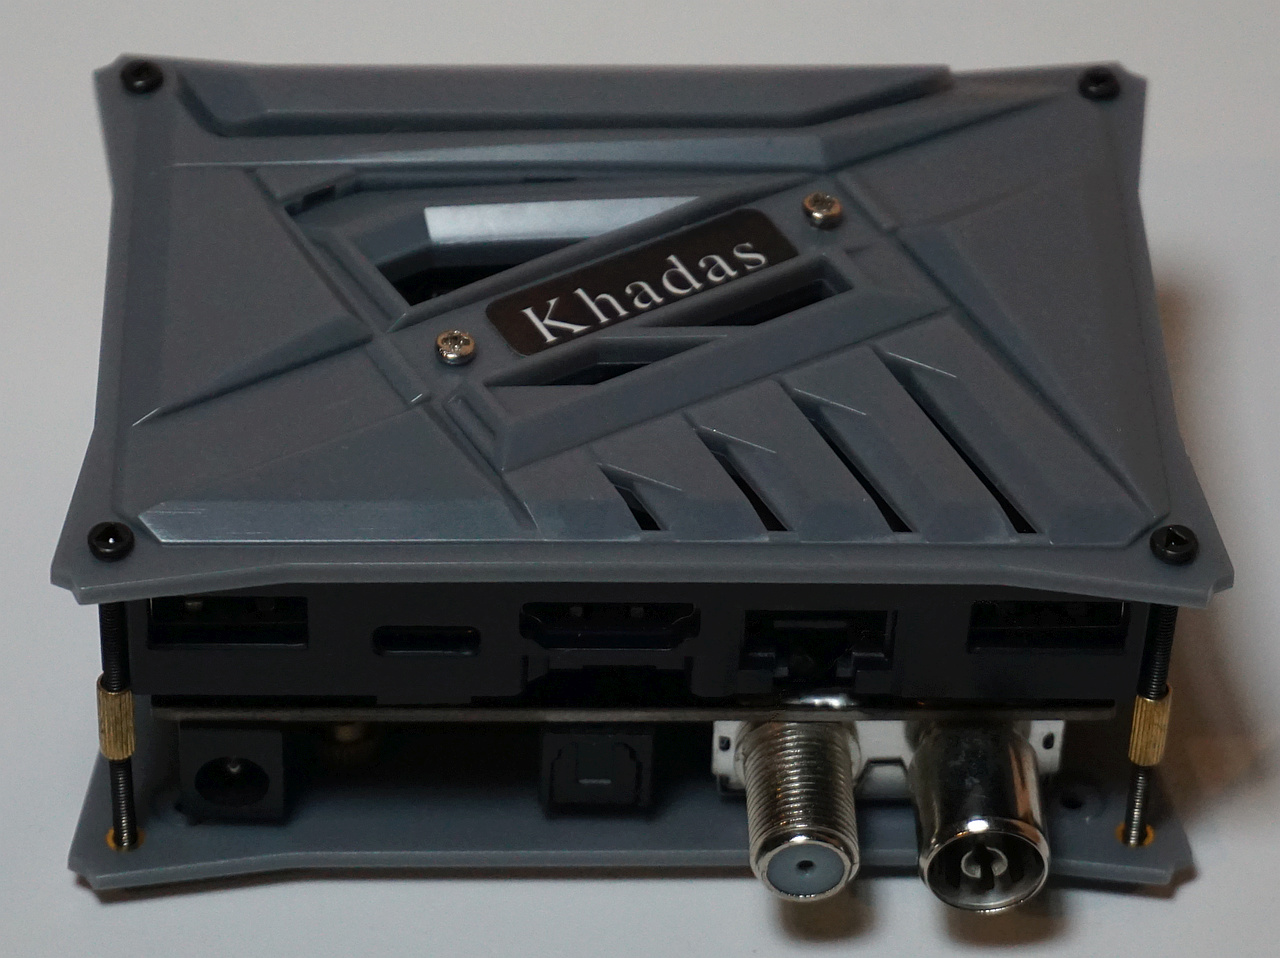
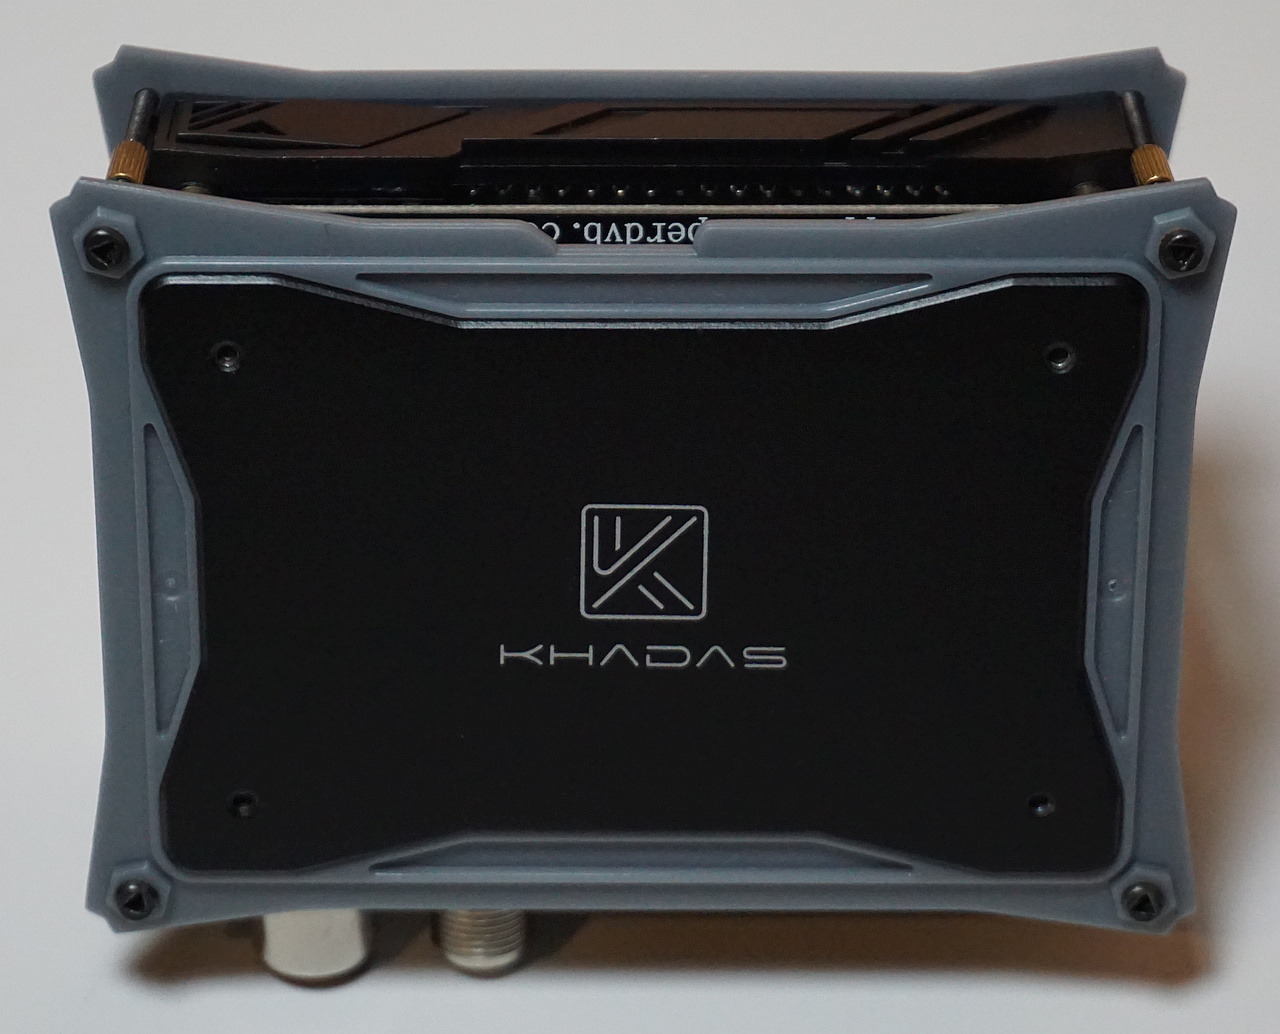
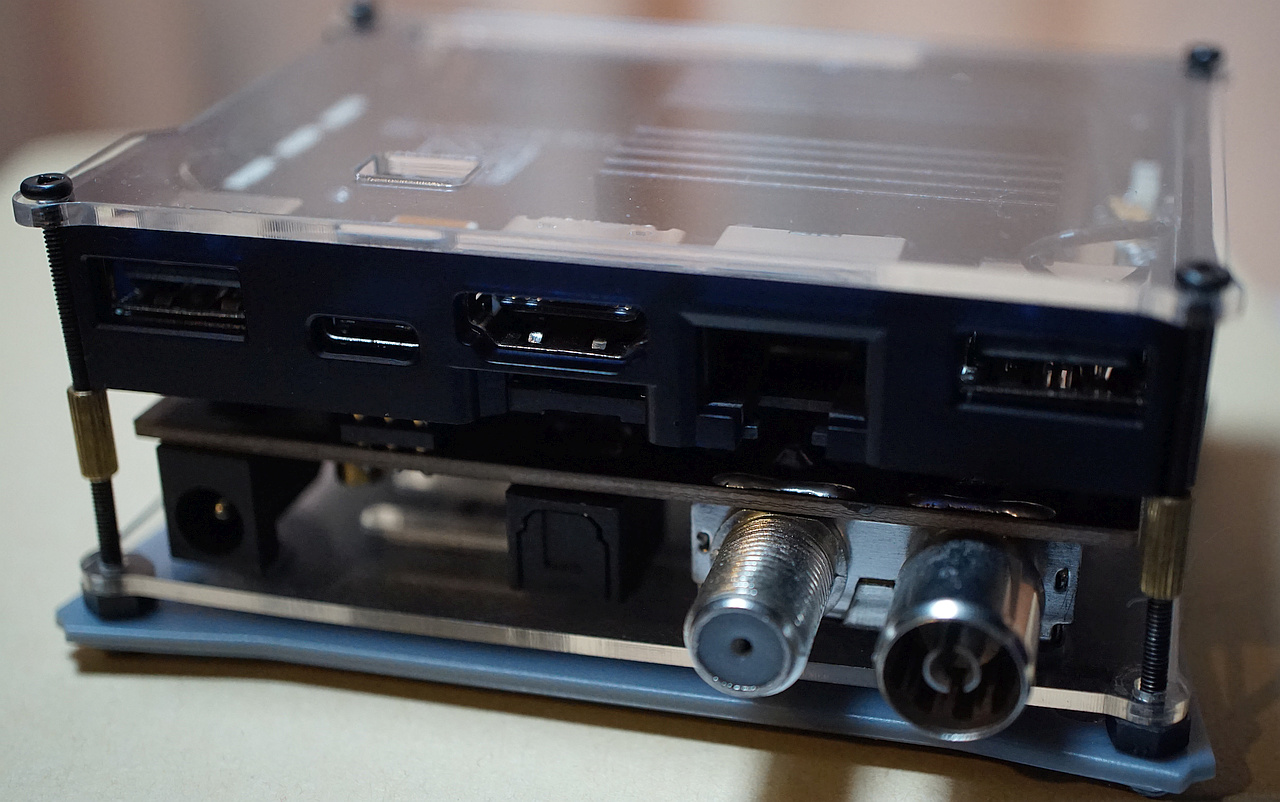
I tested new cooling system on DIY case.
More VIm Fun
This time the case with DTV Fitted sorta
was a pity can’t plug Tone Board in by just removing 40 pin cover from lid
But
Just fit the lid of the old Vim and it can now plug In 
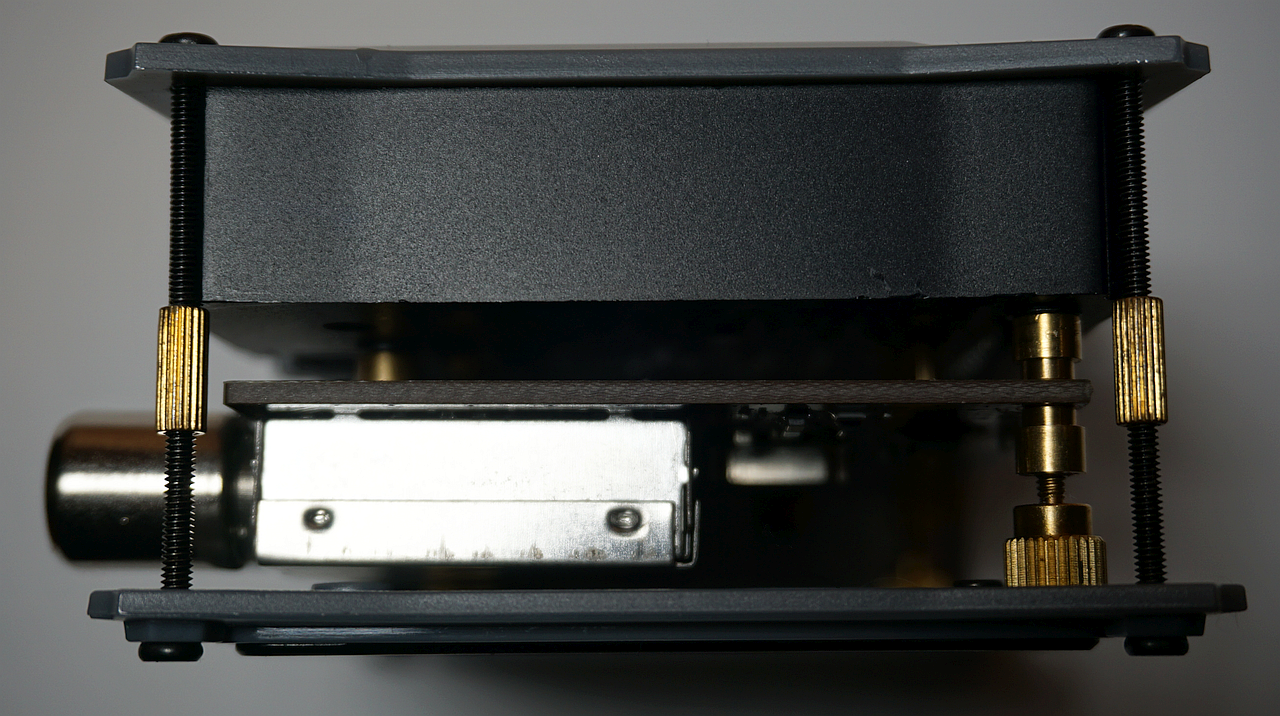
Also clear base plate of vim, spaced with some 2/3mm nuts just for the look I guess 
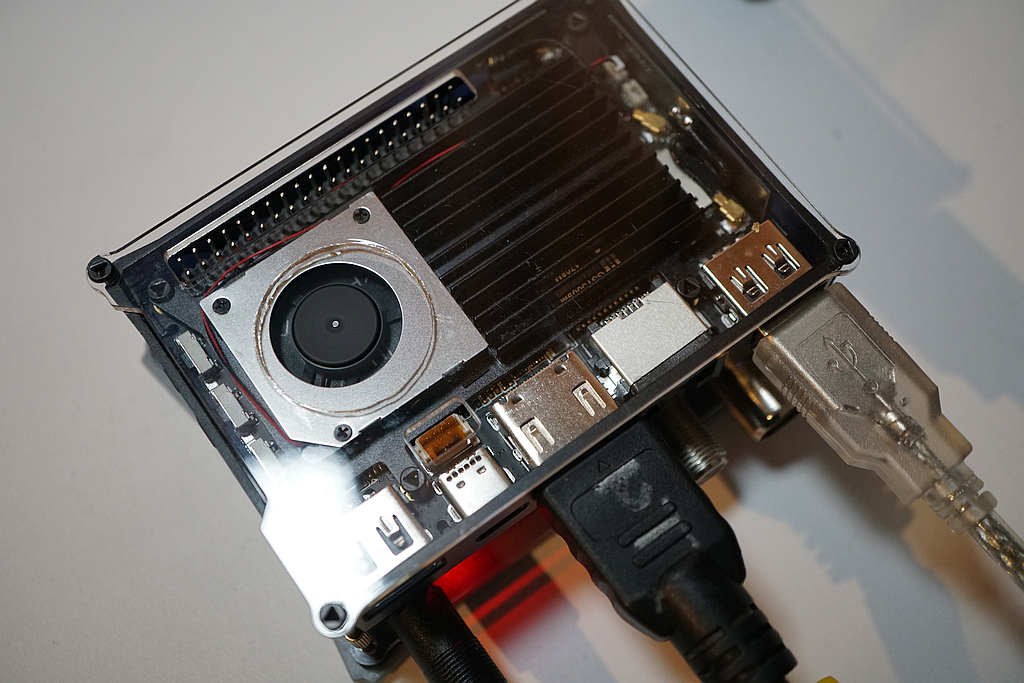
Bit of a drill and fit a fan and away we go
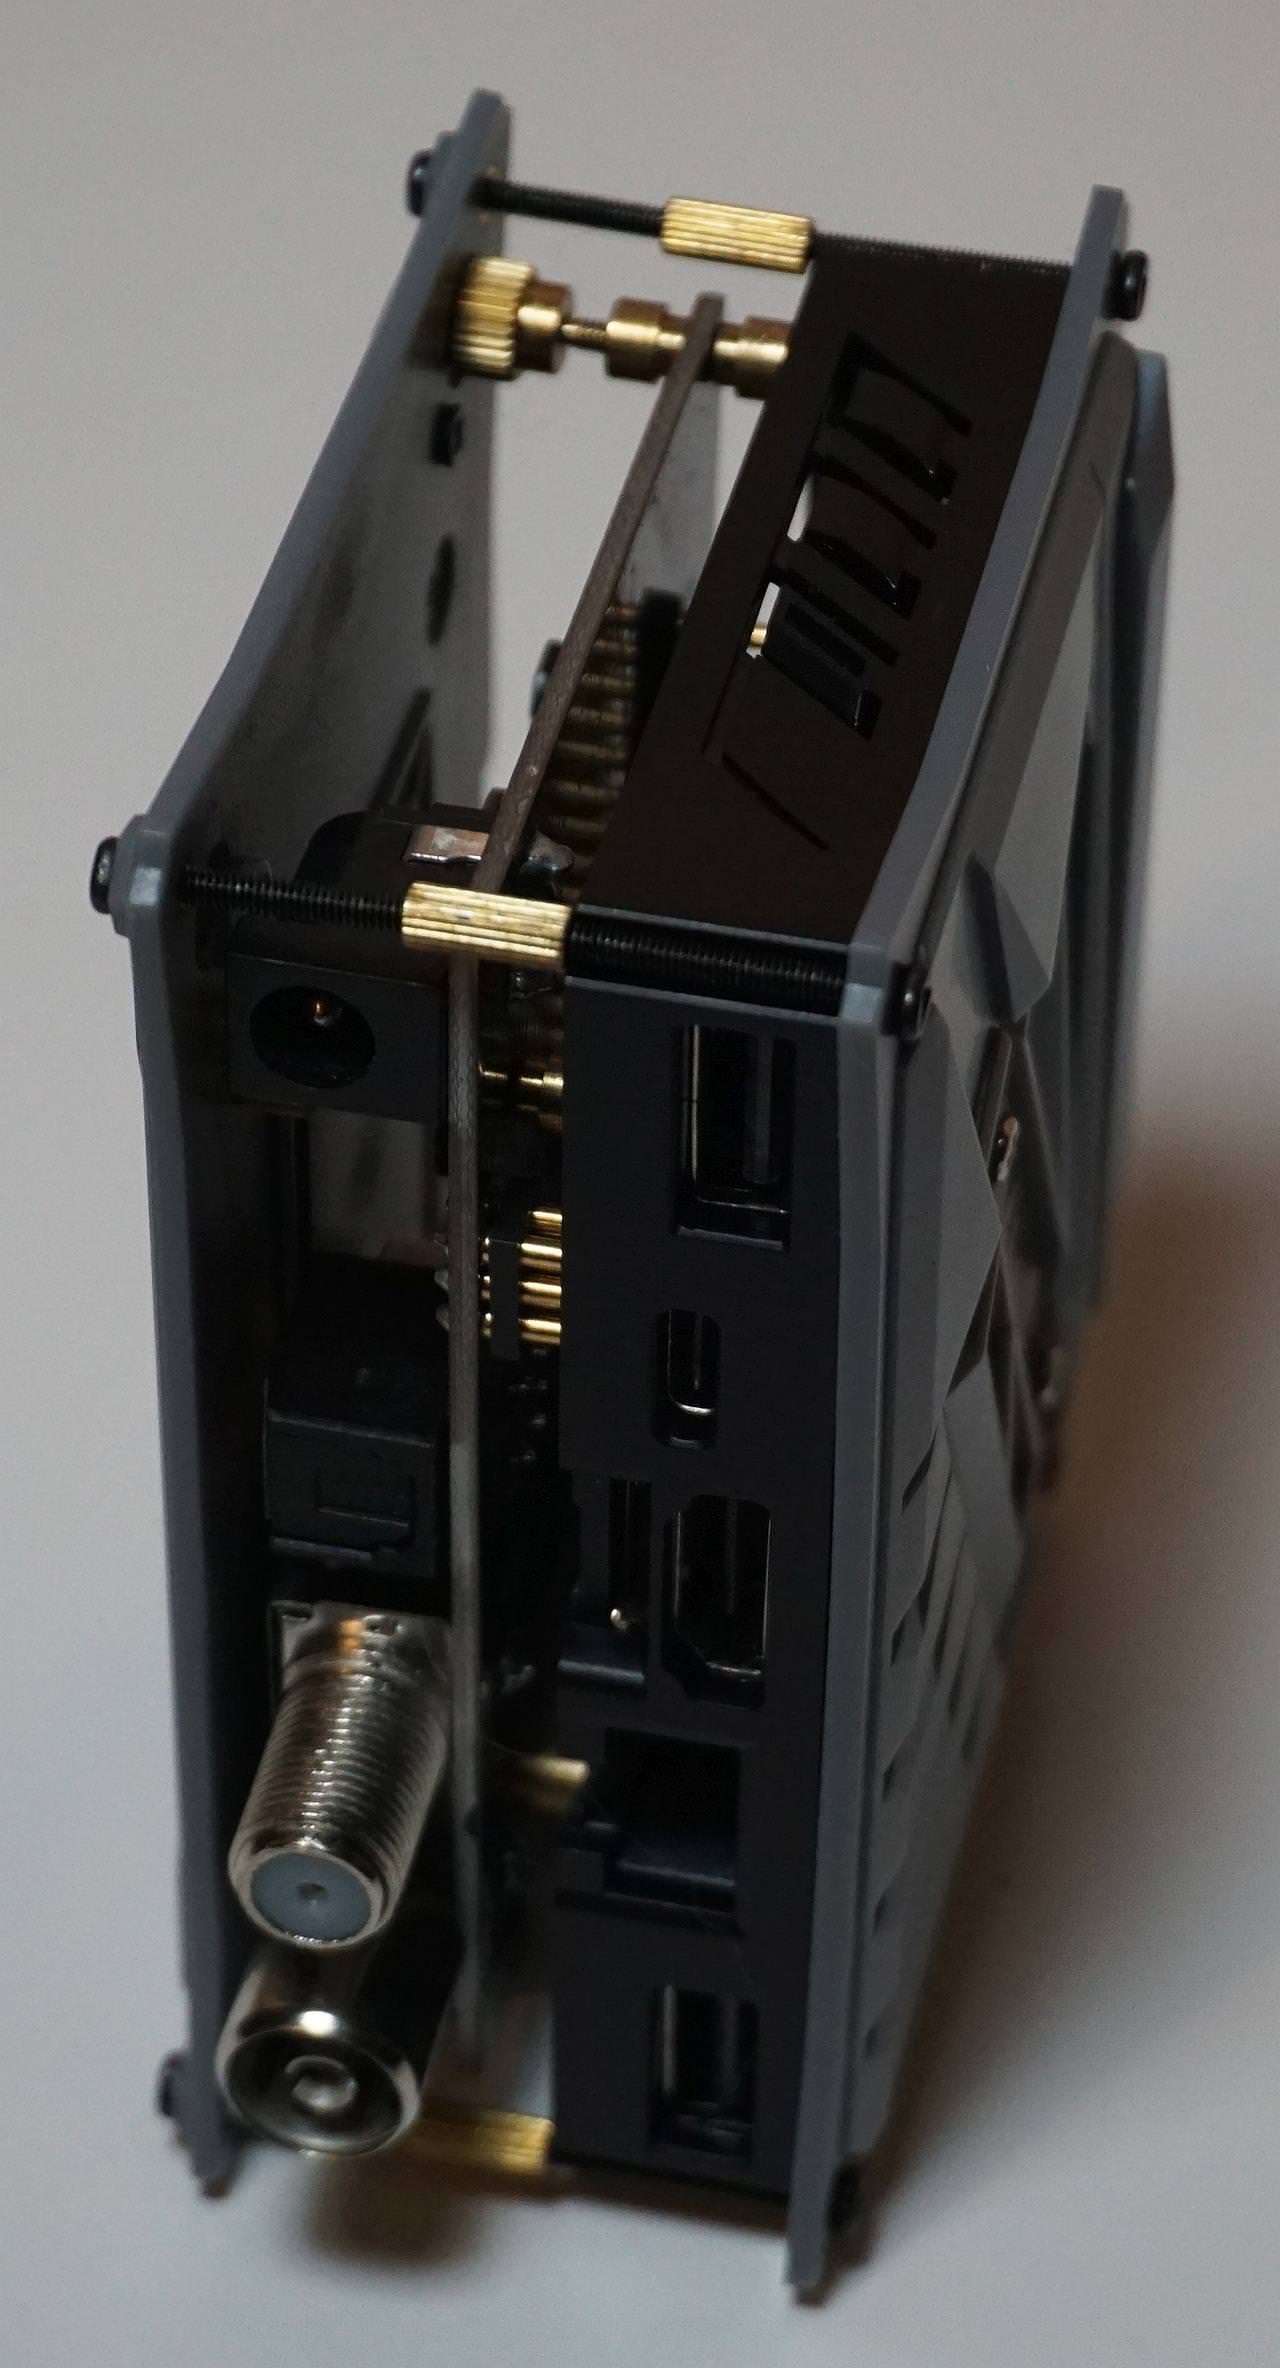
Needed to improvise with Spacers to make it all sit and stick solid
I tried to utilize the built in nuts in the black part of vim case and thread bolts from both sides to hold, but nope too long or too short, spacing things out was looking better but still not happy, many variations tried before the final design.
Then the three became One
Bit of fun
Enjoy
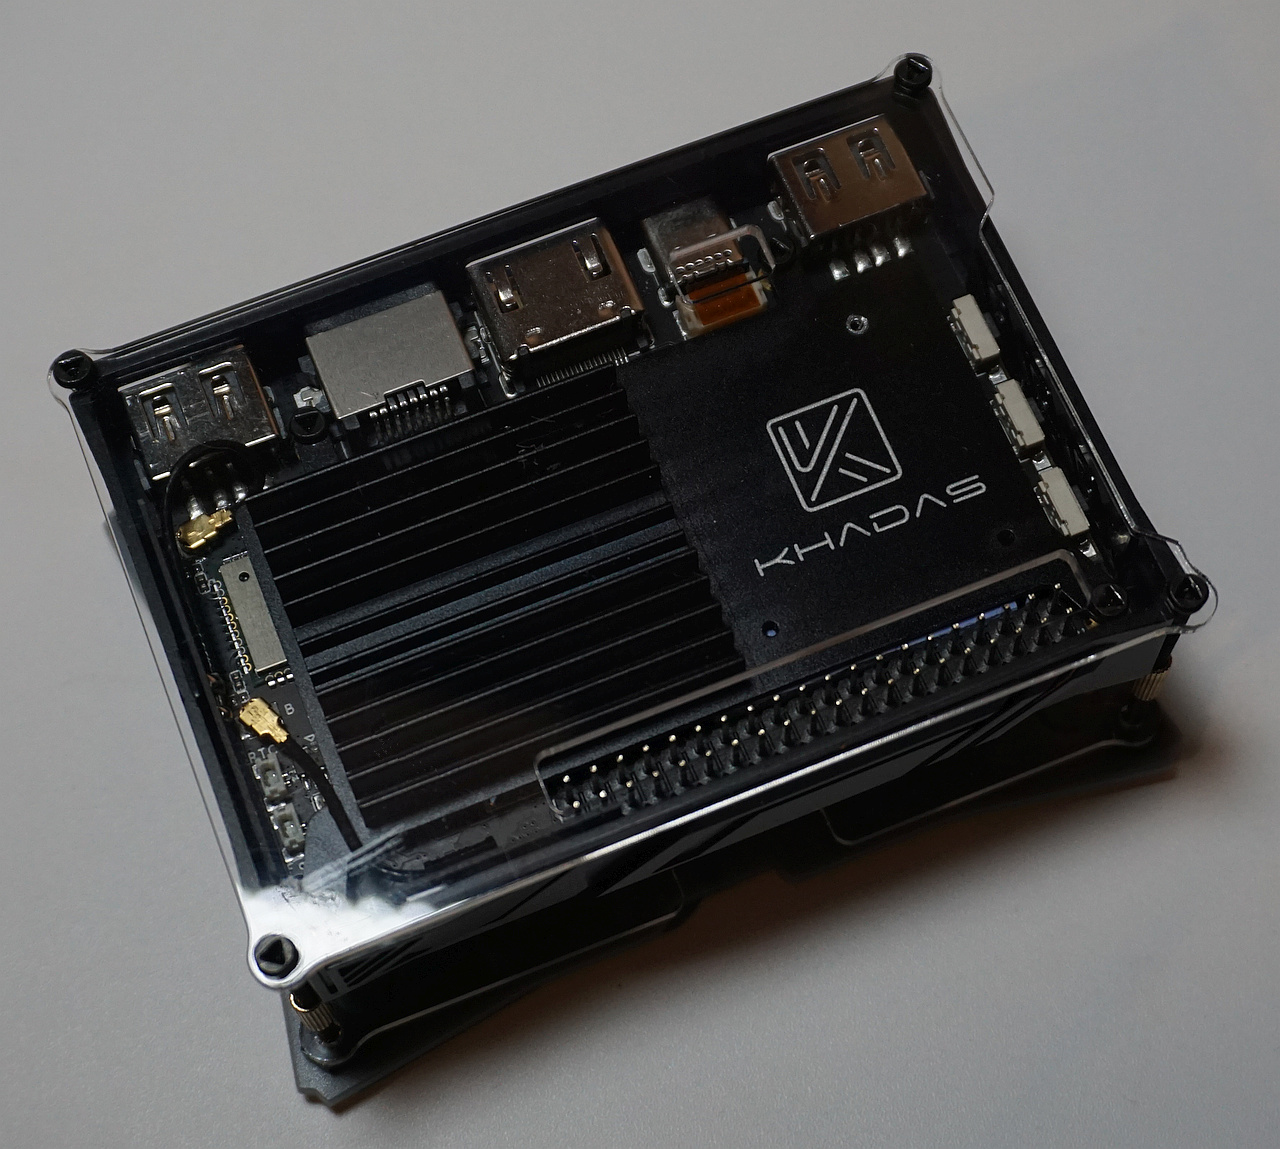
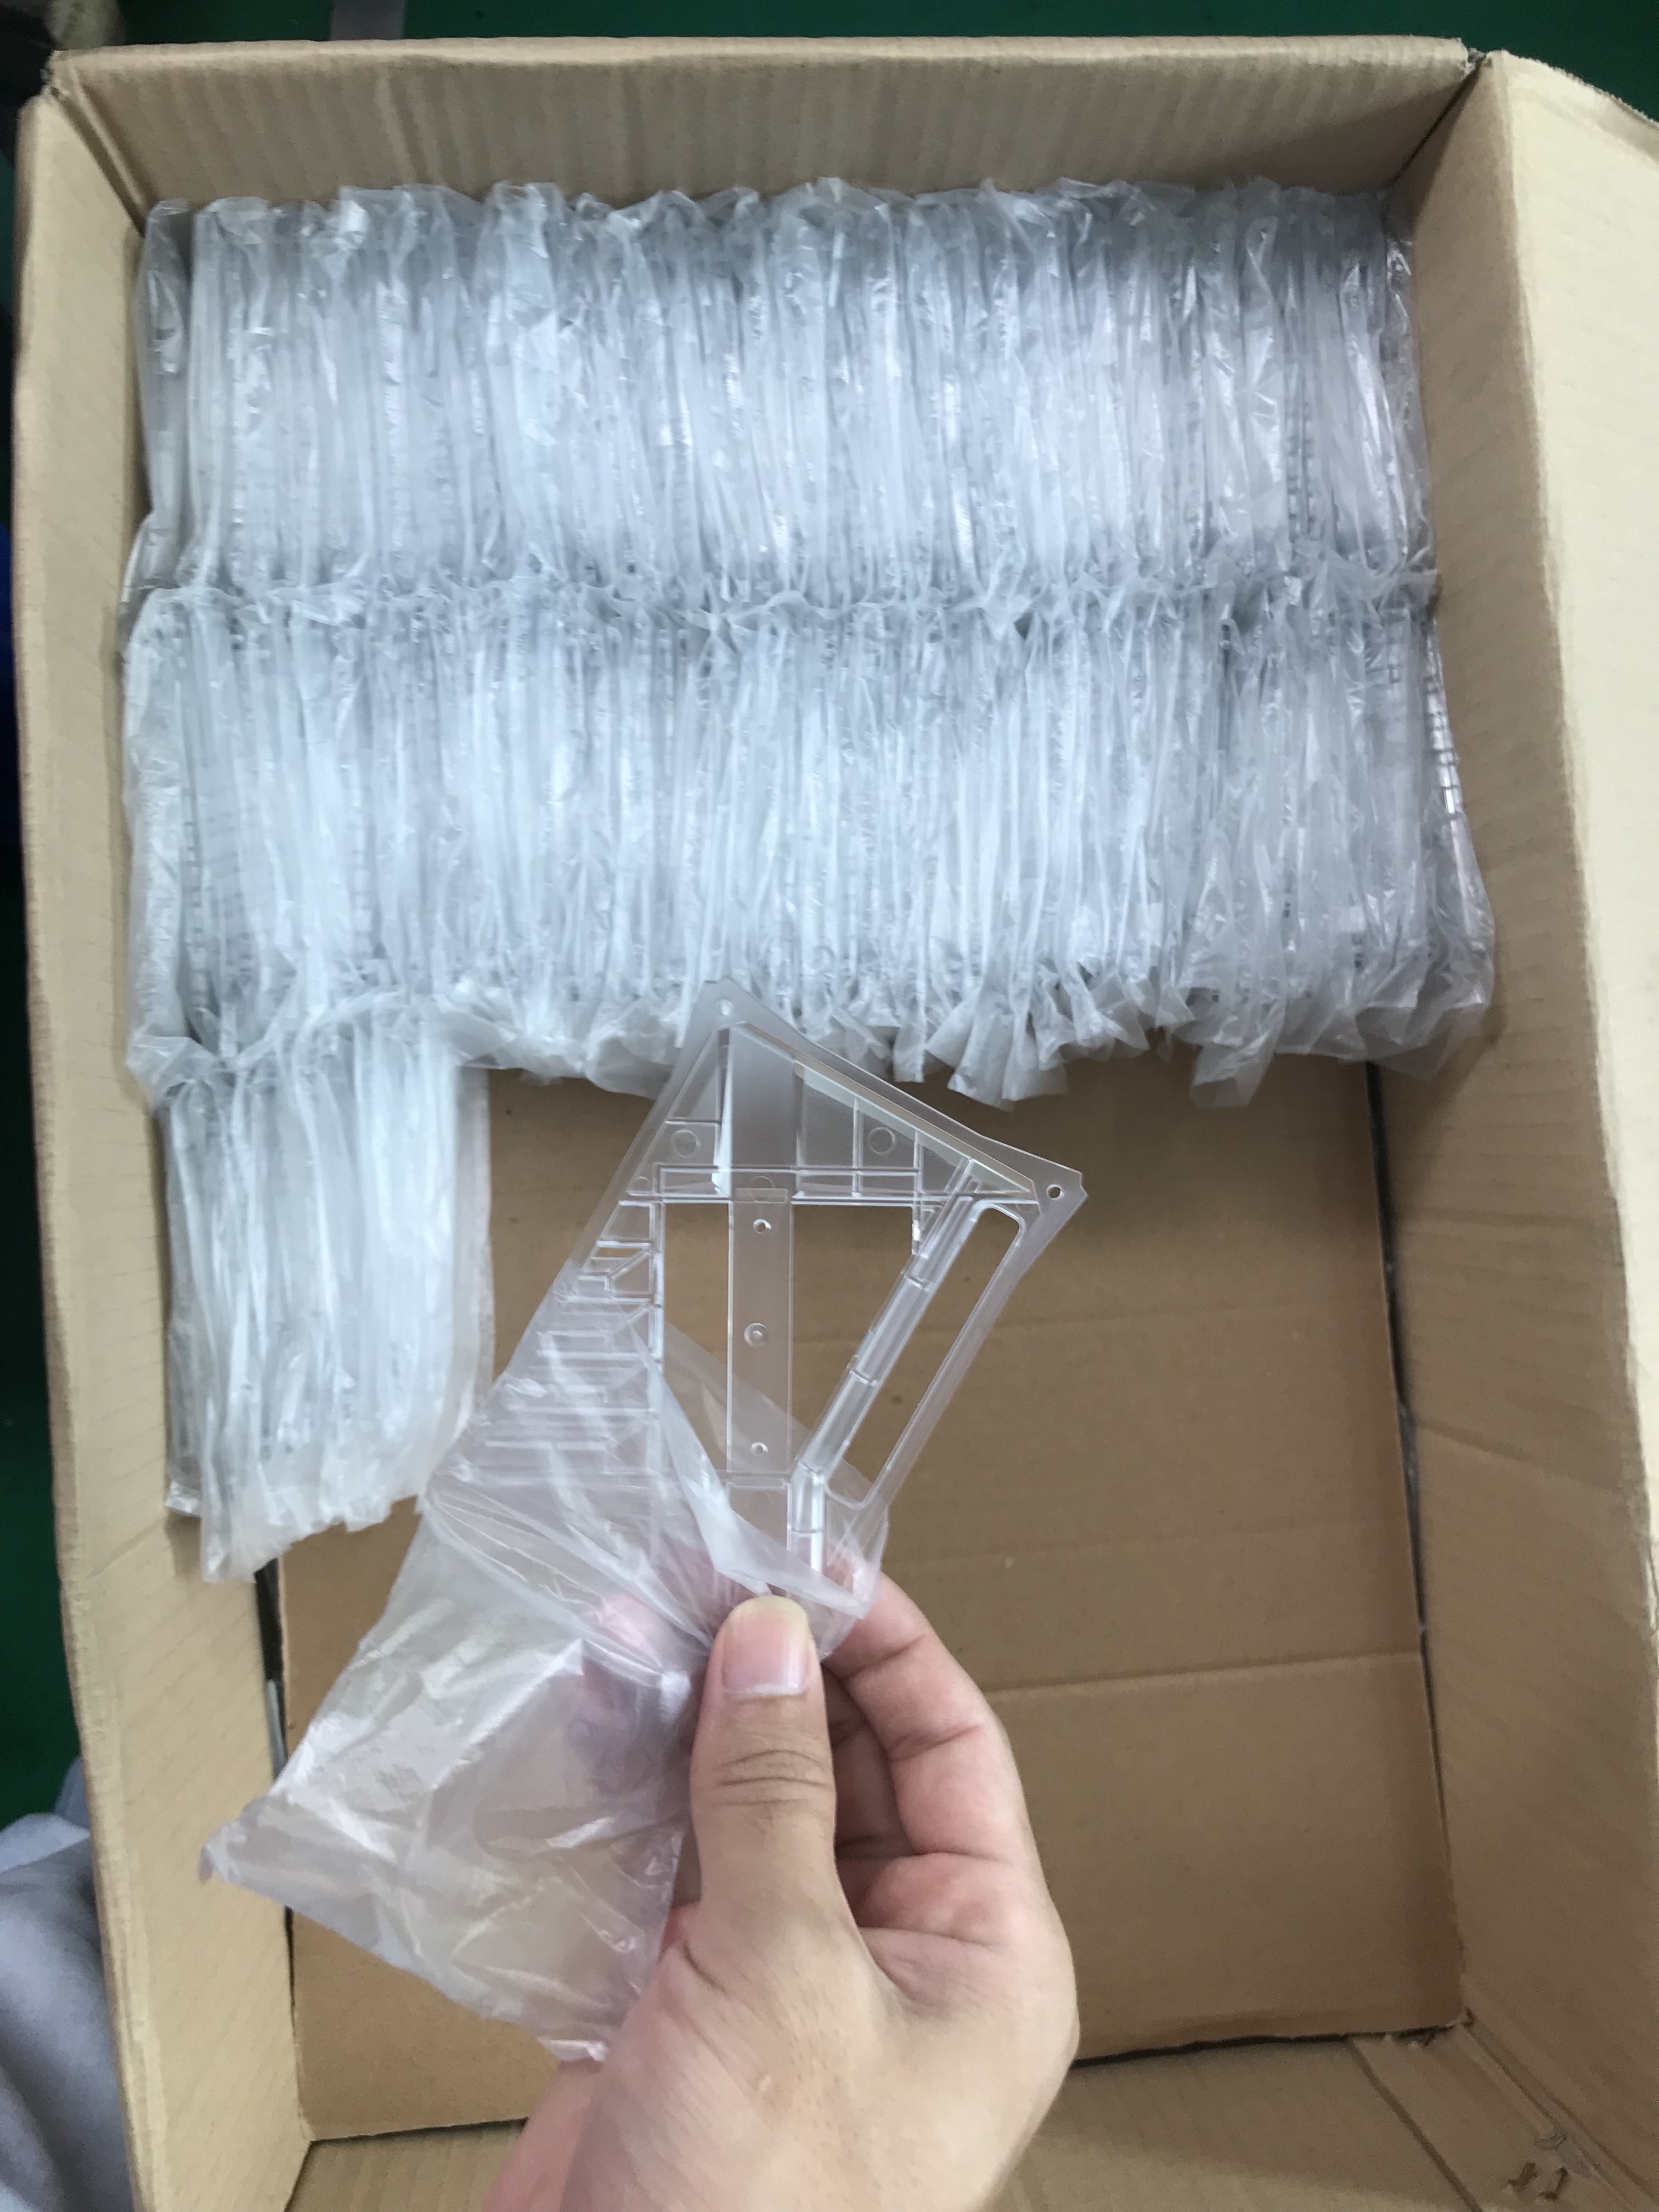
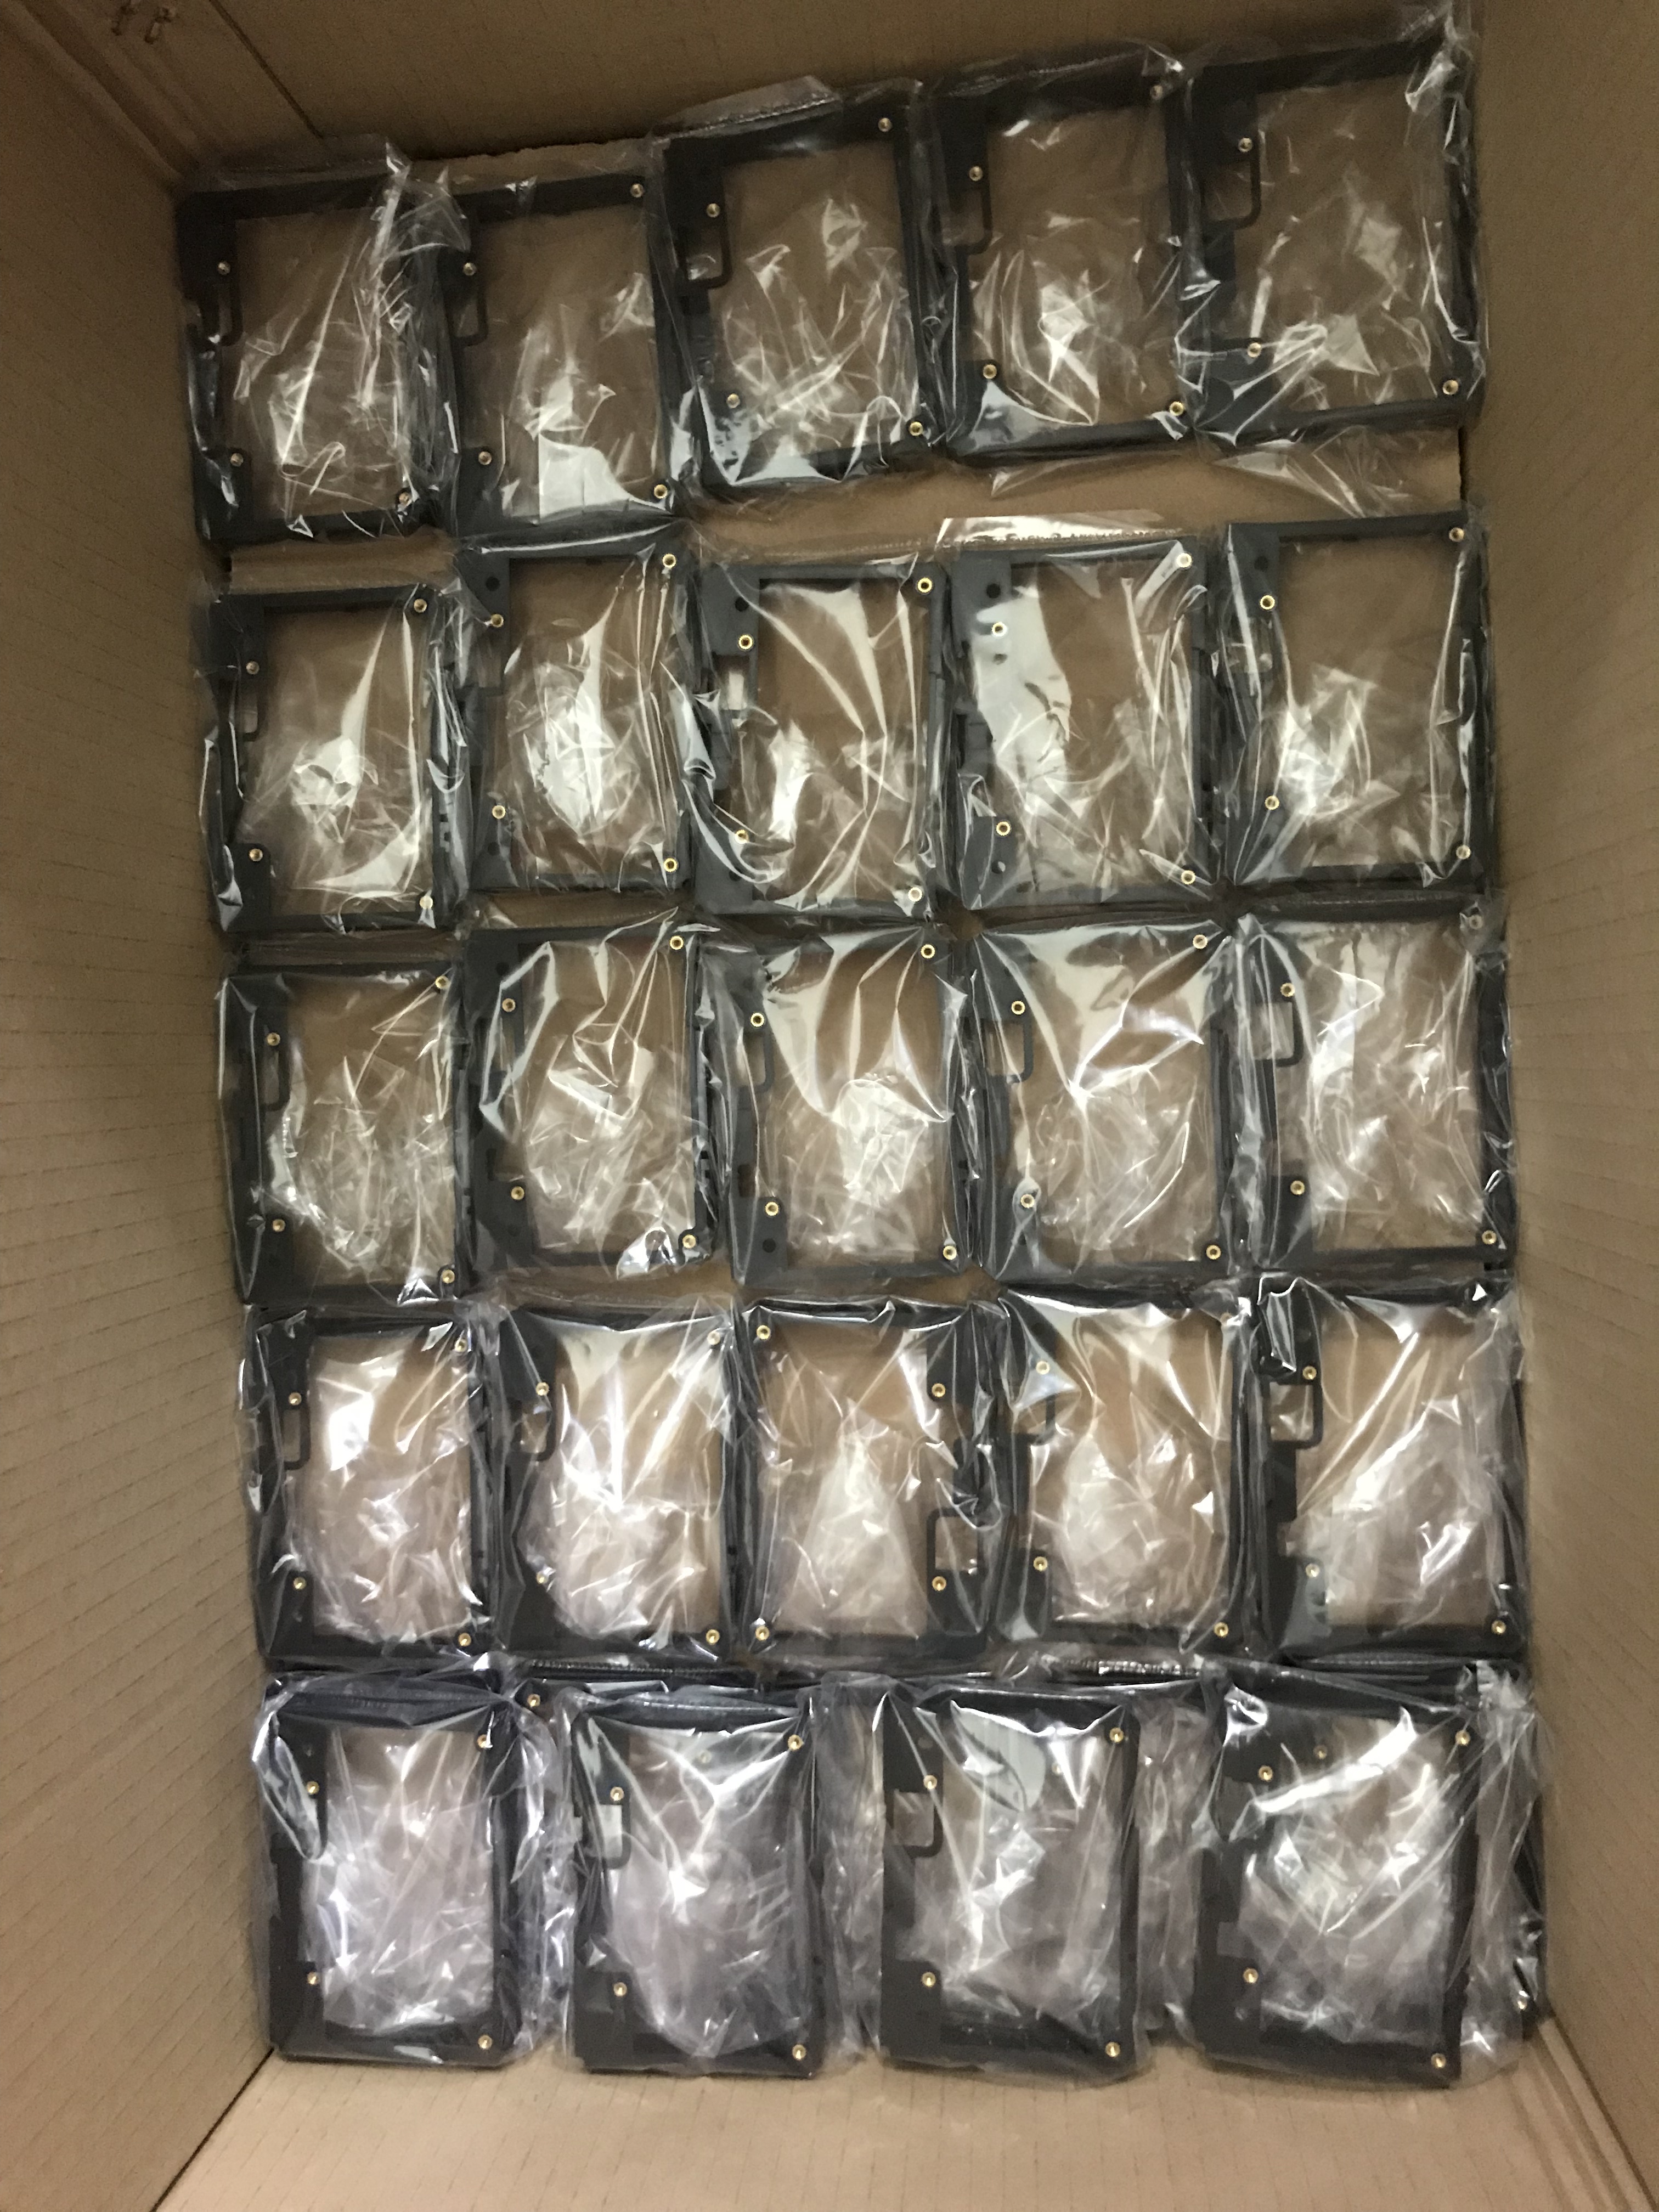
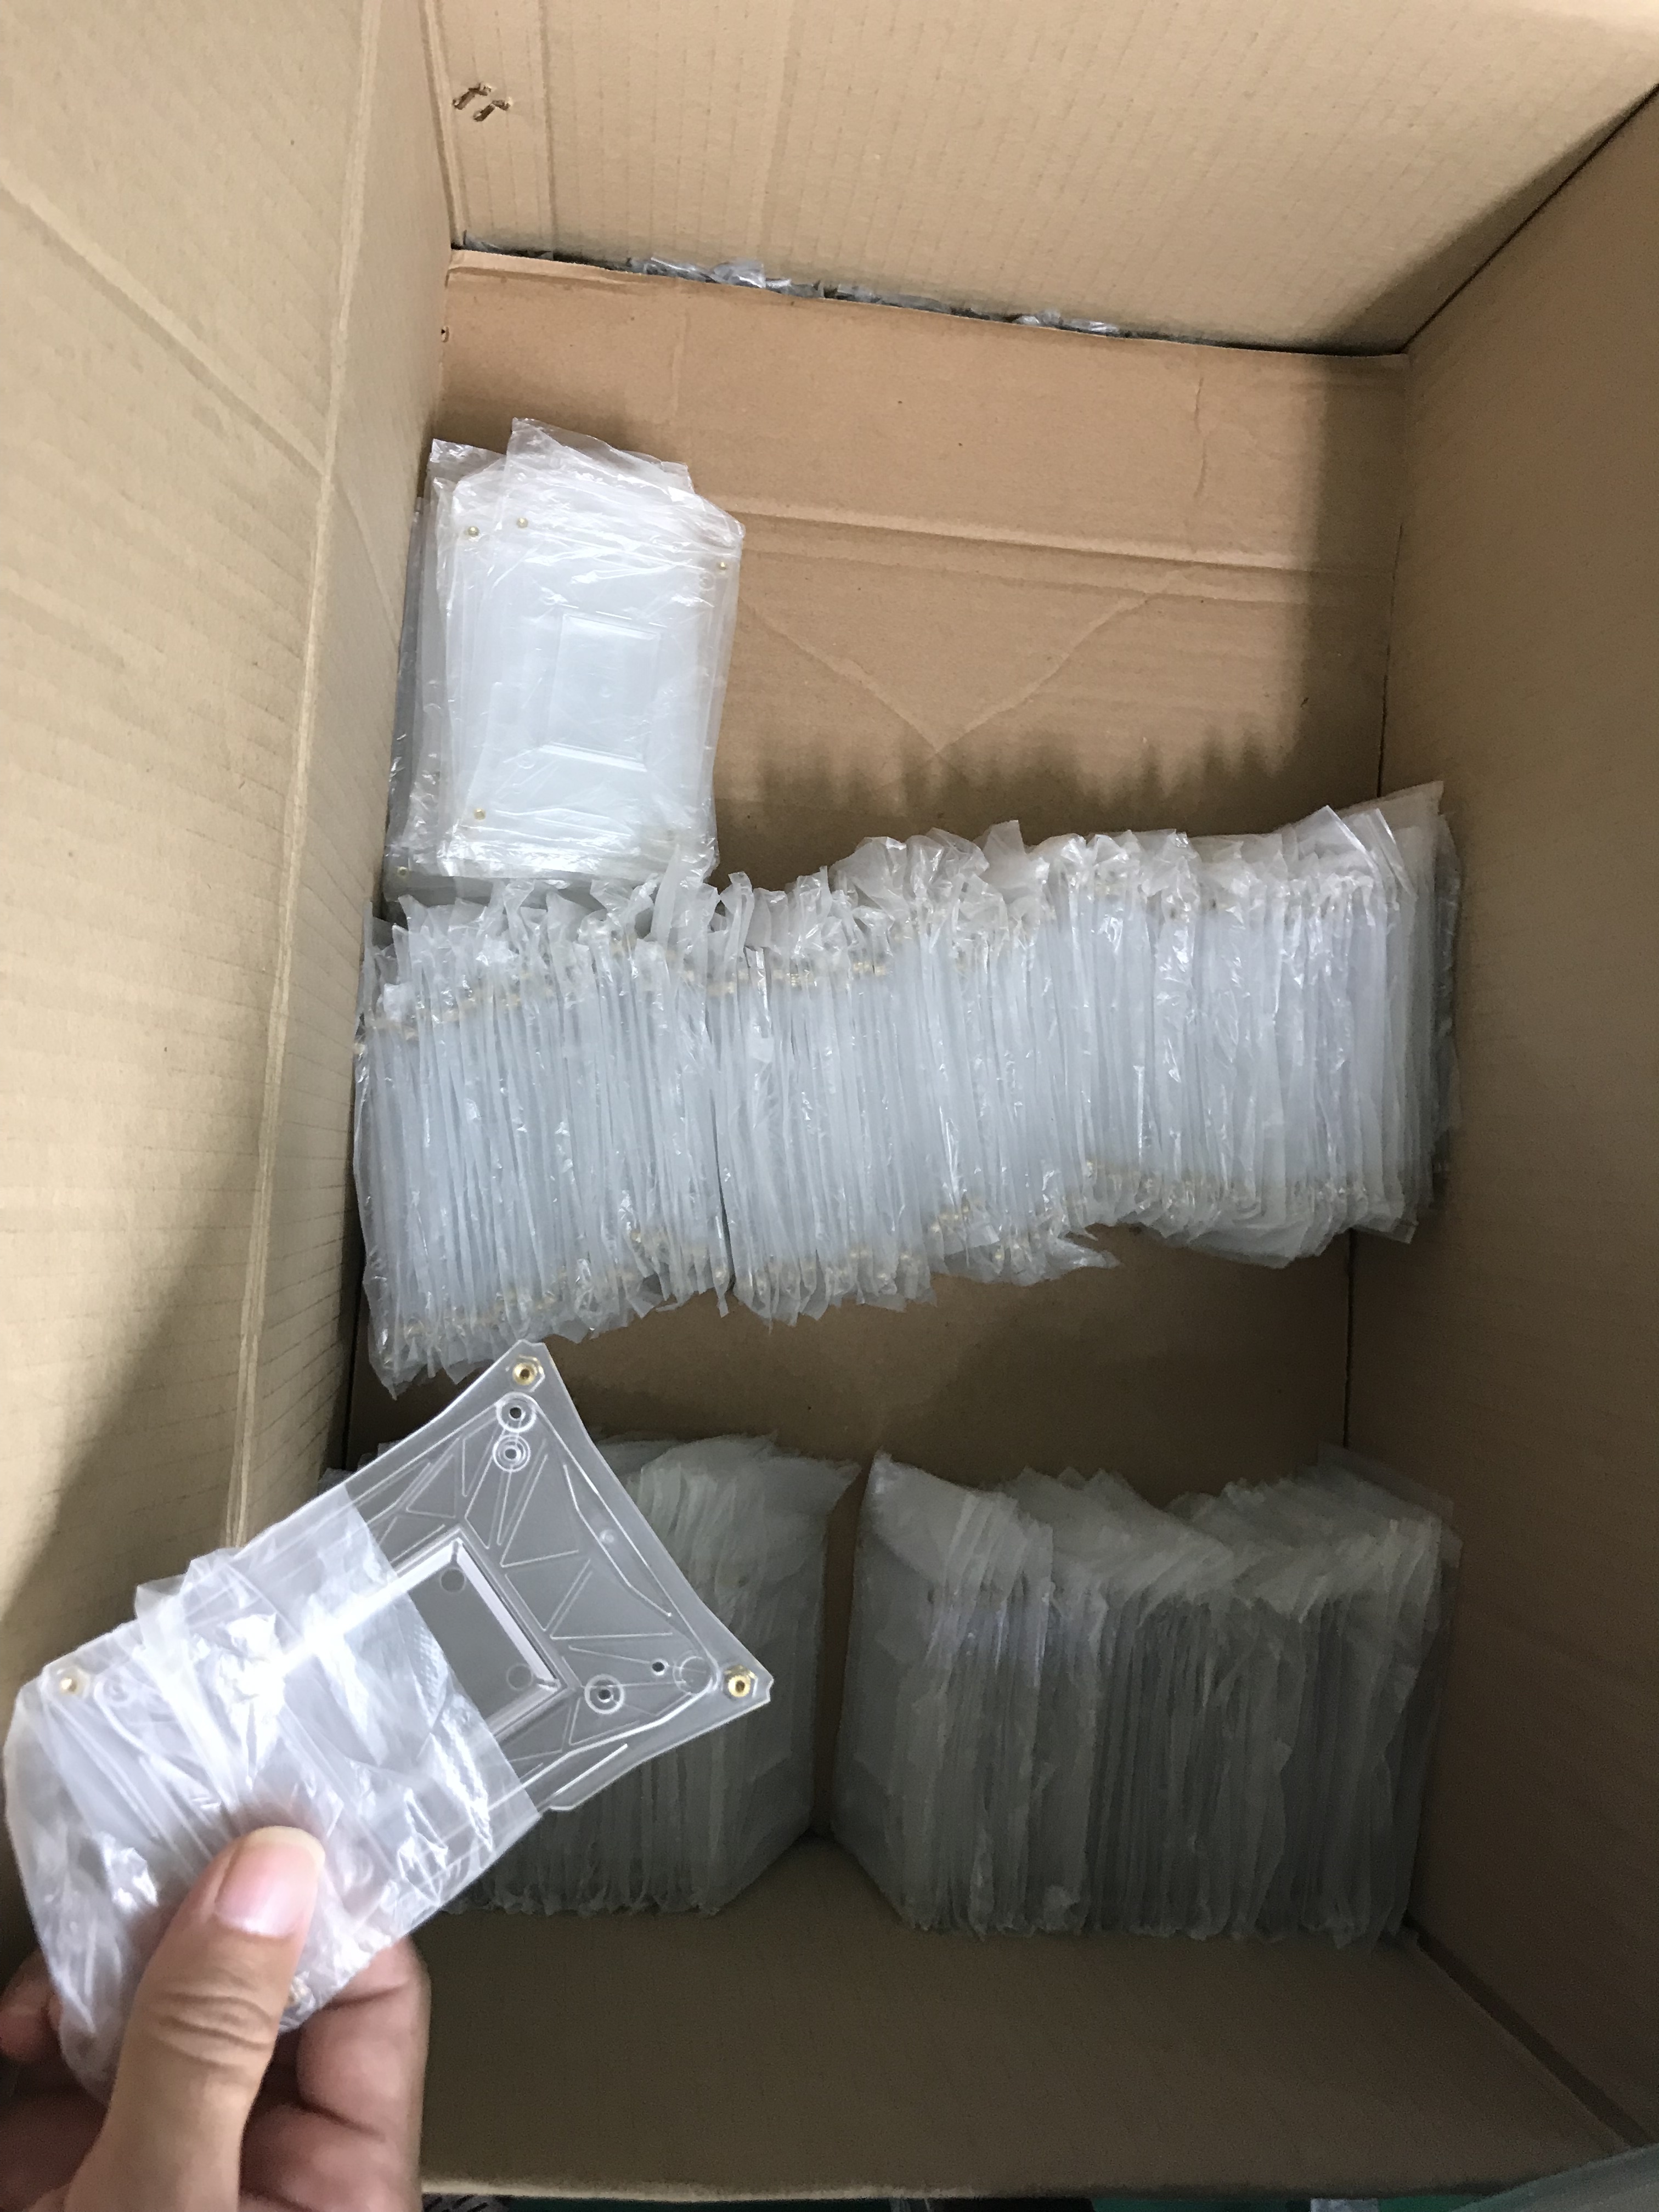
Now I’m in the mold factory to check the 3000units(Transparent, Red and Purple each as 1K) DIY Case production process.
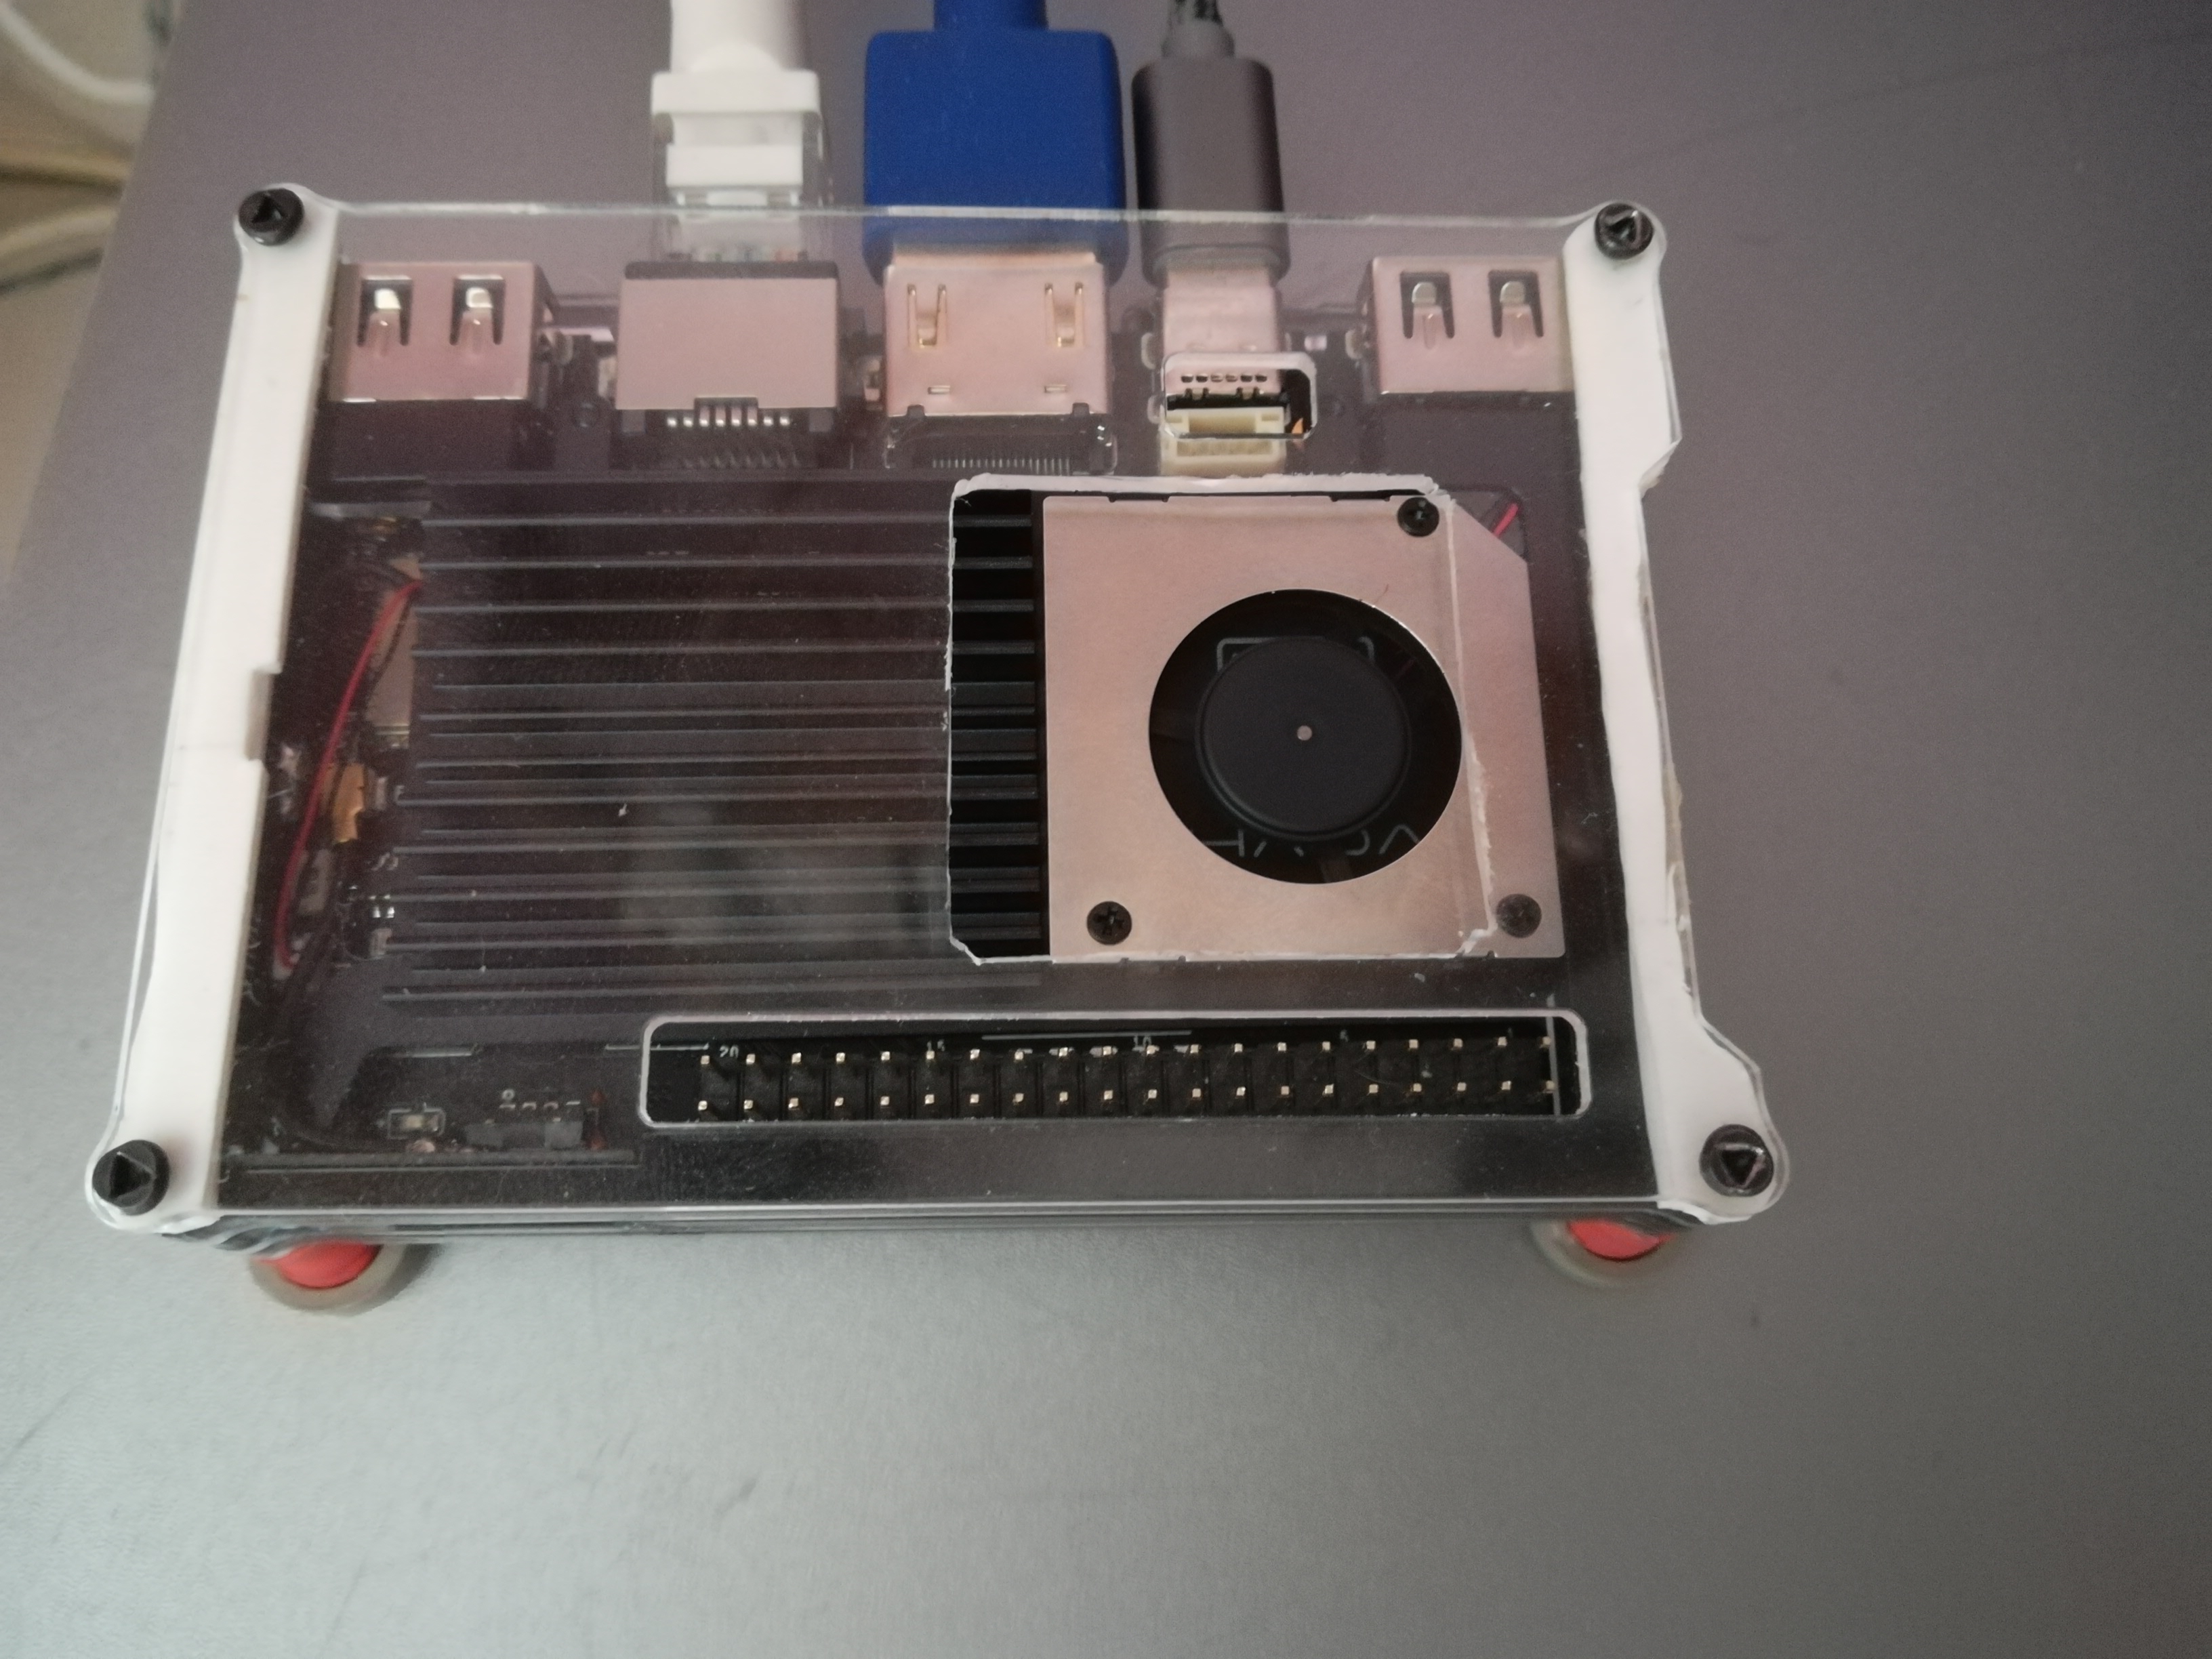
Heatsink looks very nice under glass.
But the benefit of it in this form is almost no, there is no air circulation.
It is necessary to make holes in the lid to ensure the movement of air. ![]()
Yes all Work in progress, more vents need
A new clear lid with fan cut out on opposite end to accommodate 40 pin header.
All this Only happens as I tried to fit all in one.
Current design new Vim case not really suited for Tone Board
Yes, good point, though the GPIO opening will still allow for a little ventilation.
In my own VIM, the fan is specifically setup to positively evacuate case air out the rear. I don’t have the new case yet, but will probably pickup one of the clear ones when they release.
My heatsink is on the way. ![]()
Hello, Nice cut work on the top.
It can be easy to crack when cutting…ask me how I know.